「Simpic」A Lightweight Open-Source Self-Hosted PHP Image Hosting Program
Simpic
I initially wanted to set up a private image hosting service. After searching online for a long time, I couldn't find a suitable program. The better options were Chevereto and ImgURL, but the upload paths of both programs didn't suit my preferences, so I gave up on them.
What I wanted was an upload model like SM.MS. I originally planned to write one myself, but later happened to discover Lsky Image Hosting on Gitee. I found that it suited my preferences very well, so I modified it and finally turned it into what I wanted. After checking Lsky Image Hosting's open-source license, I found that open-source distribution was permitted, and thus Simpic was created.
Program Features
- SM.MS-style image hosting upload paths
- Latest Layui framework
- SM.MS-style image hosting homepage
- Supports uploads to Qiniu Cloud and Upyun
- Upload images by dragging them directly
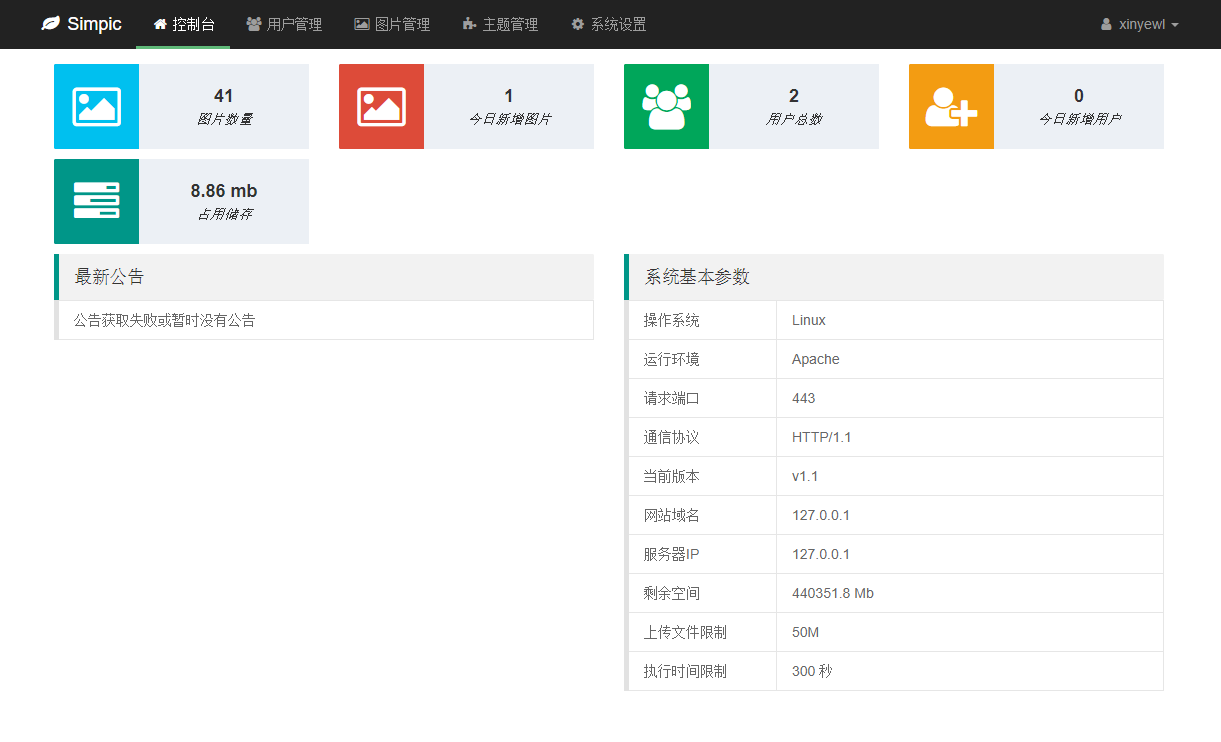
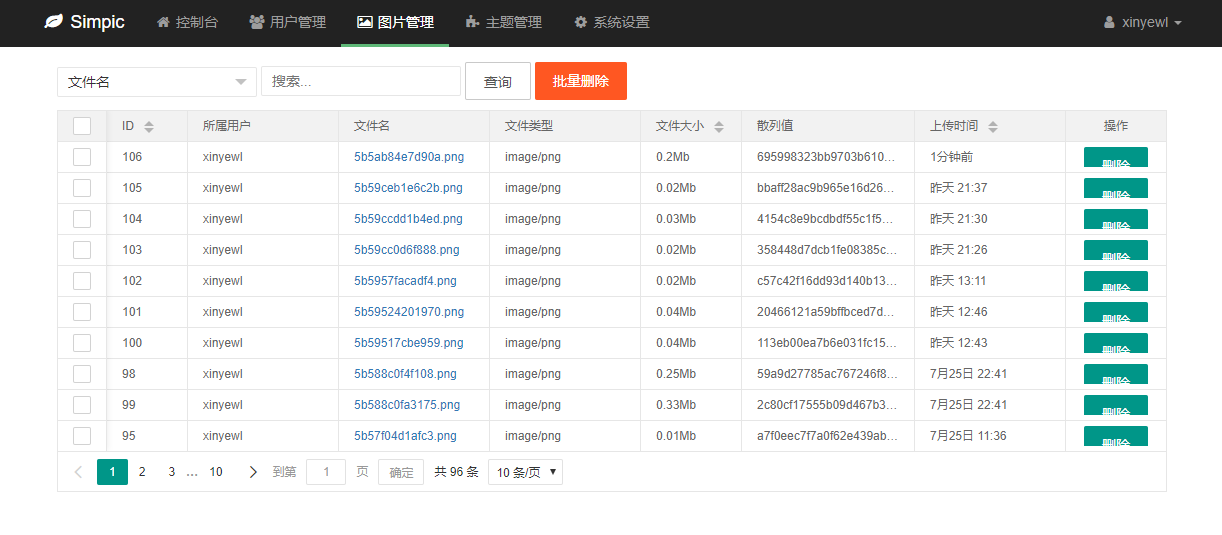
- Separate management for multiple users
- Image stream loading in the user center
- Supports uploading multiple images
Original Program (Seemingly No Longer Maintained)
- Project: Lsky Image Hosting
- Author: WispX
- Author's blog: https://www.wispx.cn/
- Source project: https://gitee.com/wispx/lsky
Frontend Demo
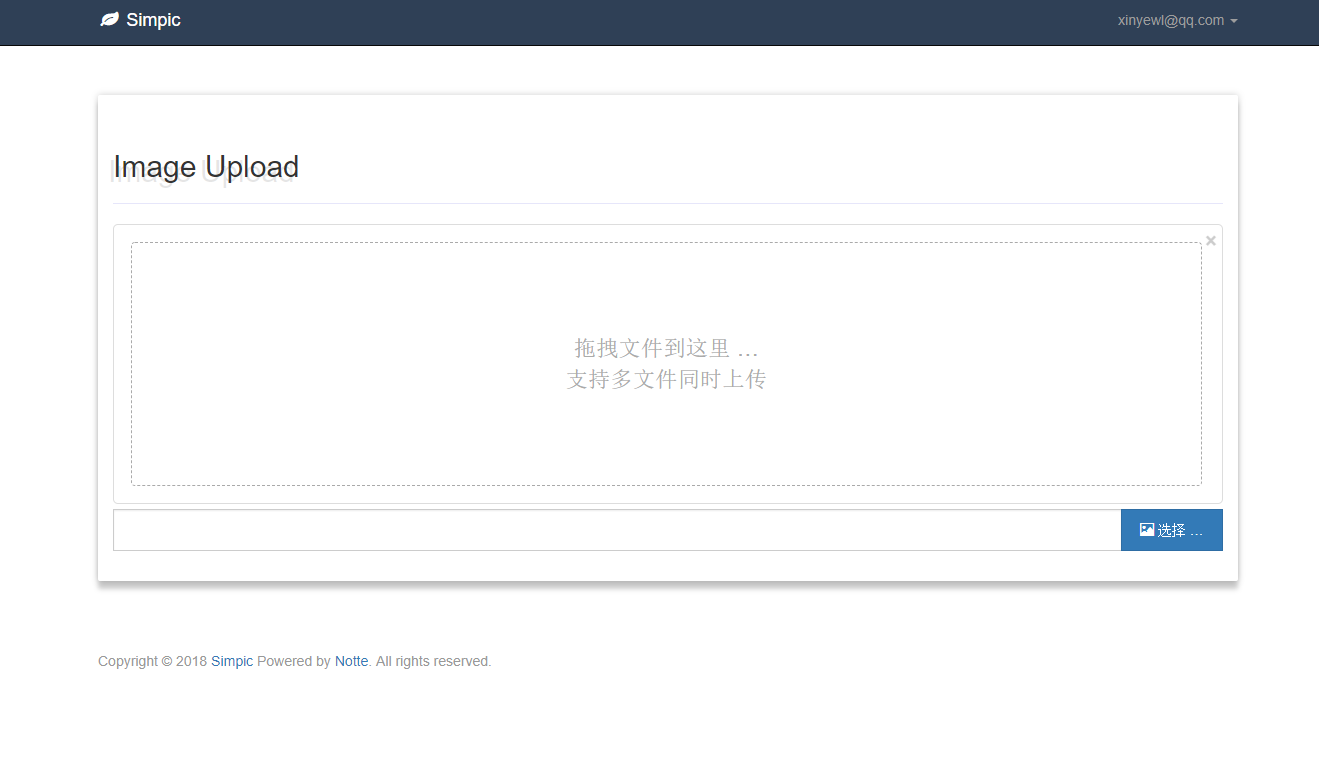
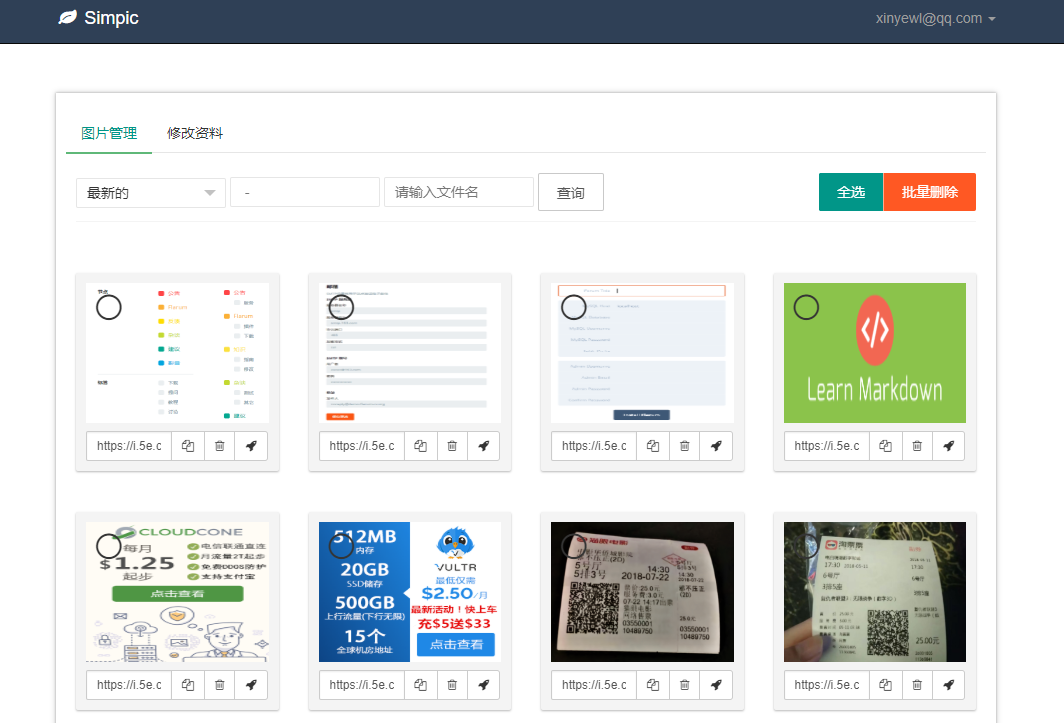
Backend Demo
Installation Requirements
- PHP version > 5.3
- cURL support
- mysqli support
- Rewrite
Installation Instructions
Note: Virtual hosts are not currently supported. The database must use the InnoDB engine.
- Download the program, upload it to a web runtime environment, and extract it.
- Set the runtime directory to
/public
![]1
- Configure the Rewrite rules:
Apache
<IfModule mod_rewrite.c> Options +FollowSymlinks -Multiviews RewriteEngine On RewriteCond %{REQUEST_FILENAME} !-d RewriteCond %{REQUEST_FILENAME} !-f RewriteRule ^(.*)$ index.php?s=$1 [QSA,PT,L]</IfModule>Nginx
location / { if (!-e $request_filename) { rewrite ^(.*)$ /index.php?s=$1 last; break; }}- Visit the homepage. If the program has not been installed, you will be automatically redirected to the installation page. Follow the prompts on the page to complete the installation.
Comments
(0)No comments yet. Start the conversation.