Fixing SSL Certificate Import Failure on macOS for the Baota Panel
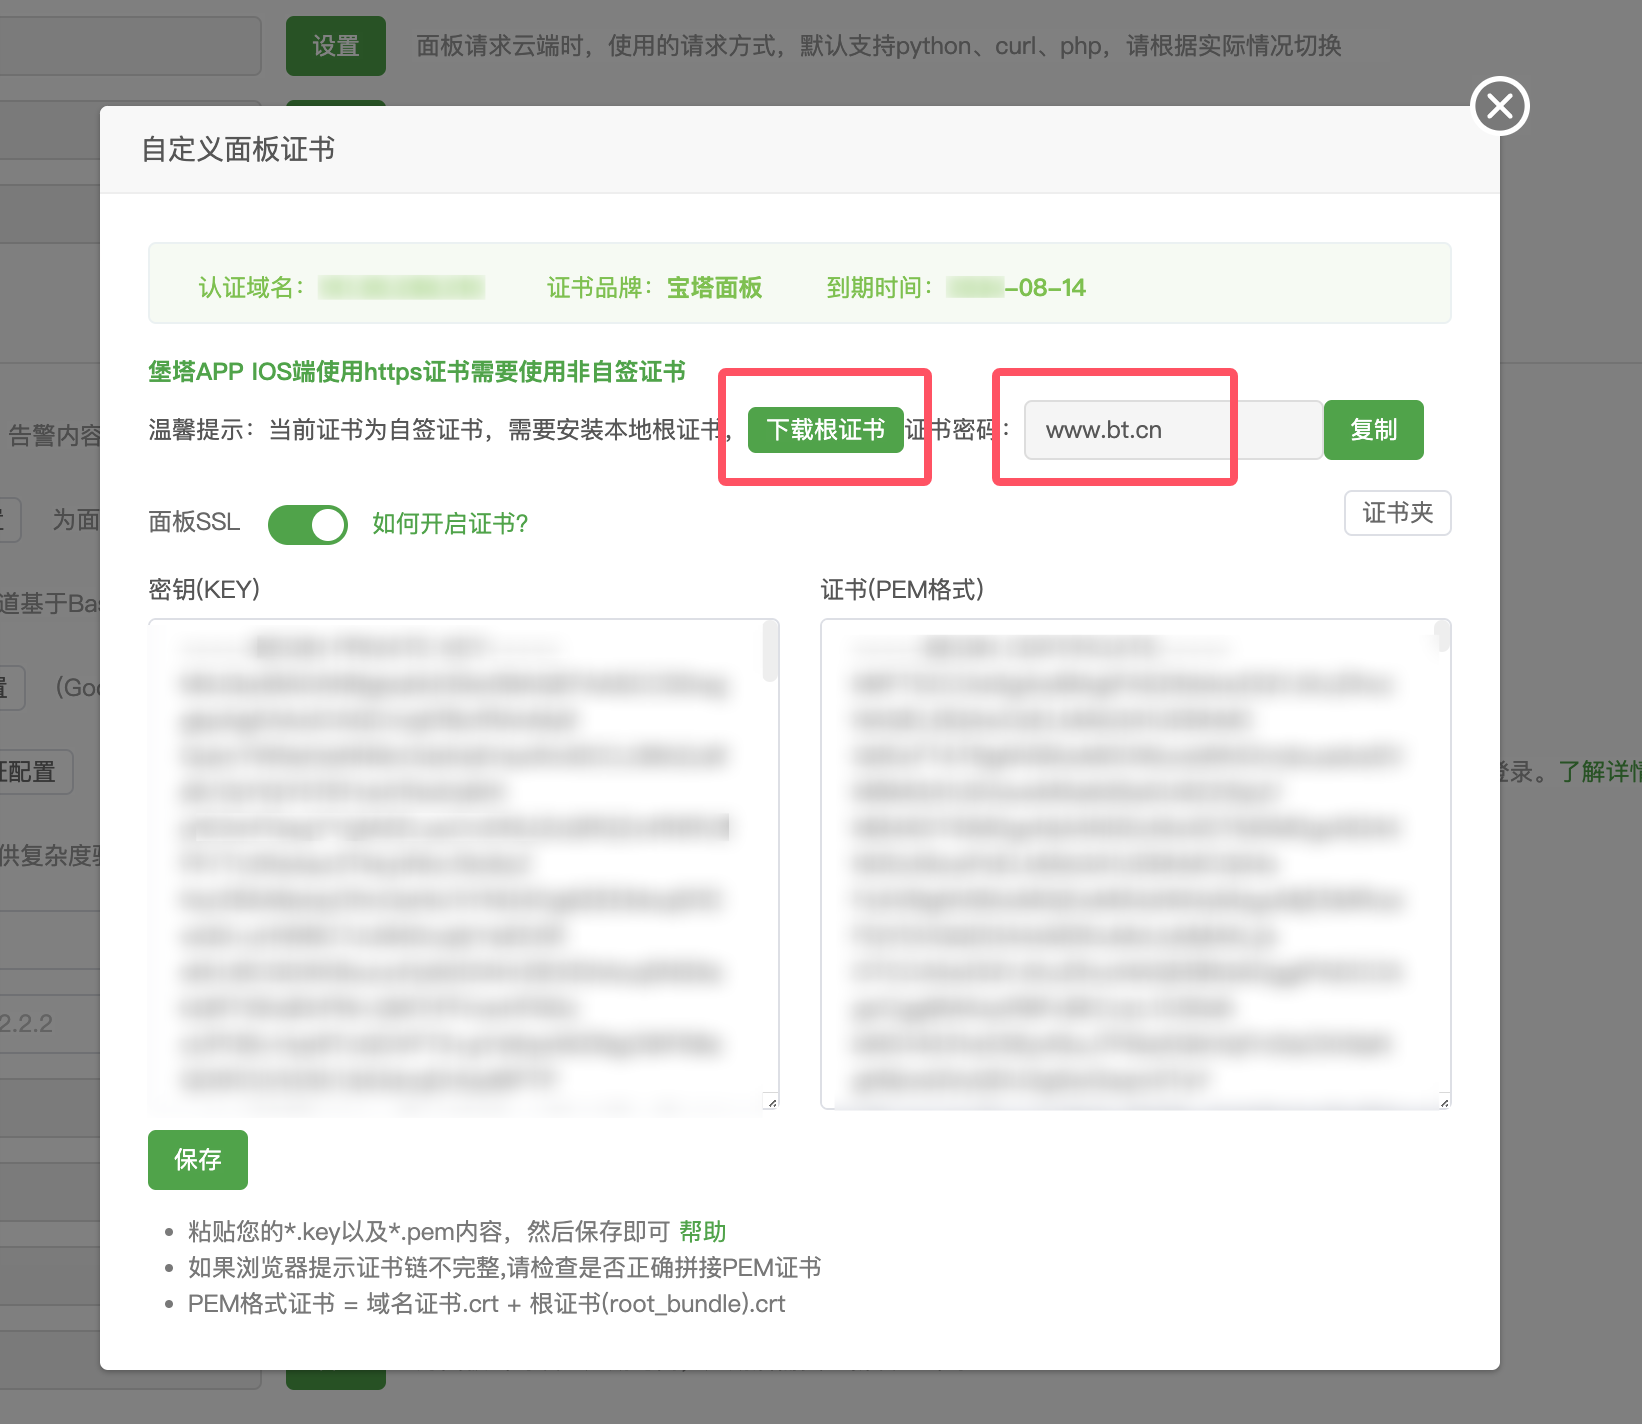
The Baota Linux Panel added the feature to enable HTTPS access to the panel a long time ago, but this option is disabled by default. However, in its latest version, 9.1.0, this option is enabled by default when performing a fresh installation with the latest script. You can turn it off if you want, but since the official recommendation is to enable HTTPS access to the panel, you might as well turn it on.
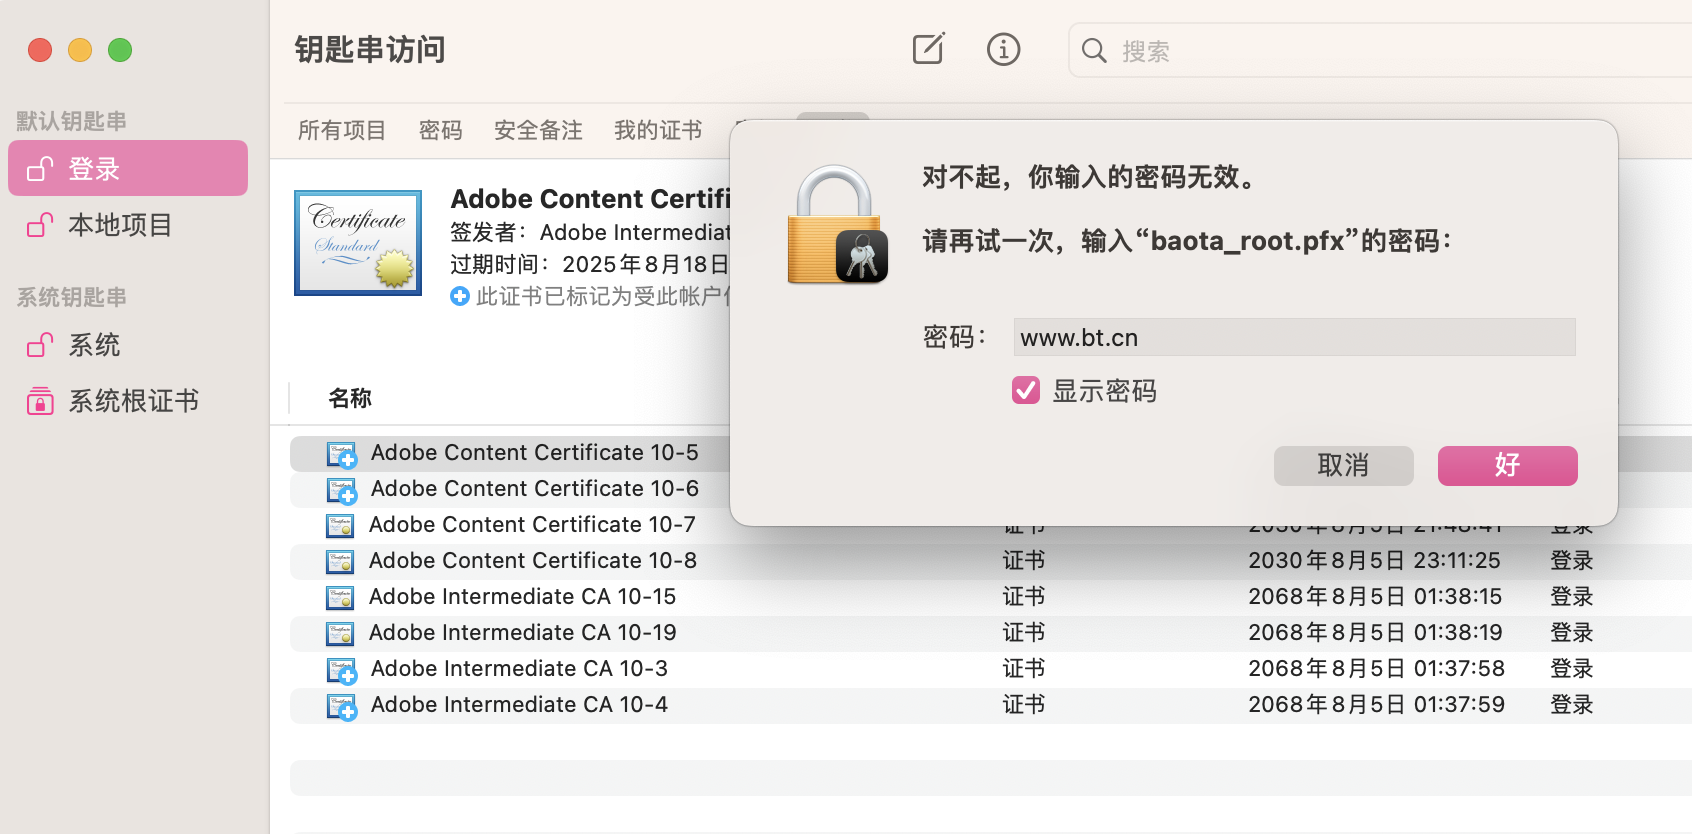
However, some strange problems occur in the official tutorial. On my MacBook Pro, I could not import Baota's official root certificate. After downloading the certificate according to the tutorial and entering the correct password, www.bt.cn, it displayed Sorry, the password you entered is invalid.
After searching for related information on the Baota forum, I found that many people had encountered this problem. The baota_root.pfx file can be imported successfully on Windows, but macOS continuously reports that the password is invalid. This may be a compatibility issue with the pxf format, so let's generate a certificate in another format with better compatibility.
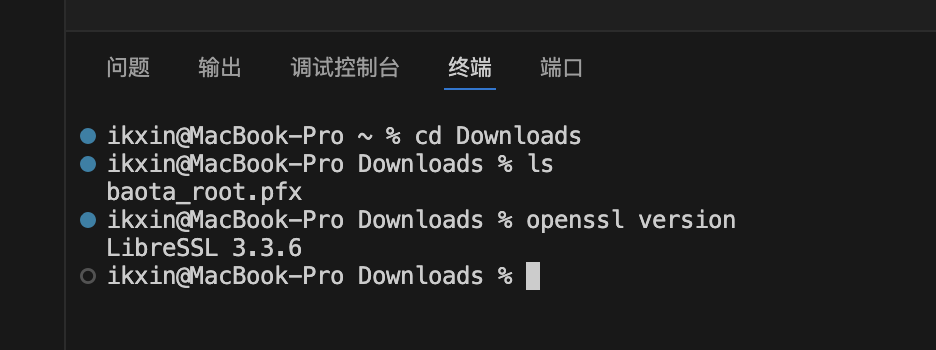
First, download the panel's certificate to your local computer, then use the macOS Terminal to navigate to that directory. To make sure that OpenSSL is already present on the system, first use the openssl version command to check the version number. As you can see, my version is 3.3.6.
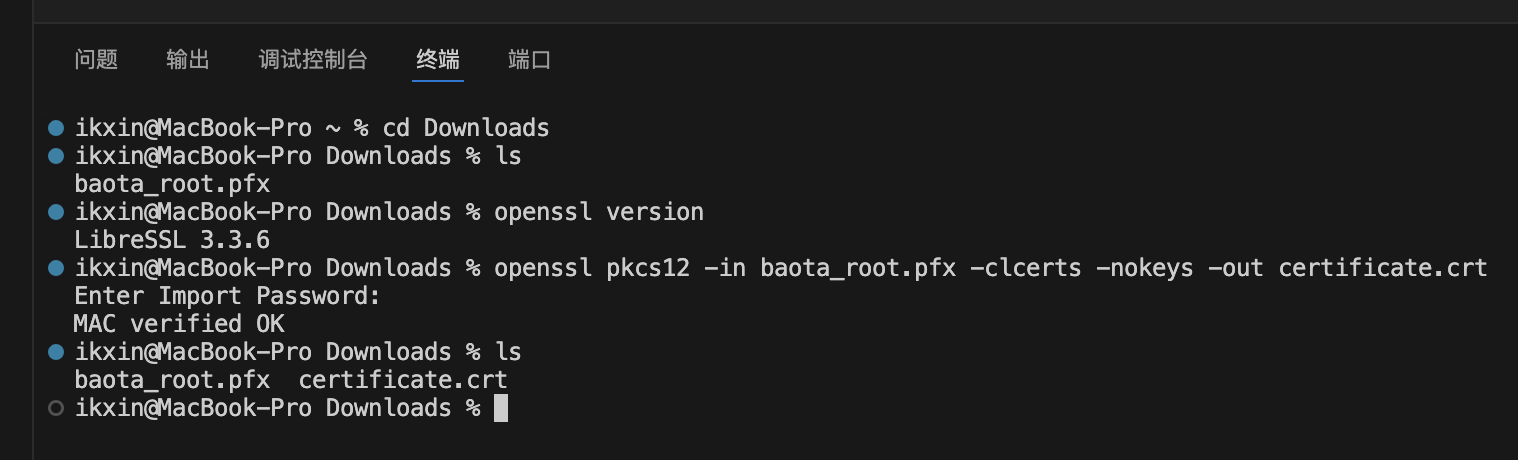
Then use the following command to create a certificate in another format. This command uses OpenSSL to extract the client certificate from a PKCS#12 file named baota_root.pfx and save it as certificate.crt. Note that after pressing Enter, enter the certificate password, www.bt.cn.
openssl pkcs12 -in baota_root.pfx -clcerts -nokeys -out certificate.crt
The command is explained in detail below:
openssl pkcs12: Uses OpenSSL'spkcs12subcommand to process PKCS#12 files.-in baota_root.pfx: Specifies the input file, namely the file namedbaota_root.pfx.-clcerts: Extracts only the client certificate, rather than the CA certificate or private key.-nokeys: Does not extract the private key; extracts only the certificate.-out certificate.crt: Specifies the path and name of the output file, saving the extracted client certificate ascertificate.crt.
After running this command, the client certificate in the baota_root.pfx file will be extracted and saved as certificate.crt. This file will be saved in PEM format.
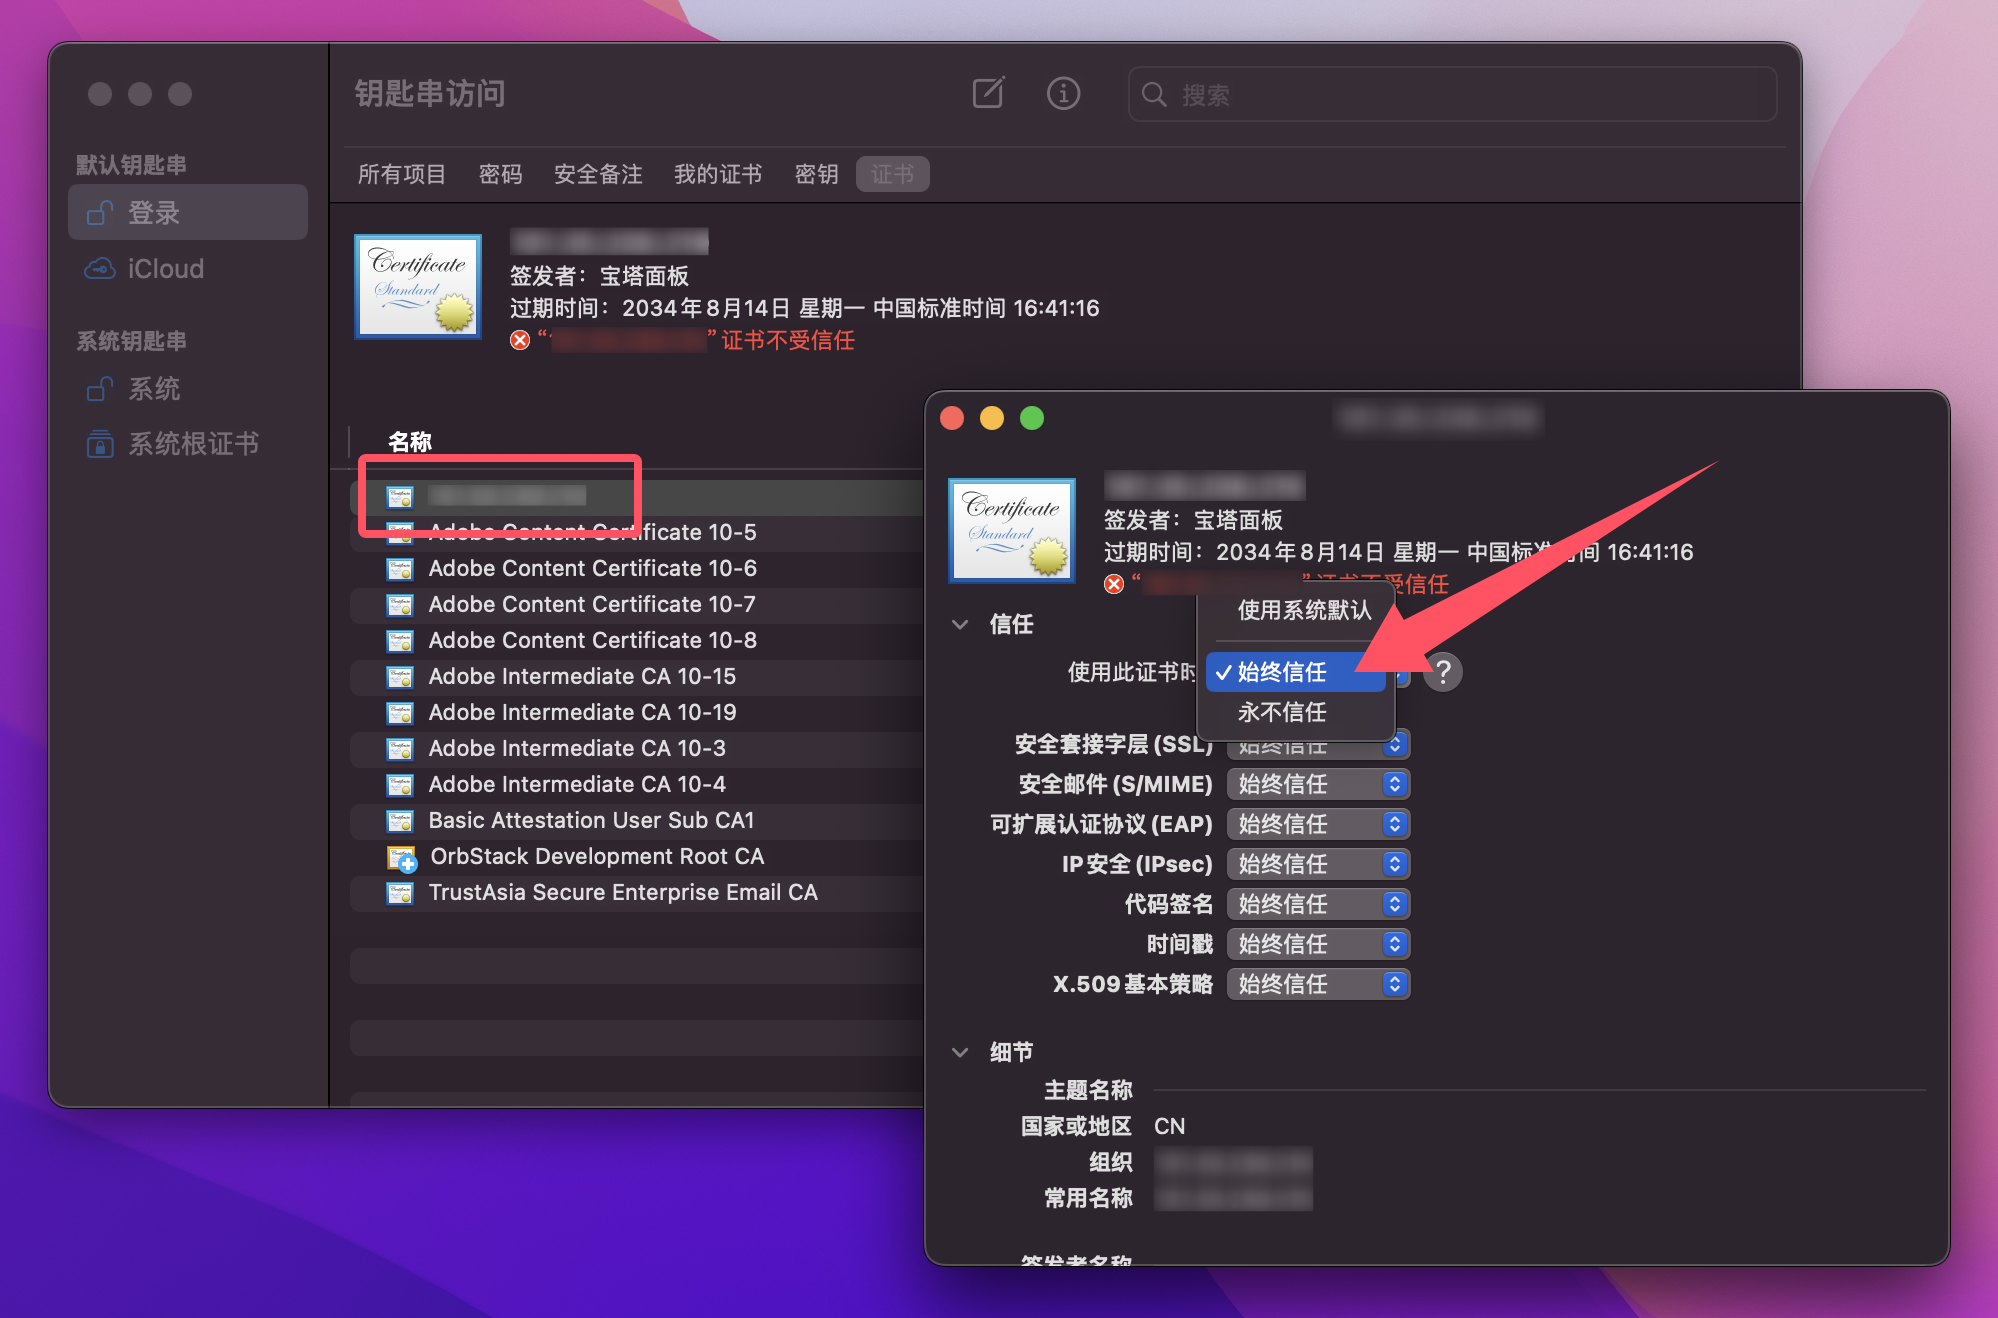
Next, return to Finder and double-click the generated certificate.crt file. It will be automatically imported into Keychain Access. Double-click the certificate to open it, and under “Trust,” set “When using this certificate” to “Always Trust.”
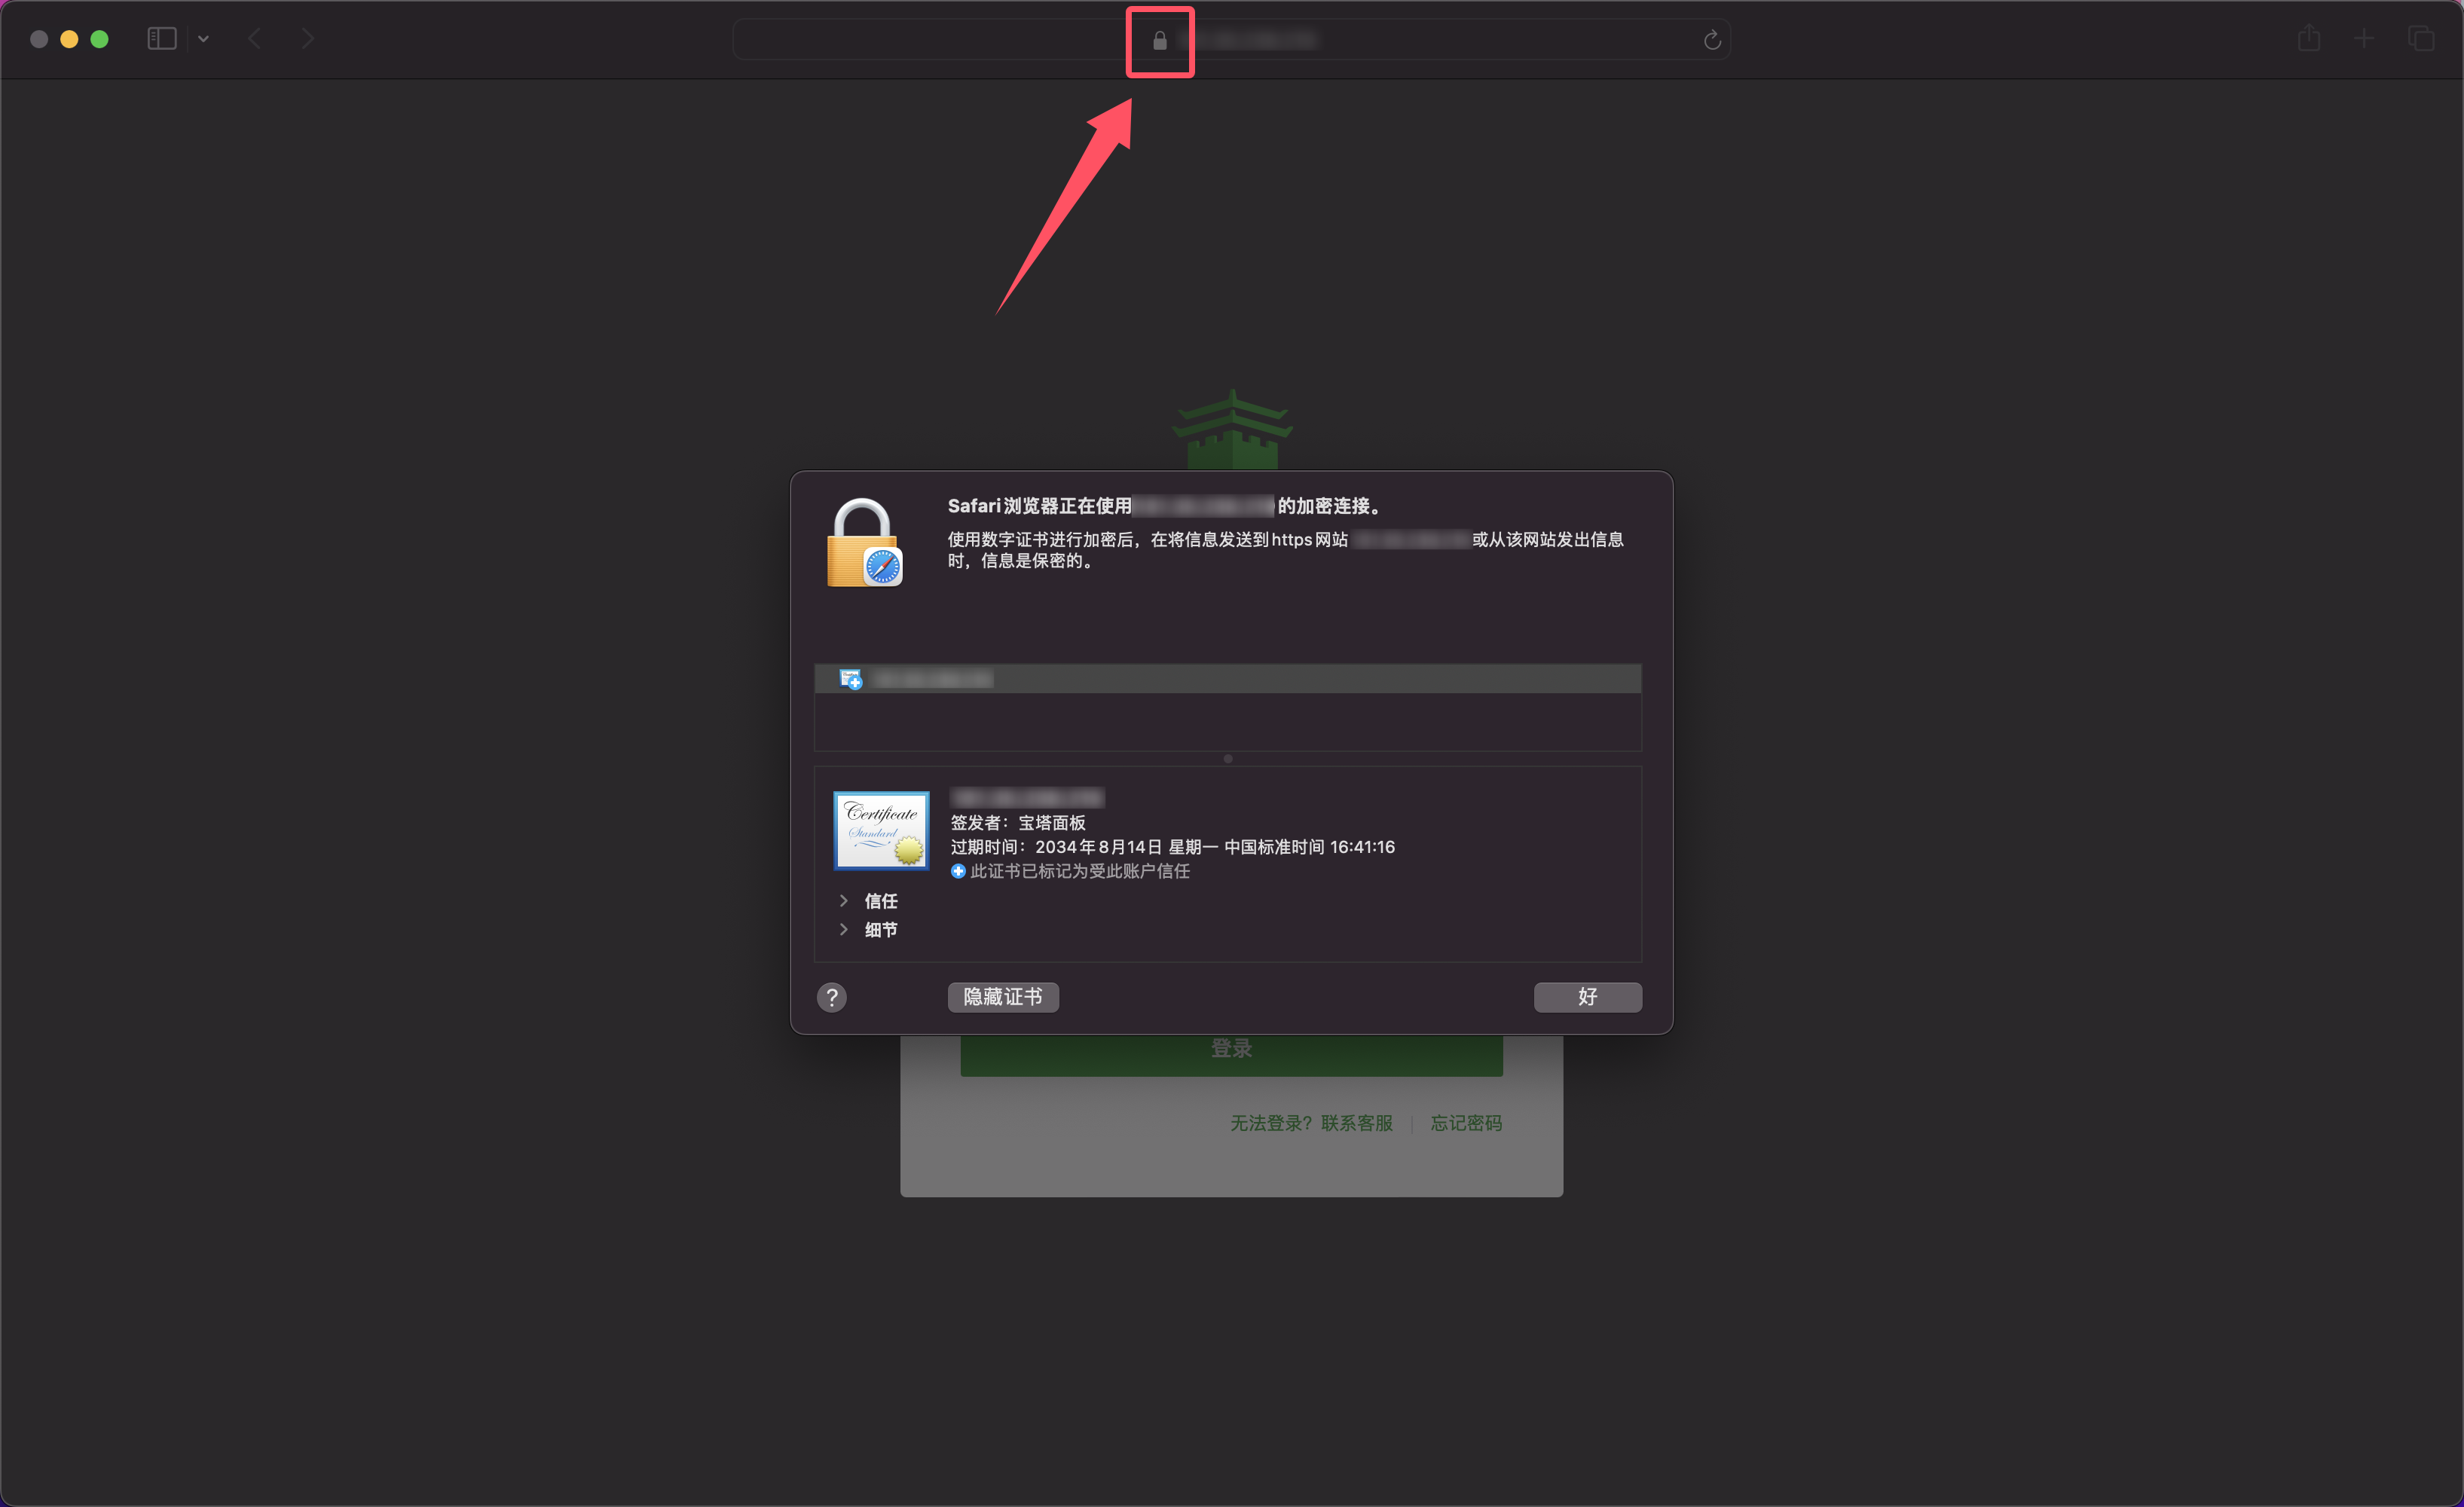
Finally, restart the browser. You will see that the SSL certificate for the Baota Panel is now in a normal state, and it will no longer indicate that the connection is unsafe.
Comments
(0)No comments yet. Start the conversation.