I wrote a pseudo-unboxing of the Xiaomi Notebook Pro during the Spring Festival (if you’re interested, take a look at my previous articles). At the end, I left myself a task to complete: a Hackintosh tutorial. In the end, it went nowhere. Later, because I started taking online classes and for other reasons, I never got around to writing this article.
Now, to cure my procrastination, I’ve decided that no matter how busy I am, I have to finish this tutorial and make it as beginner-friendly as possible, to help more people who want to try Hackintosh. So let’s get started.
Download the Tools
First, let’s go over what needs to be downloaded to install Hackintosh:
- macOS Catalina 10.15.4 (dmg image)
- Clover EFI (macOS bootloader)
- DiskGenius (partitioning tool)
- balenaEtcher (flashing tool)
The first item is the system image to be installed. Here we use the macOS Catalina 10.15.4 image created by 黑果小兵 (download address provided by @难忘情怀). Using Thunder is recommended, as the P2P speed is very fast.

The second item is Clover, the tool used to boot Hackintosh. Here we are still using the EFI created by 黑果小兵 (thanks to this expert for contributing to helping beginners get started with Hackintosh). The project address is https://github.com/daliansky/XiaoMi-Pro-Hackintosh. Due to domestic network issues, I downloaded it and uploaded it to OneDrive: click here to download.

The third item is the well-known disk partitioning tool. The latest version can be downloaded from the official website, www.diskgenius.cn, and can be used directly after extraction. I need it to partition the disk and modify the boot order.

The fourth item is a tool for writing a dmg image to a USB drive. Its official website is www.balena.io. Due to network issues, I have also provided a OneDrive download address: click here to download. Portable is the portable version; open it directly to use it without installation.

Create the Boot Drive
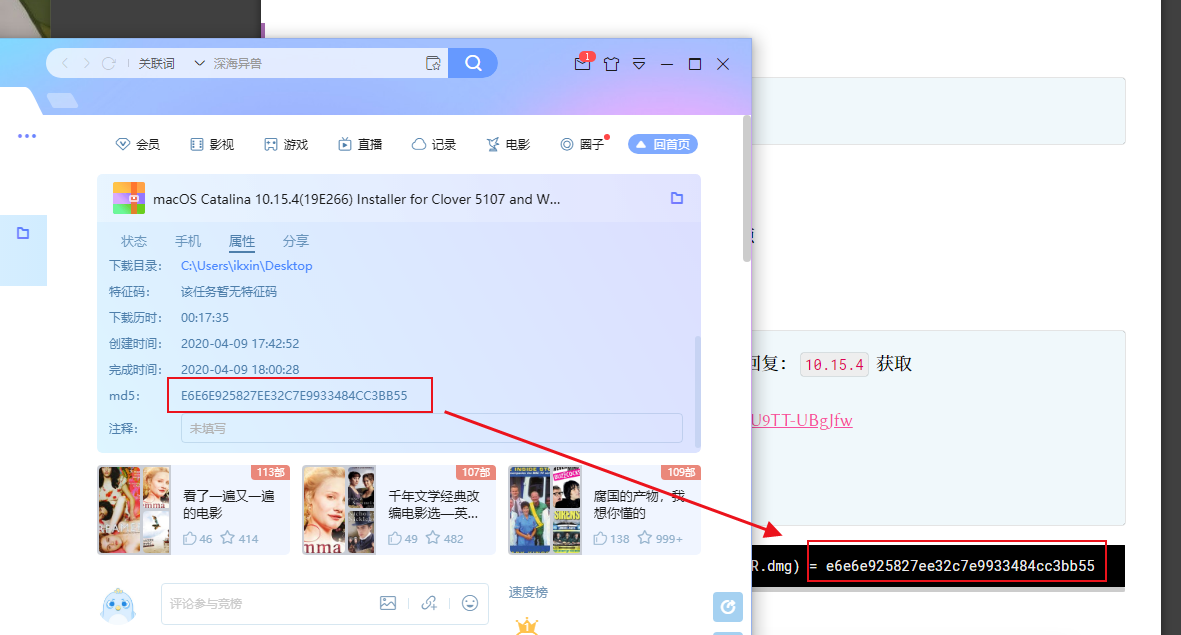
First, view the properties of the downloaded image in Thunder and compare its MD5 with the one provided by 黑果小兵. If they do not match, the image may have been corrupted during downloading, which will cause the system installation to fail. It is recommended that you download it again.
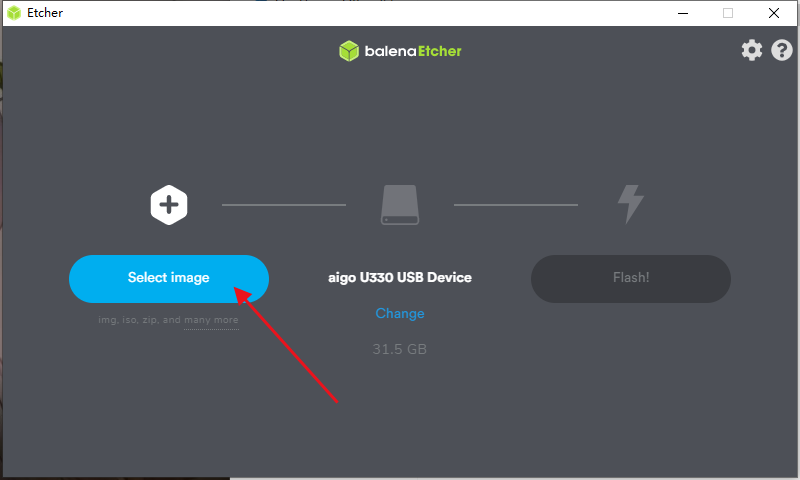
Then insert a USB drive with at least 16 GB of capacity. Note: the USB drive will be formatted and used as the system boot drive. If it contains important data, back it up first. Open balenaEtcher.
▼ Click Select image to select the image

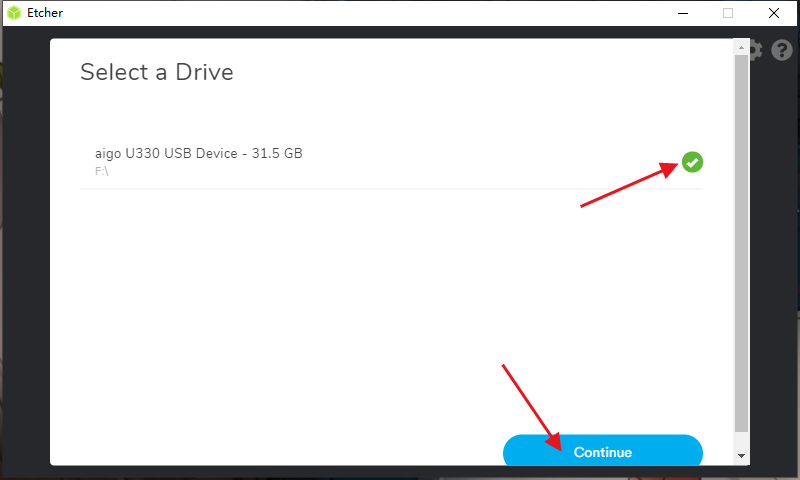
▼ Select the USB drive
▼ Click Flash to start writing the image
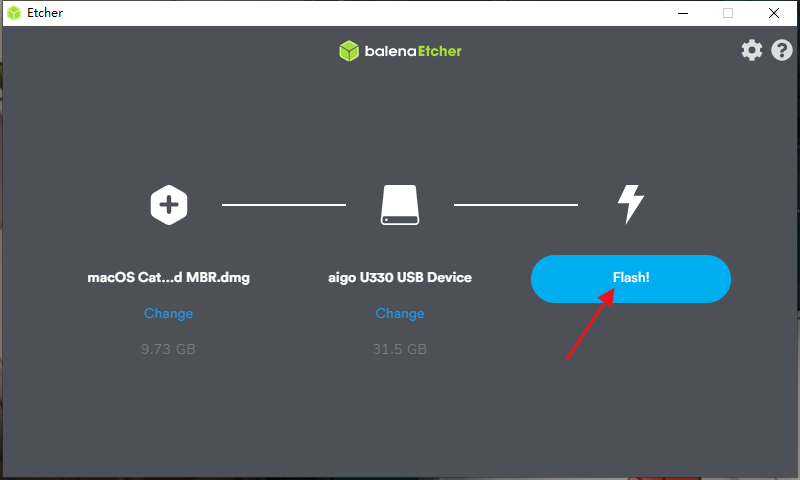
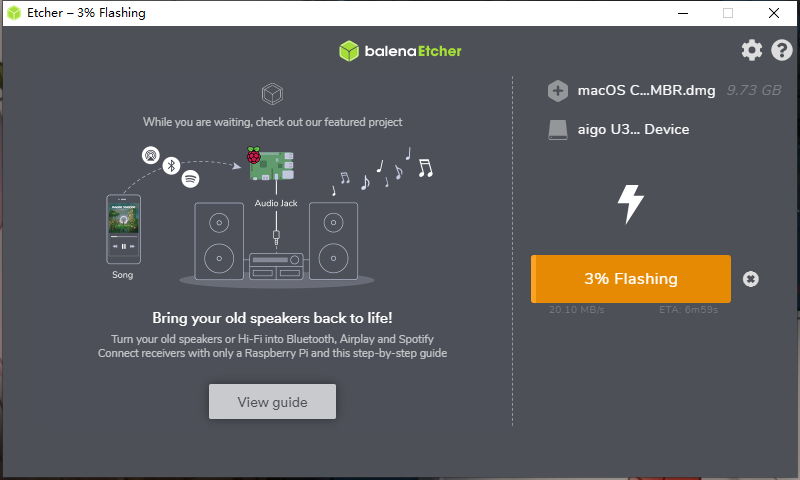
You need to wait about 15–20 minutes here. The exact time depends on the USB drive’s write speed, so go have a cup of coffee first.

▲ Because the USB drive being written uses the HFS+ format, Windows cannot recognize it. Once writing is complete, a prompt will appear asking you to format the disk. Do not click Format under any circumstances. Click Cancel, then close balenaEtcher to complete the boot drive creation.
Configure the Bootloader
First, the built-in drive in my Xiaomi Notebook Pro is a Samsung PM981. As everyone knows, the PM981 affects normal Hackintosh operation, so I purchased an Intel 760p 256 GB drive separately and installed it in the secondary-drive position. This article covers implementing a Windows + macOS dual-boot system: the PM981 is used for Windows 10, while the Intel 760p is used for macOS. To make it easier to manage Clover in macOS, I created the EFI partition on the Intel 760p. This way, Clover can still be operated normally even when the PM981 is disabled.
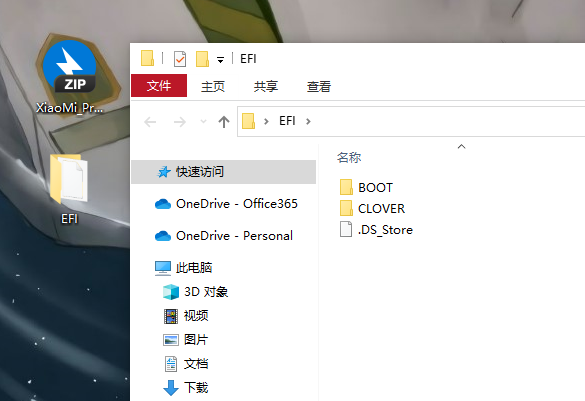
▼ Extract the EFI downloaded above
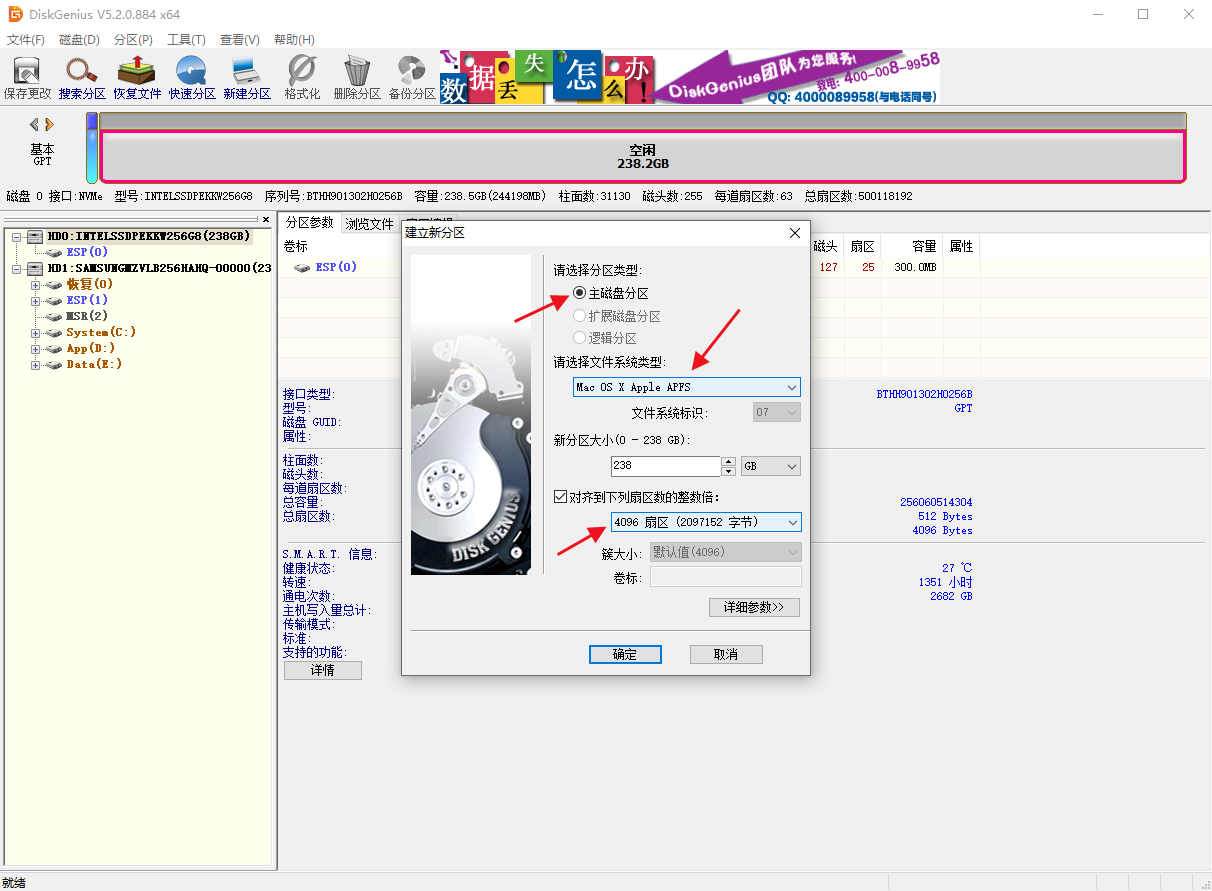
▼ Open DiskGenius, select the hard drive, create a new partition, and create an ESP partition (note that it must be larger than 200 MB; the default 300 MB is fine). Select 4K alignment and click OK.

▼ Create a new partition, select Primary Disk Partition, set the file system type to Mac OS X Apple APFS, select 4K alignment, and click OK.
▼ Save the changes

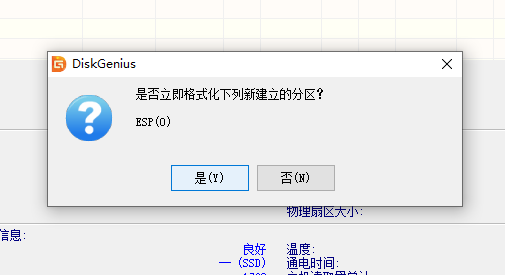
▼ Format the ESP partition
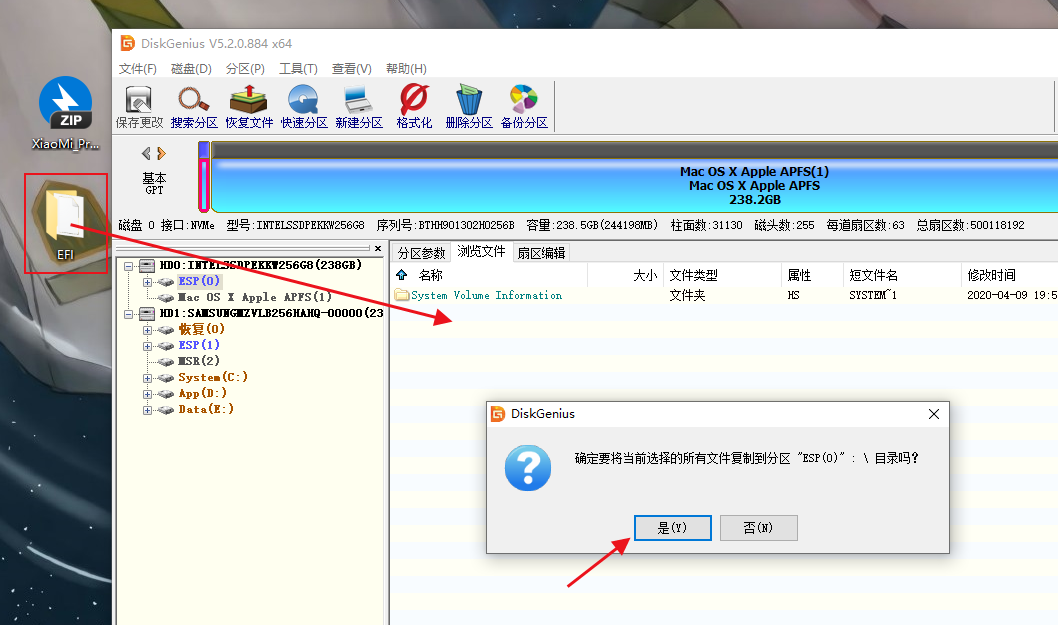
▼ Double-click the ESP partition to open the directory, then drag the EFI directory into it
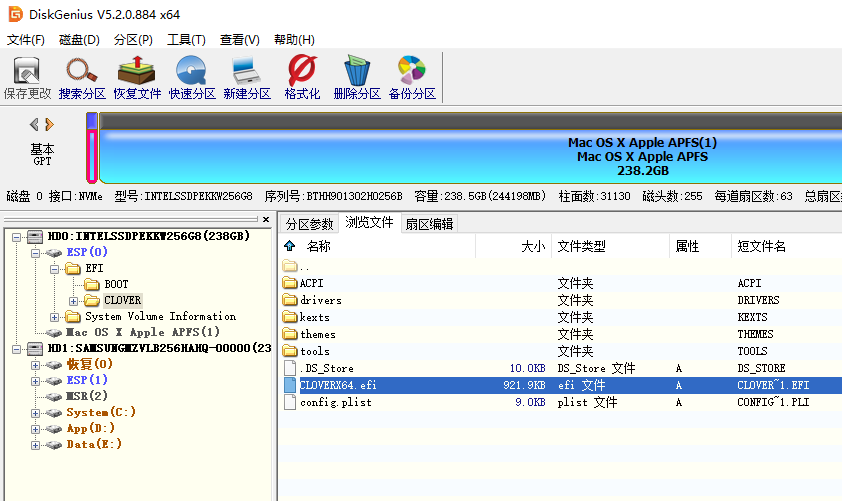
▼ Remember the path to this CLOVERX64.efi file
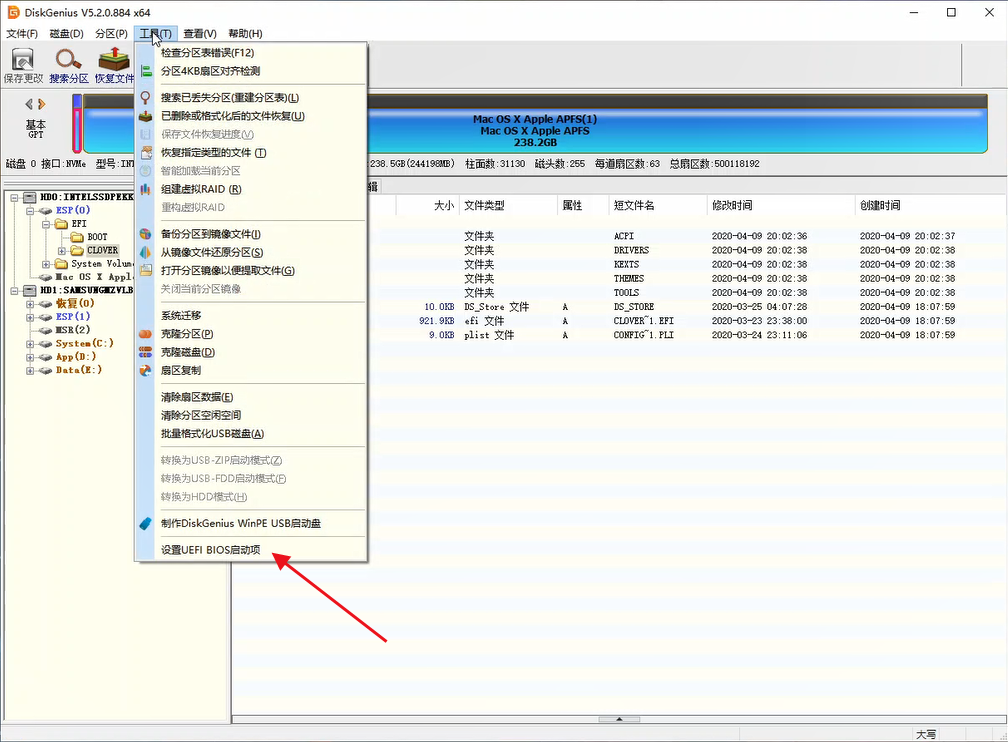
▼ Configure the UEFI BIOS boot entry
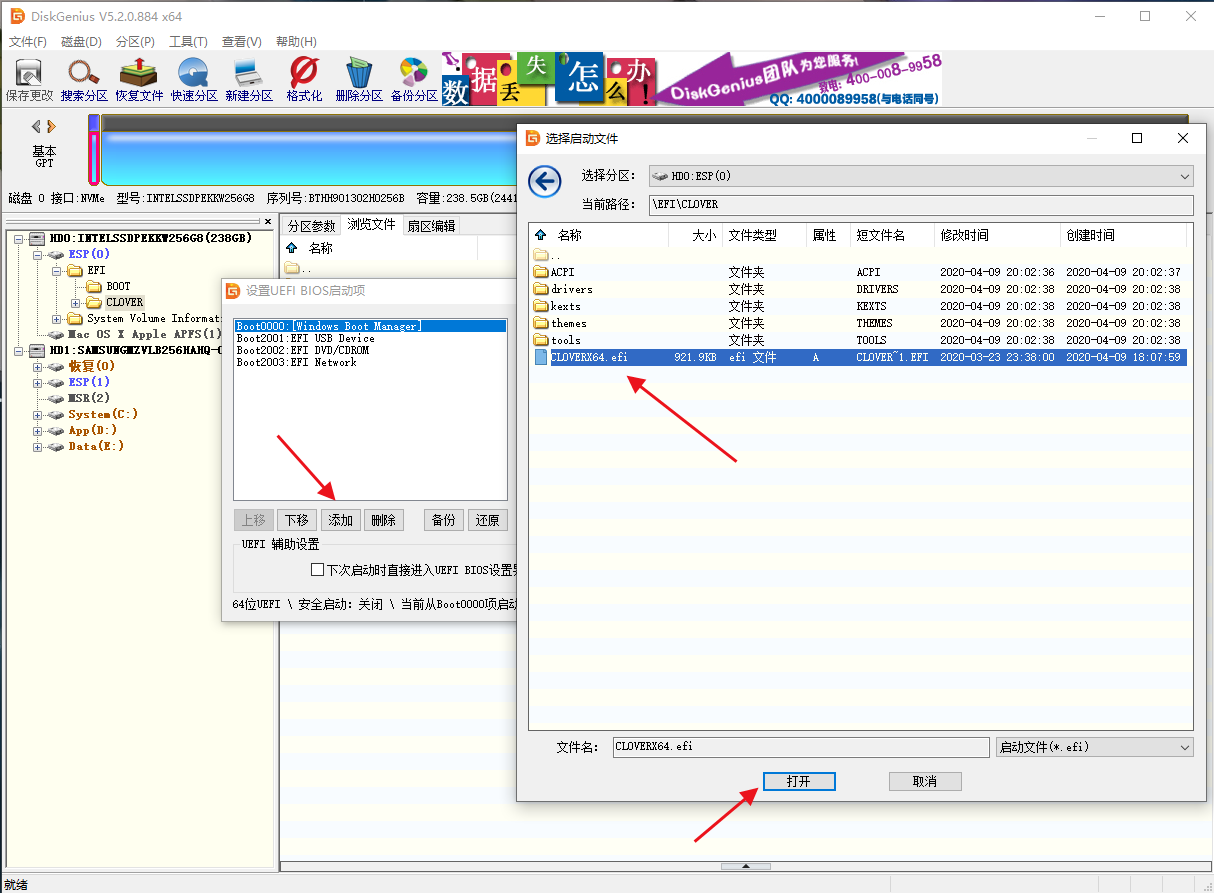
▼ Add a boot entry, locate the CLOVERX64.efi file, and open it
▼ Change the boot entry name to Clover (this step is optional), move the Clover boot entry to the first position, and save the current boot entry settings
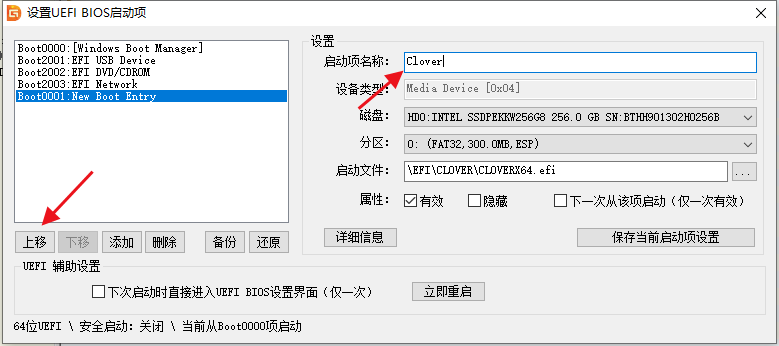

▼ Restart the computer
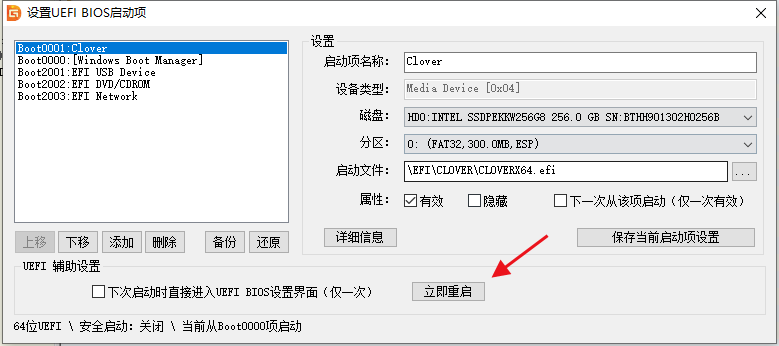
Unless something unexpected happens, the computer will still enter Windows 10 after restarting, so open DiskGenius again to check the boot entries.
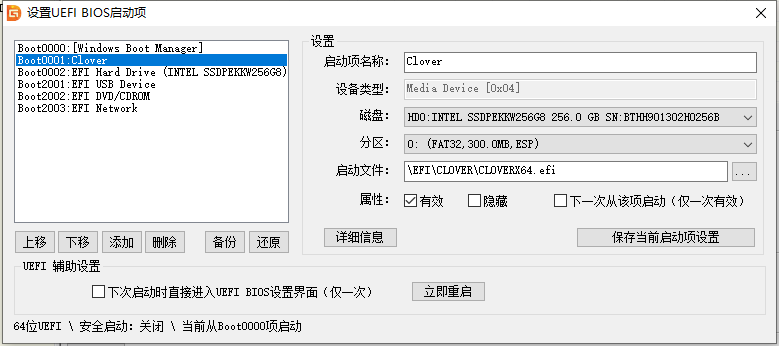
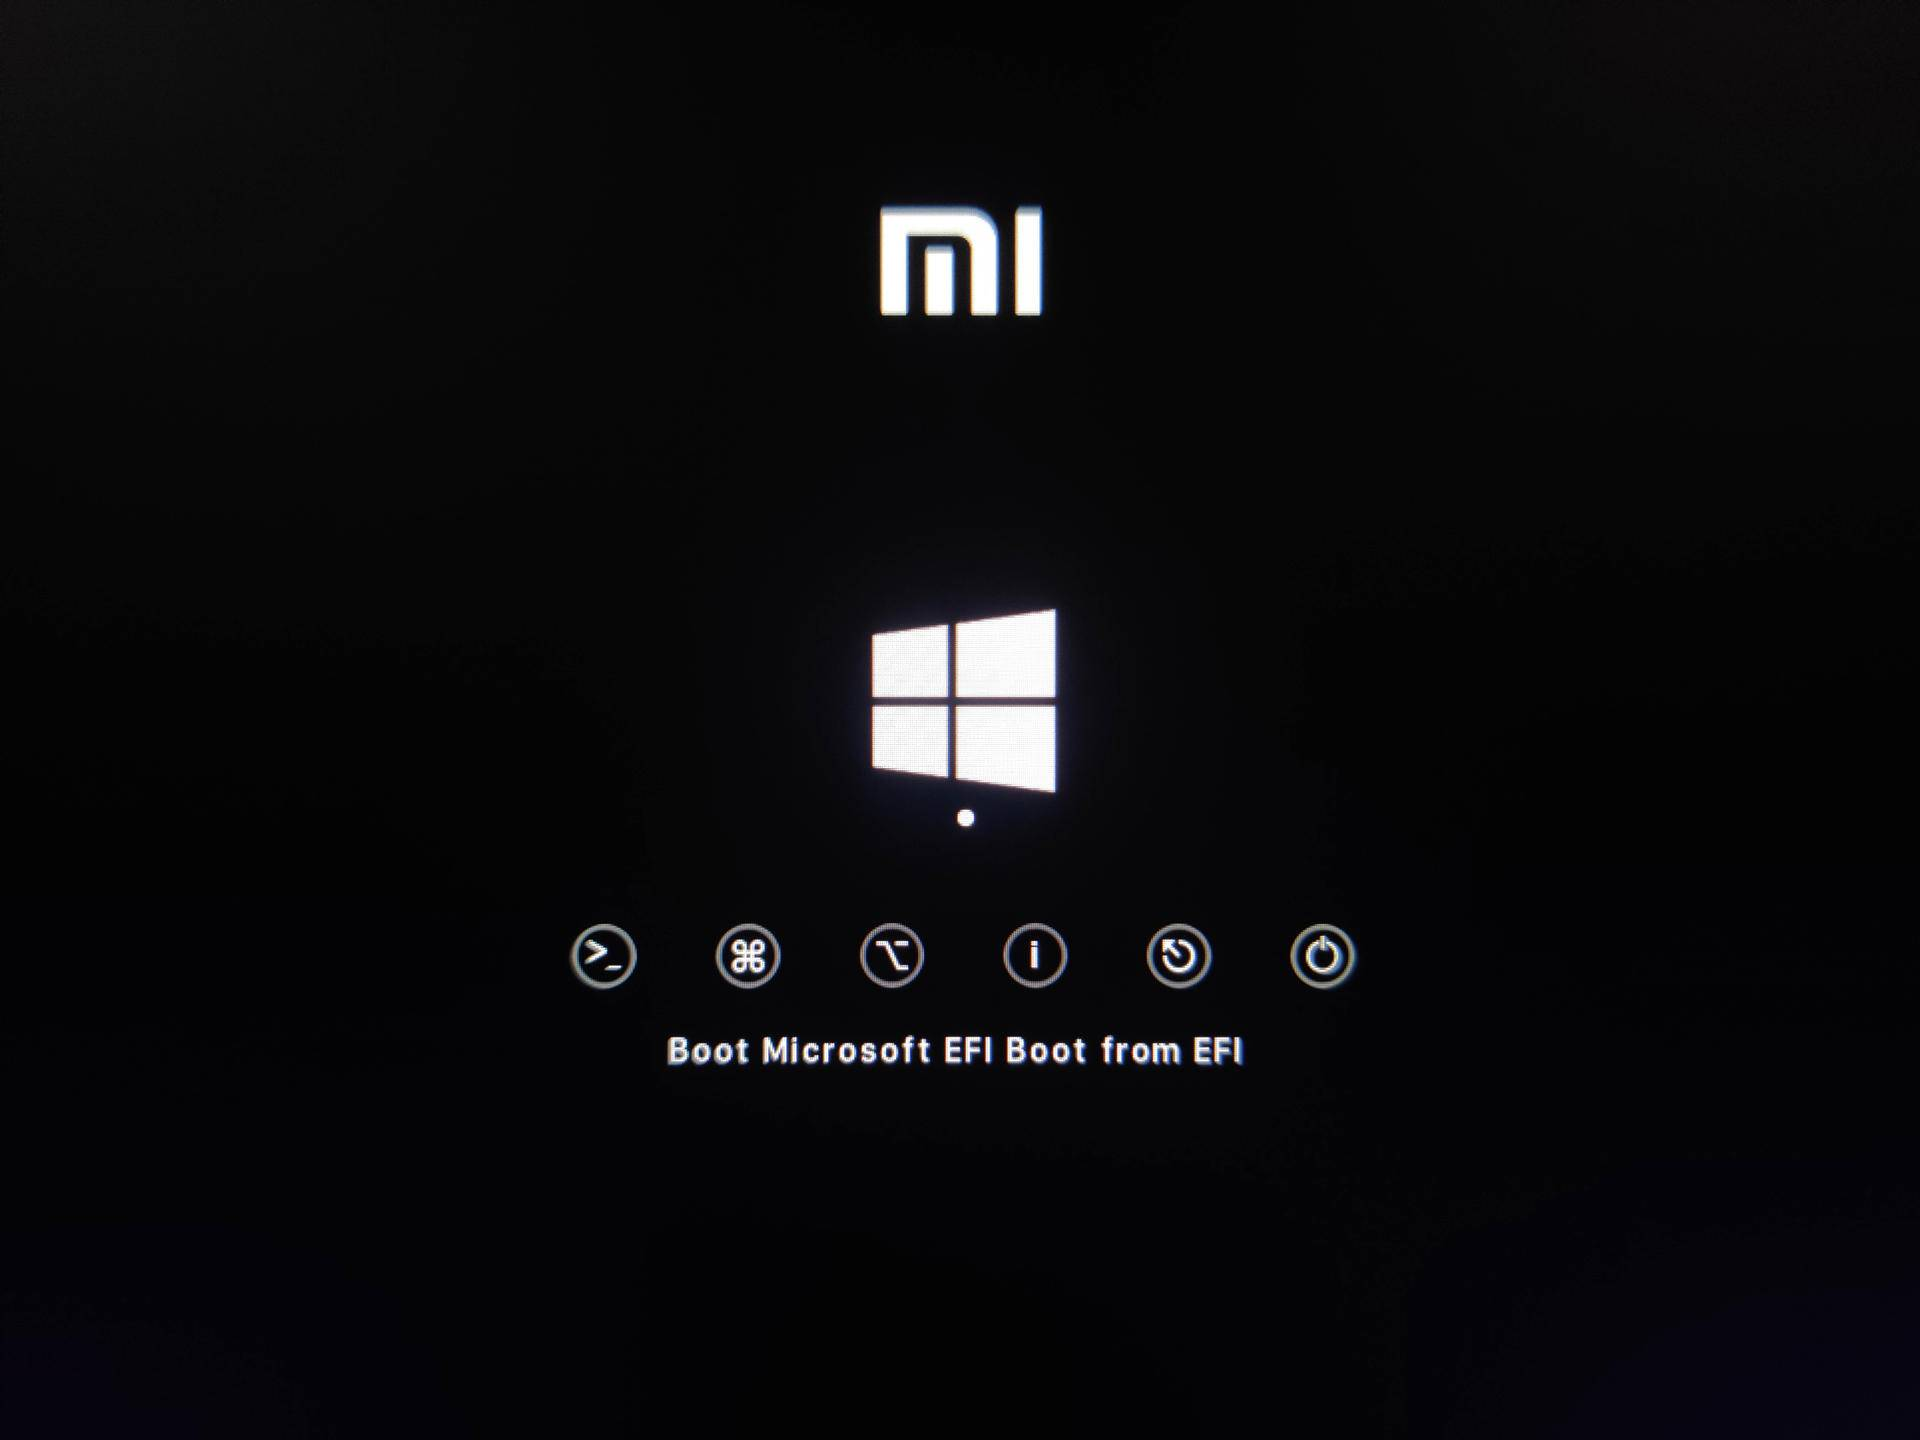
You can see that the Clover boot entry has moved to the second position, and a new EFI Hard Drive entry has appeared. Ignore that for now and move Clover back to the first position. Restart again. When you see the screen below, Clover has booted successfully. Note that you need to quickly press one of the left or right arrow keys here; otherwise, it will automatically enter Windows 10 after five seconds.
Install Hackintosh
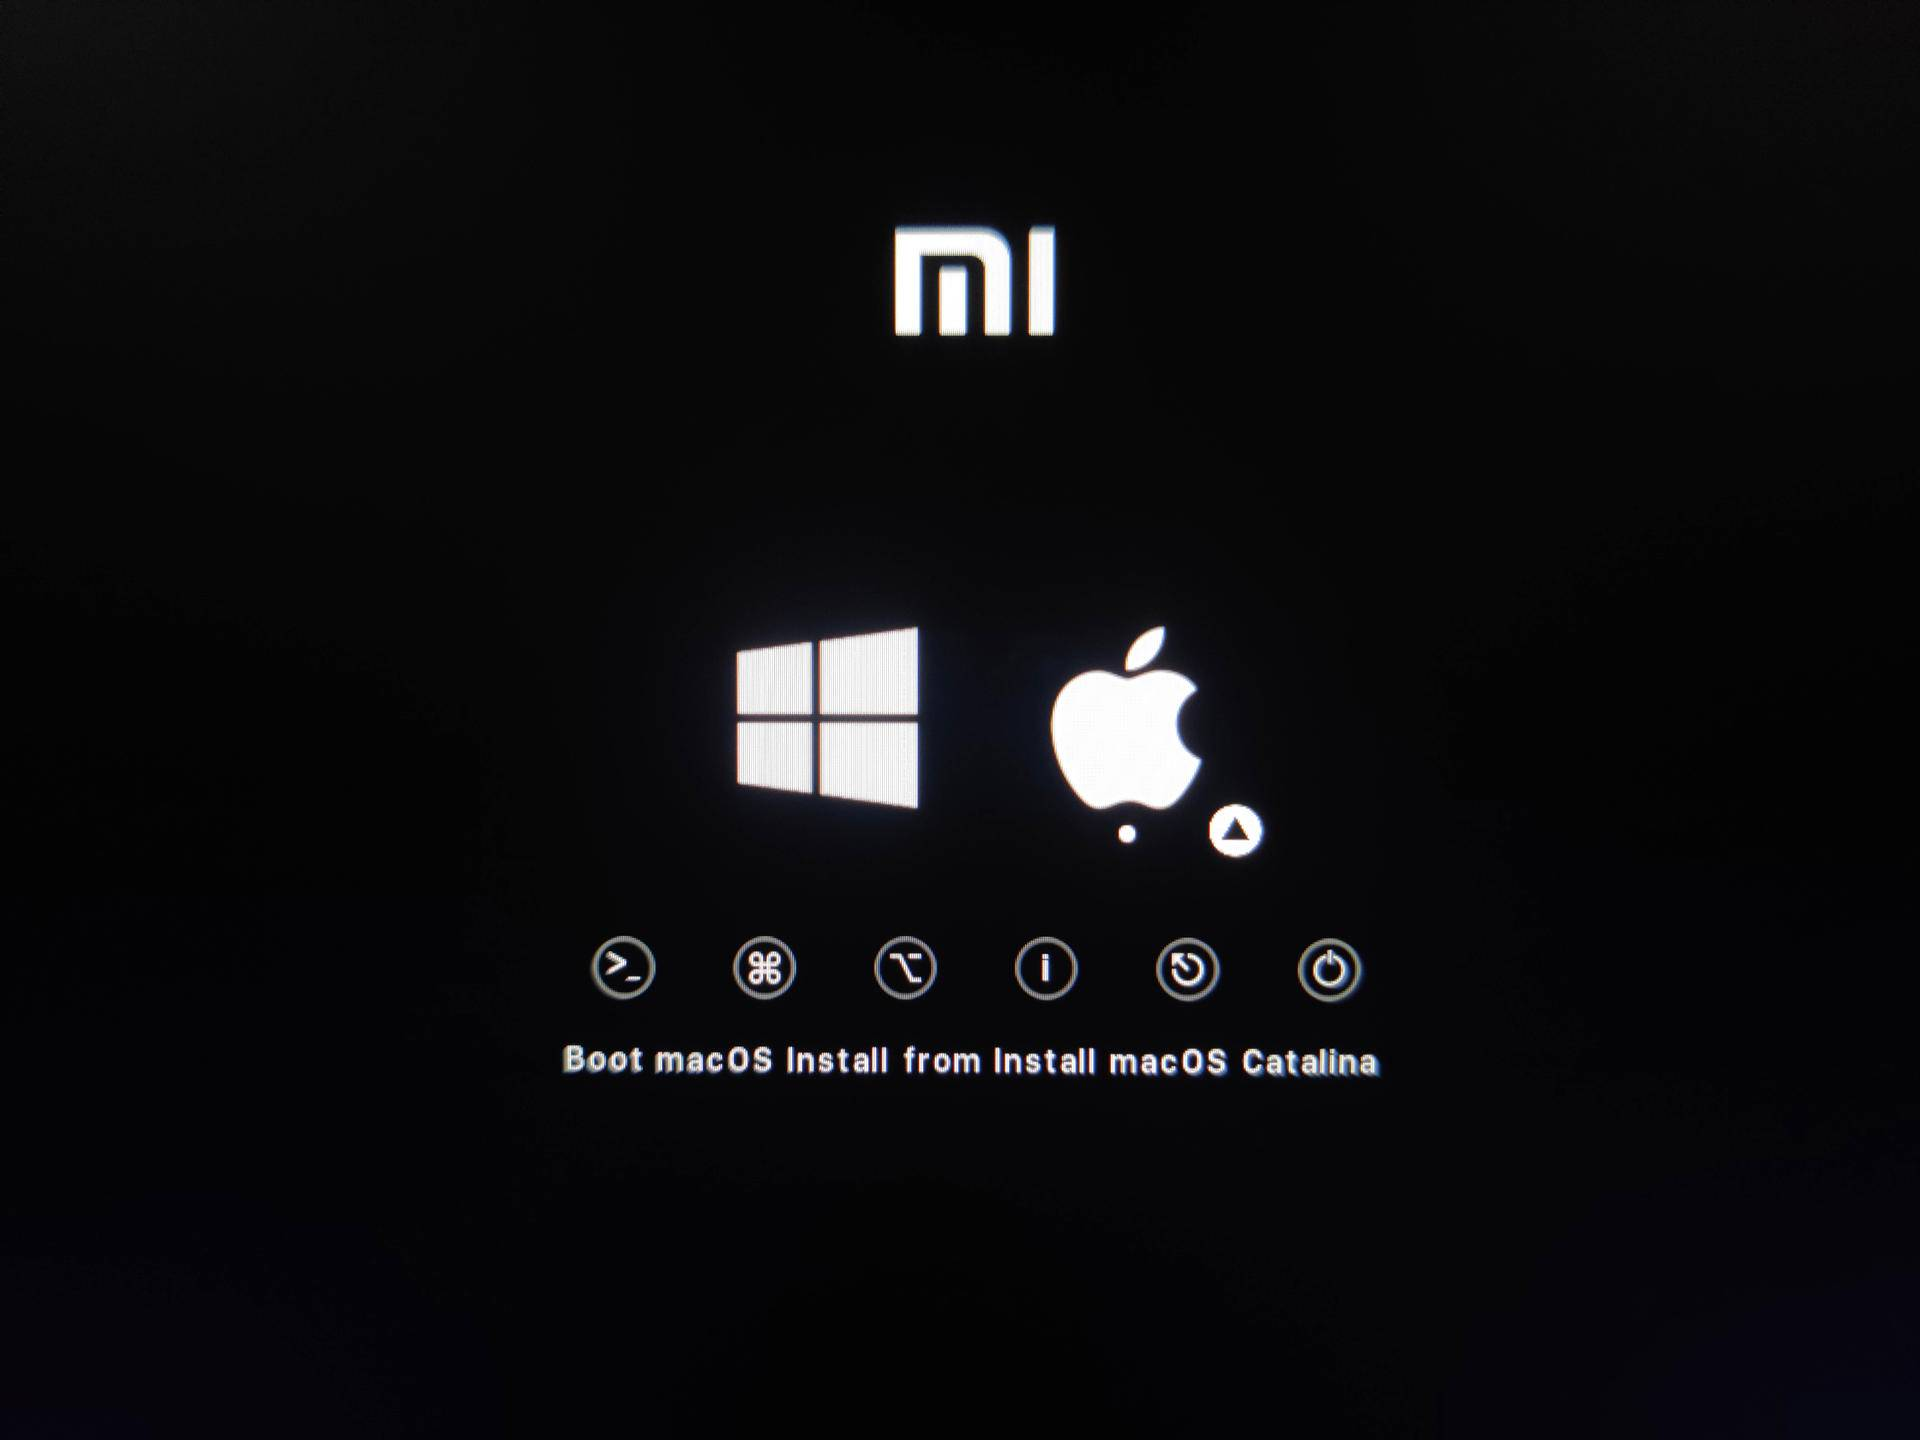
▼ Insert the boot drive; it will be detected automatically. Use the arrow keys to select the Apple icon and press Enter to enter.
▼ Enter macOS Utilities, select Disk Utility, and click Continue.

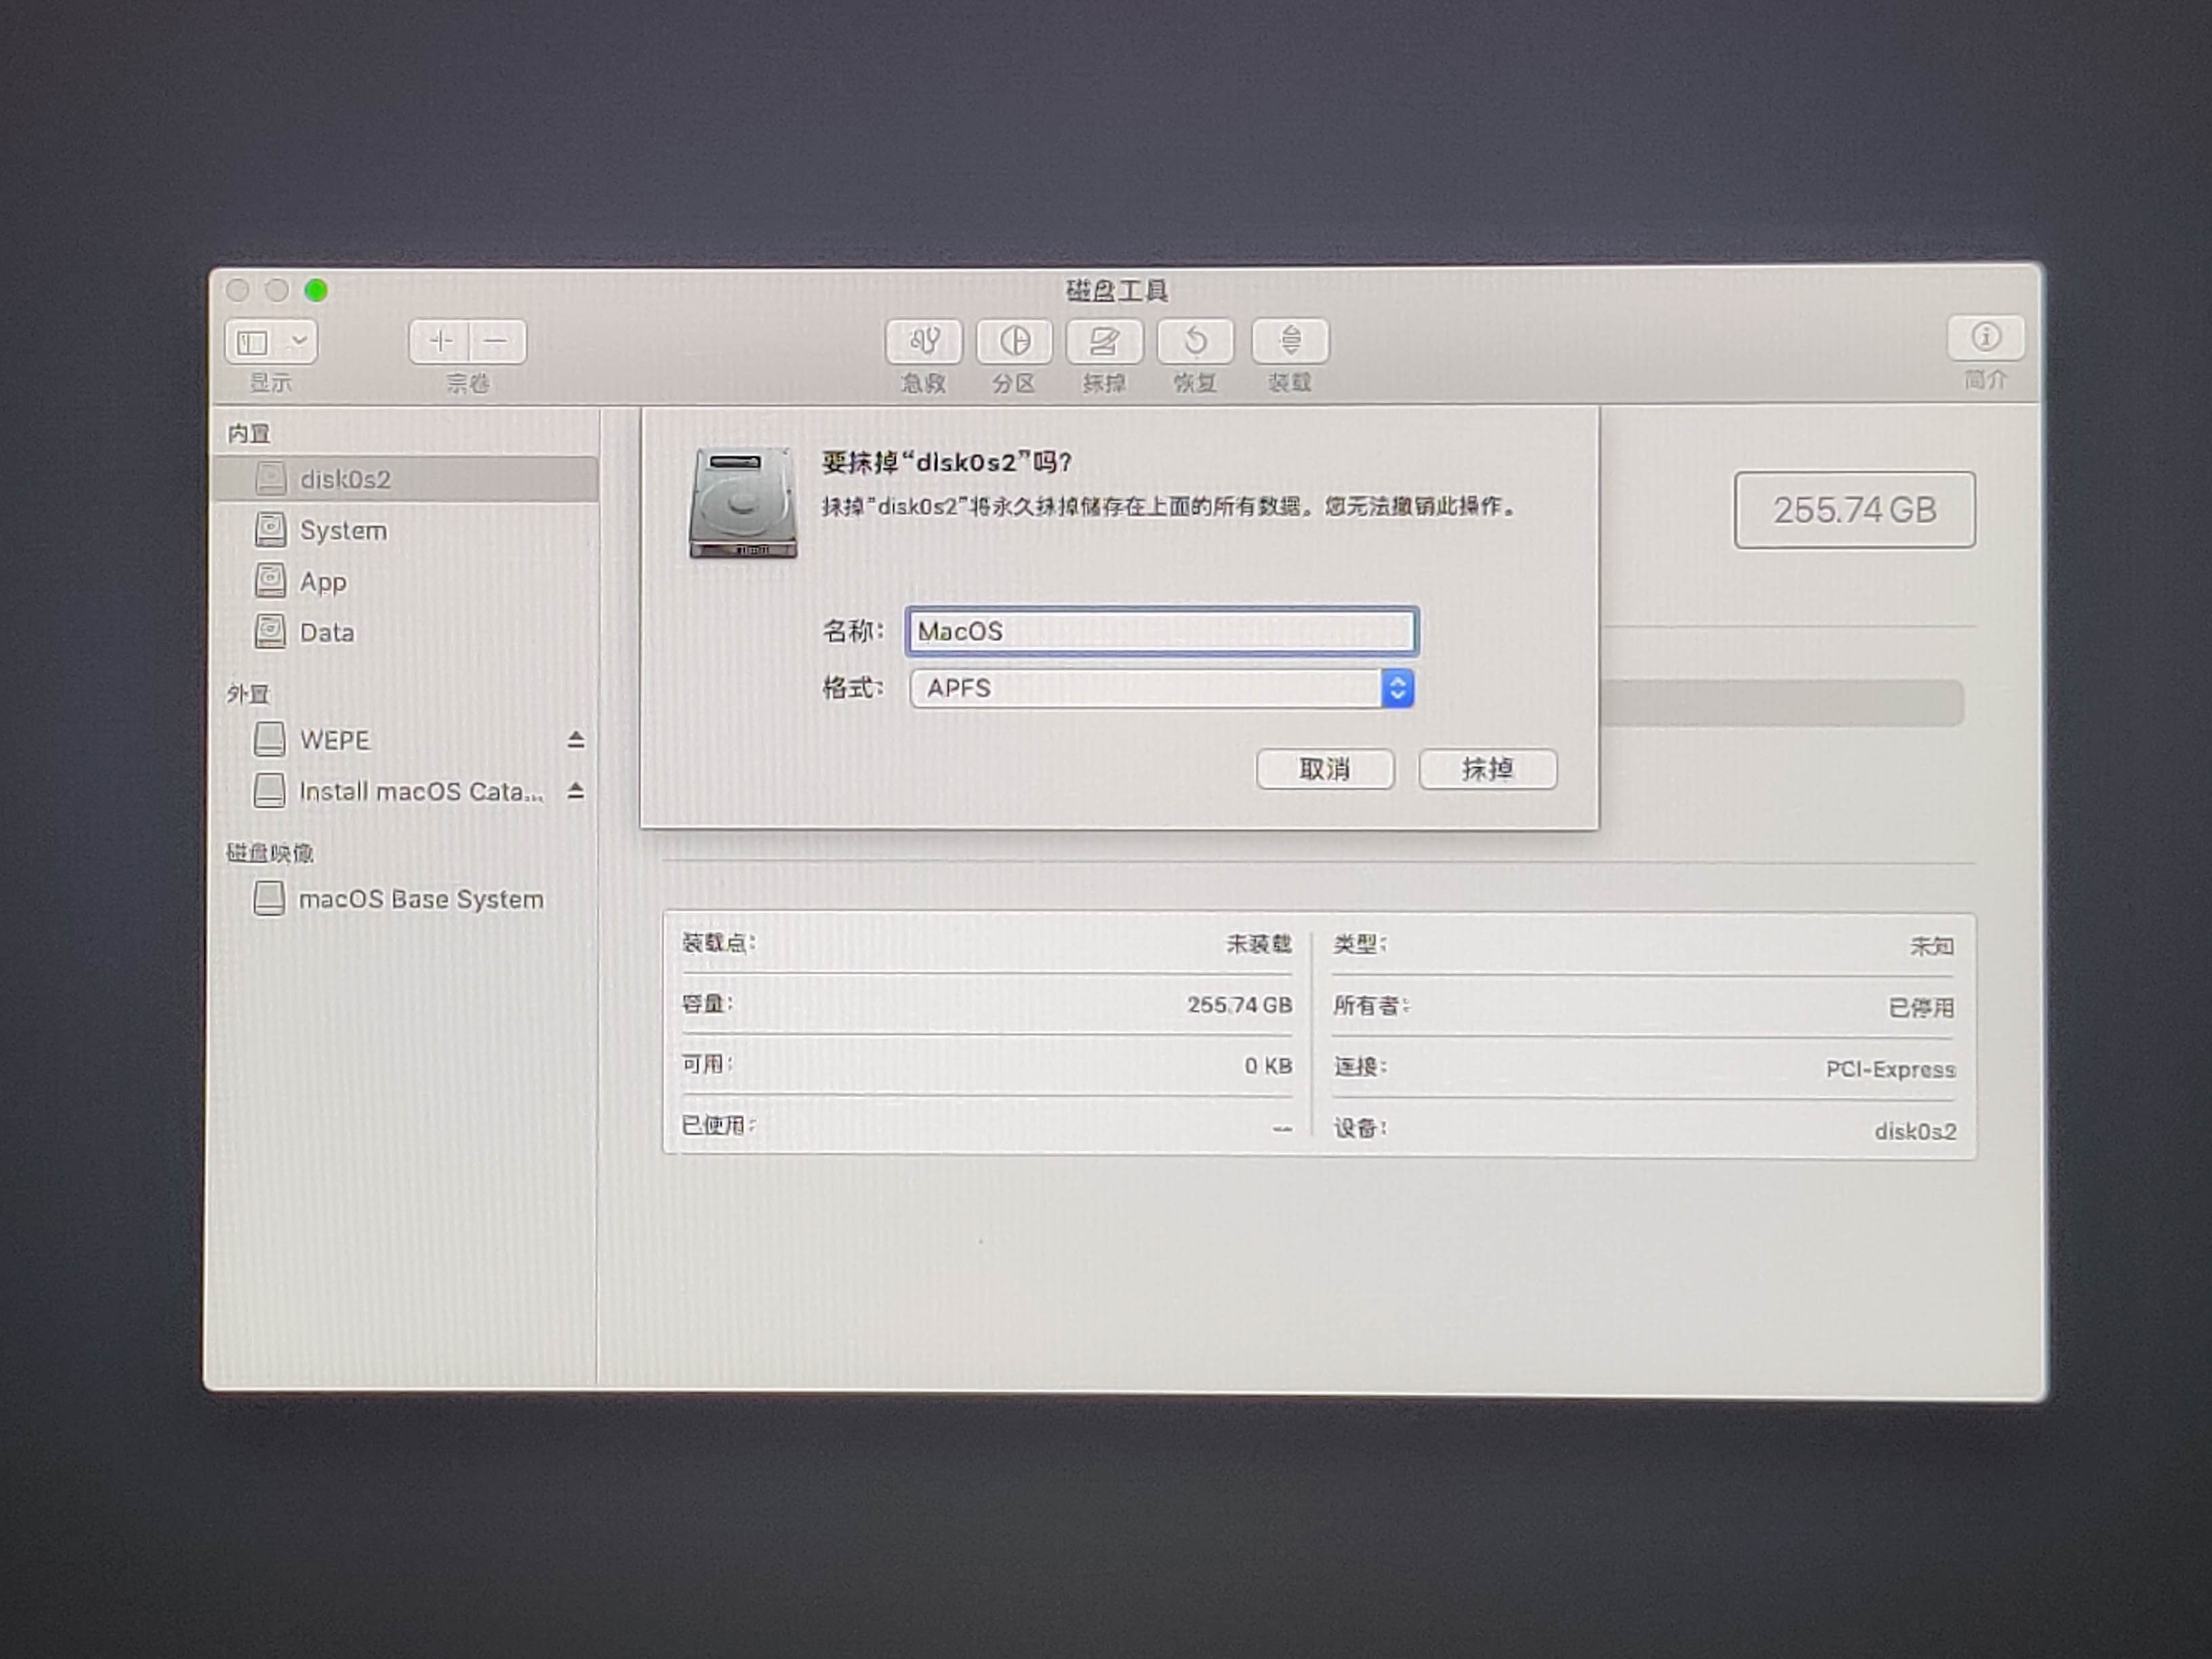
▼ In Disk Utility, you can see that disk0s2 is the APFS partition created earlier on the Intel 760p. Click Erase at the top.

▼ Enter a name, select APFS as the format, and click Erase.
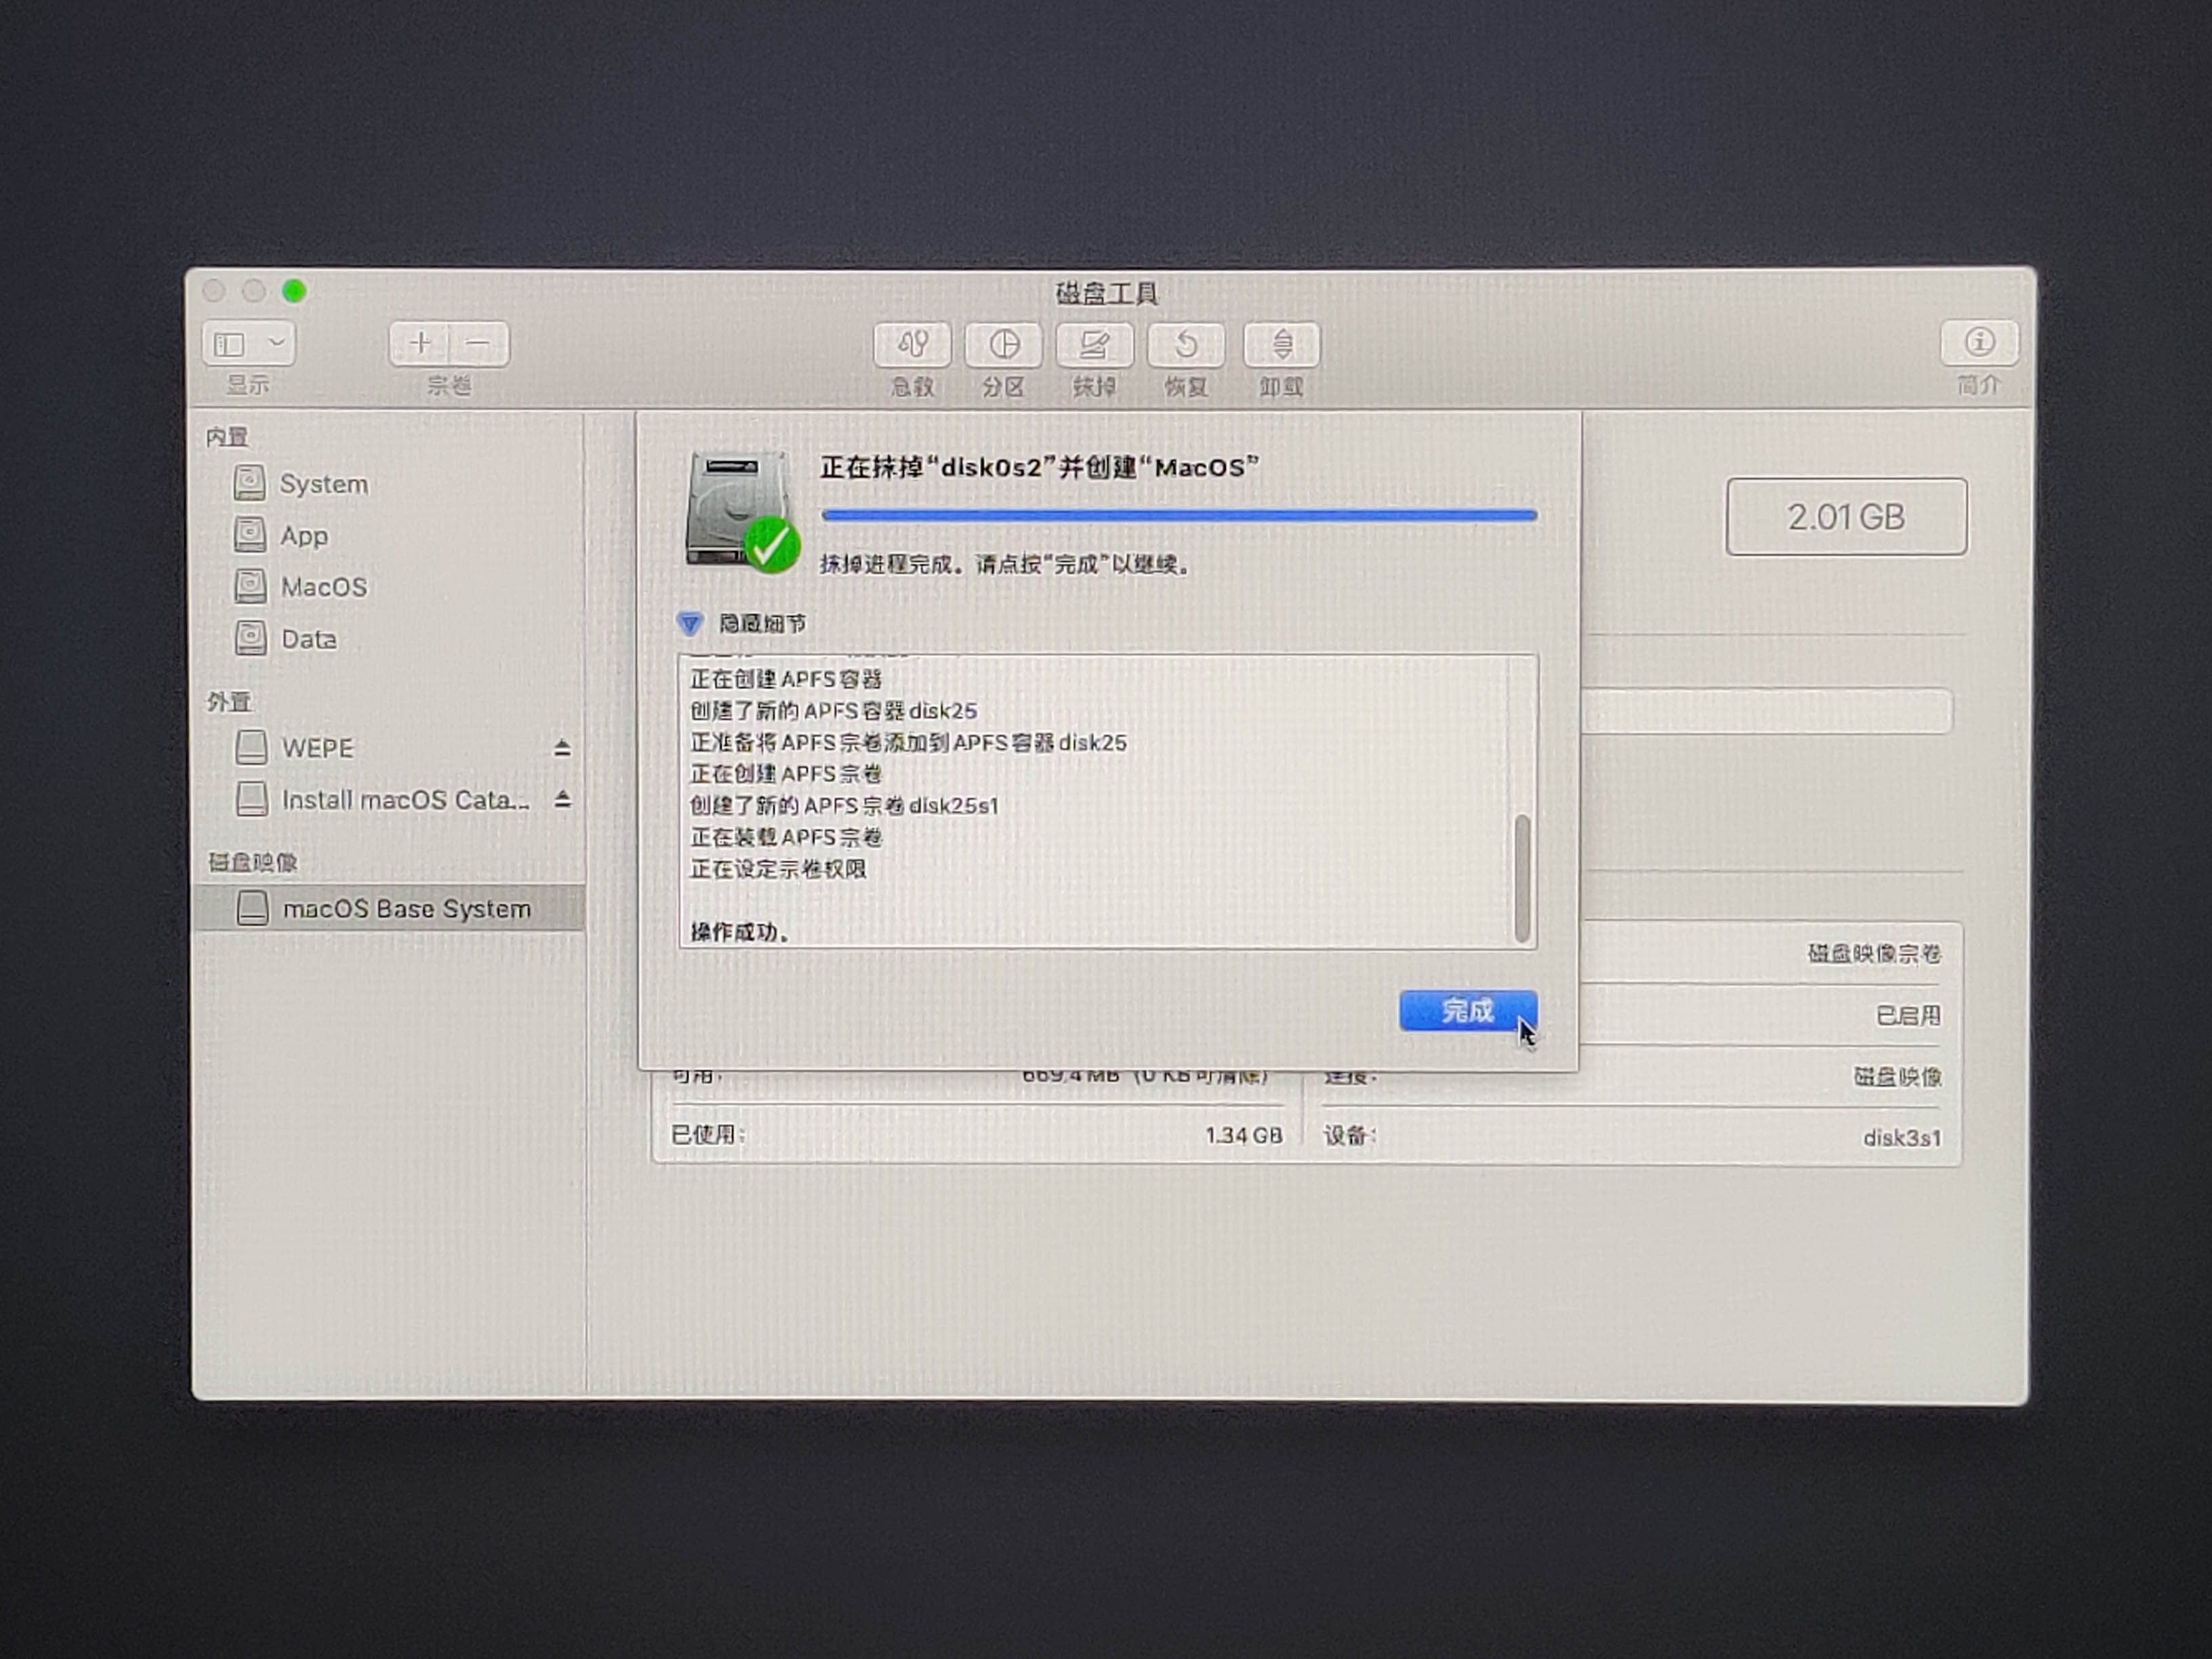
▼ After the operation succeeds, click Done and exit Disk Utility.
▼ Select Install macOS and click Continue.

▼ Click Continue.

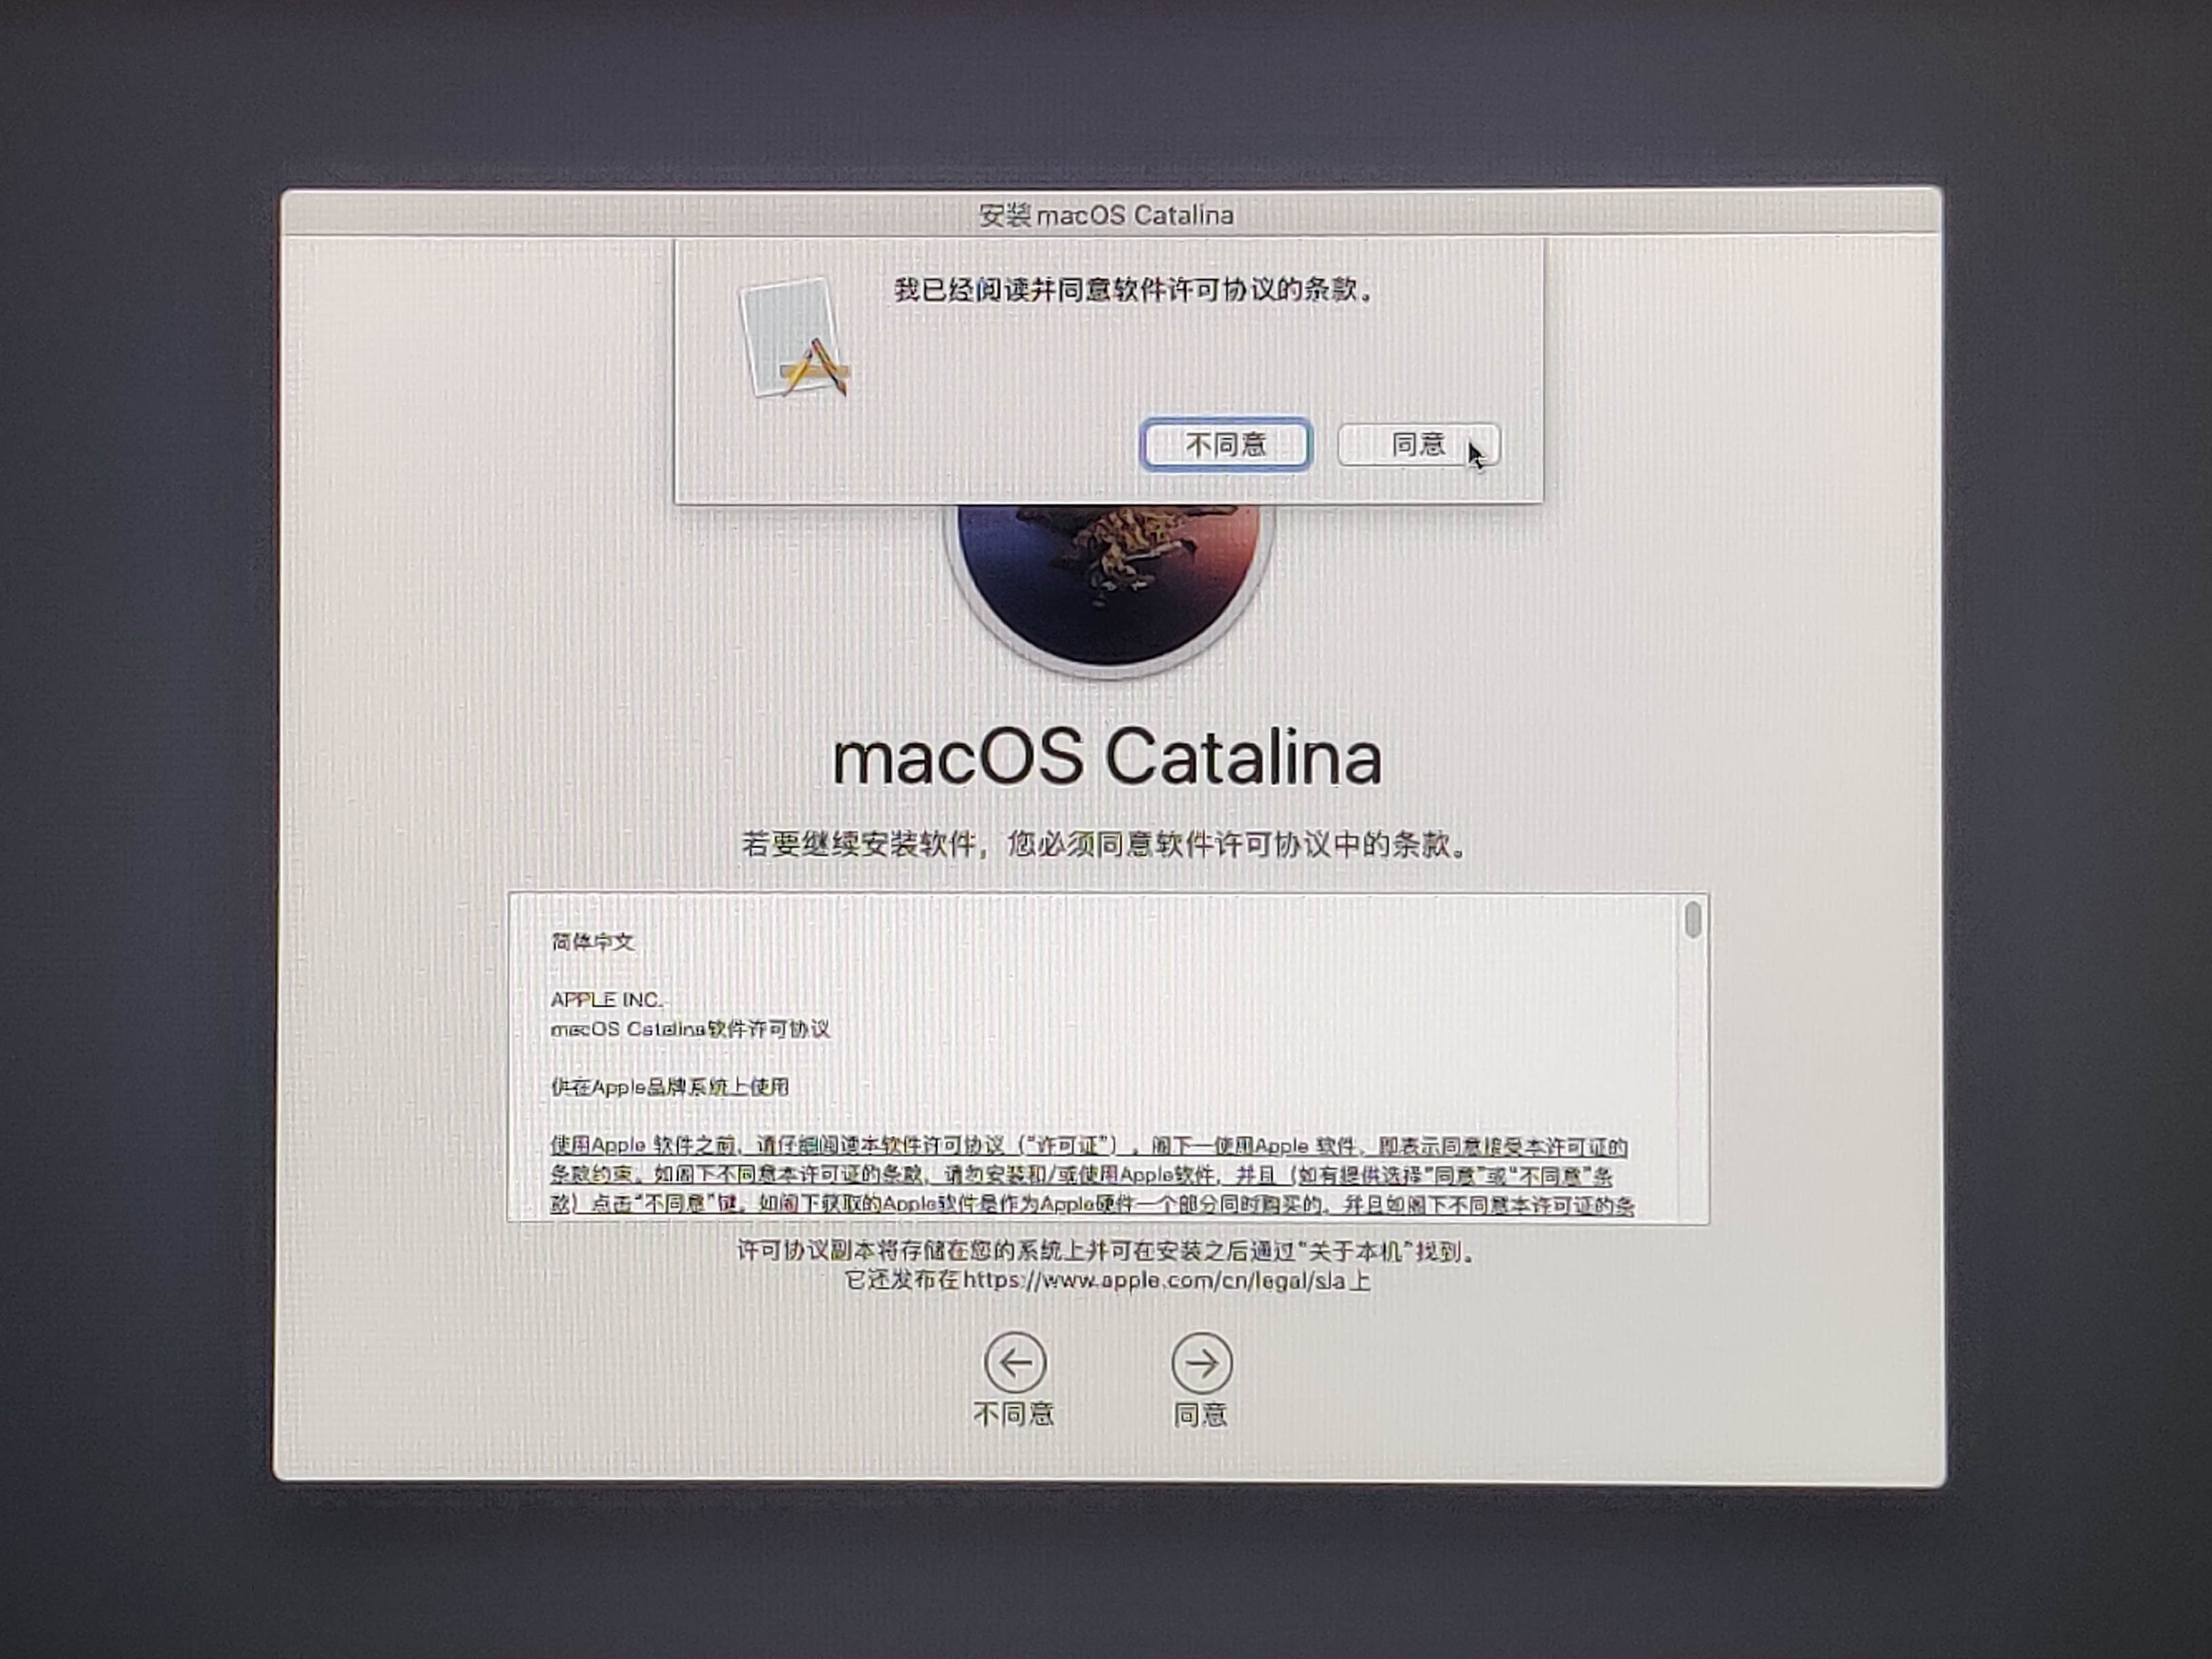
▼ Agree to the terms to enter the installation page.
▼ Select the partition you erased earlier, namely MacOS, and click Continue.

▼ Begin the installation. You need to wait a few minutes here, after which the computer will restart automatically.
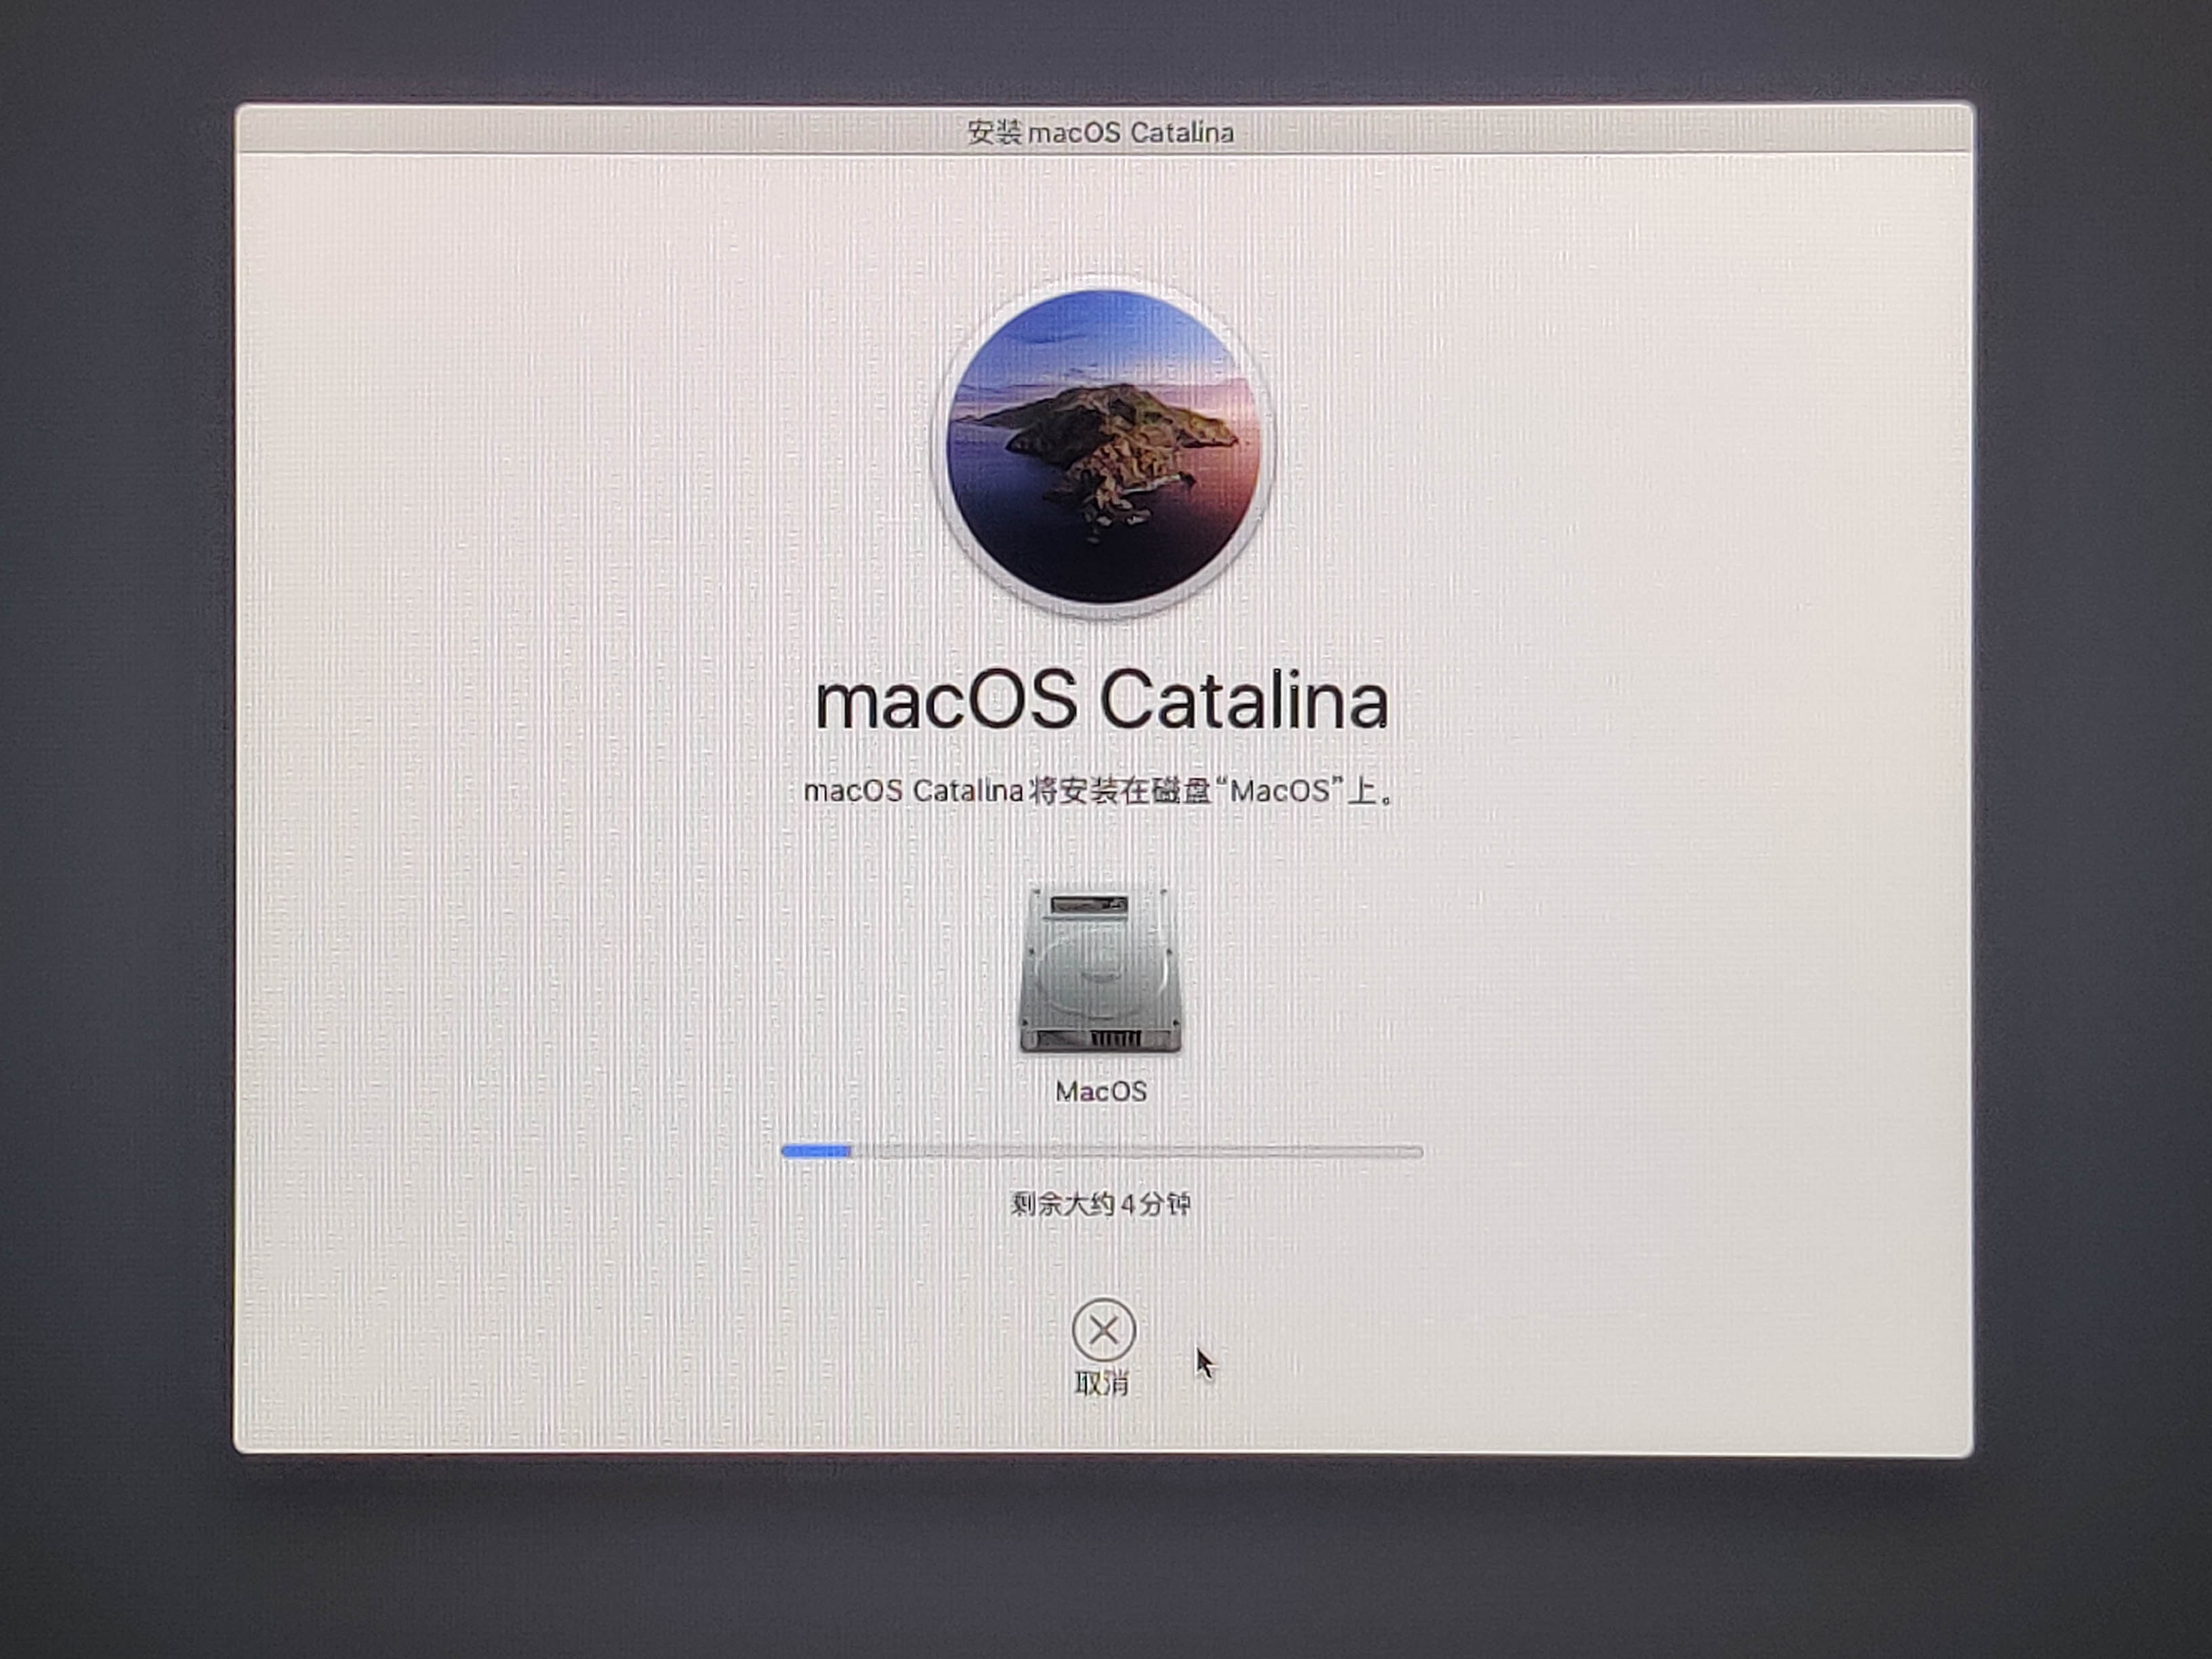
▼ After restarting automatically, the computer will enter Clover. There are three boot-entry icons here; select the third one, Boot macOS Install from MacOS, to enter.

After entering, it will automatically restart into Windows 10 once. Manually restart into Clover, then select the third boot entry again.
▼ The progress bar will then begin. This takes more than ten minutes, so you can go have another cup of coffee.
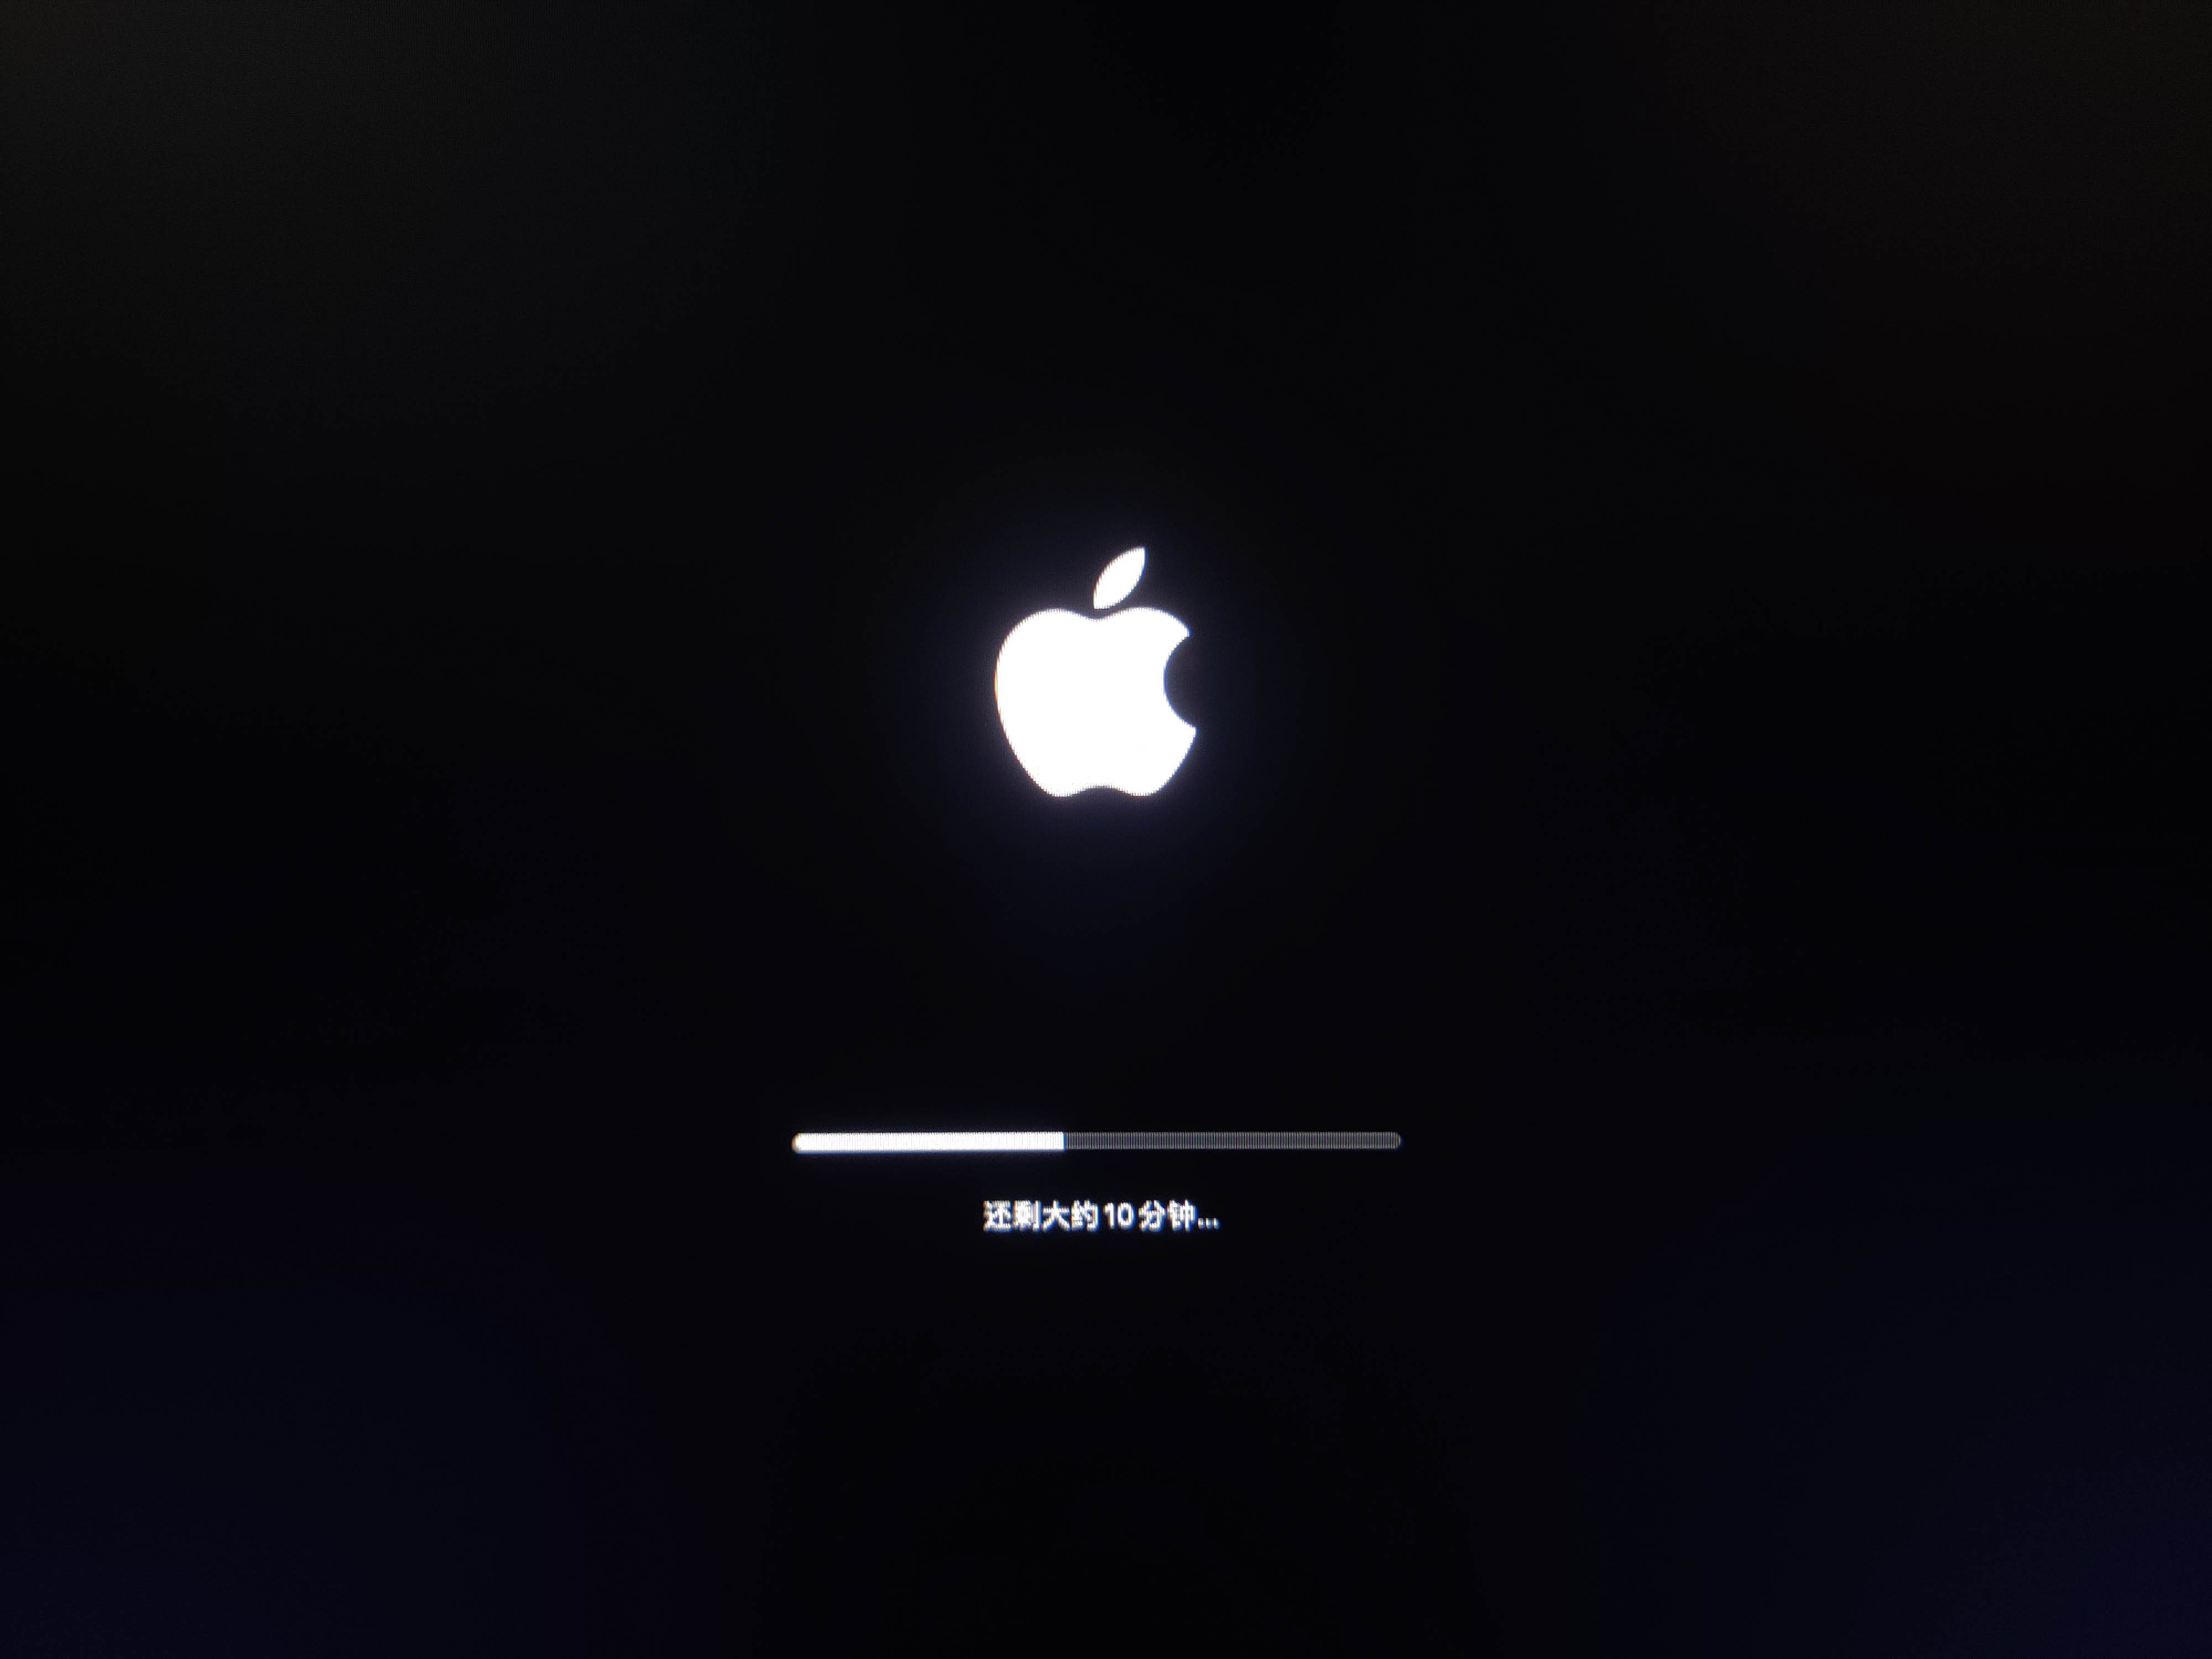
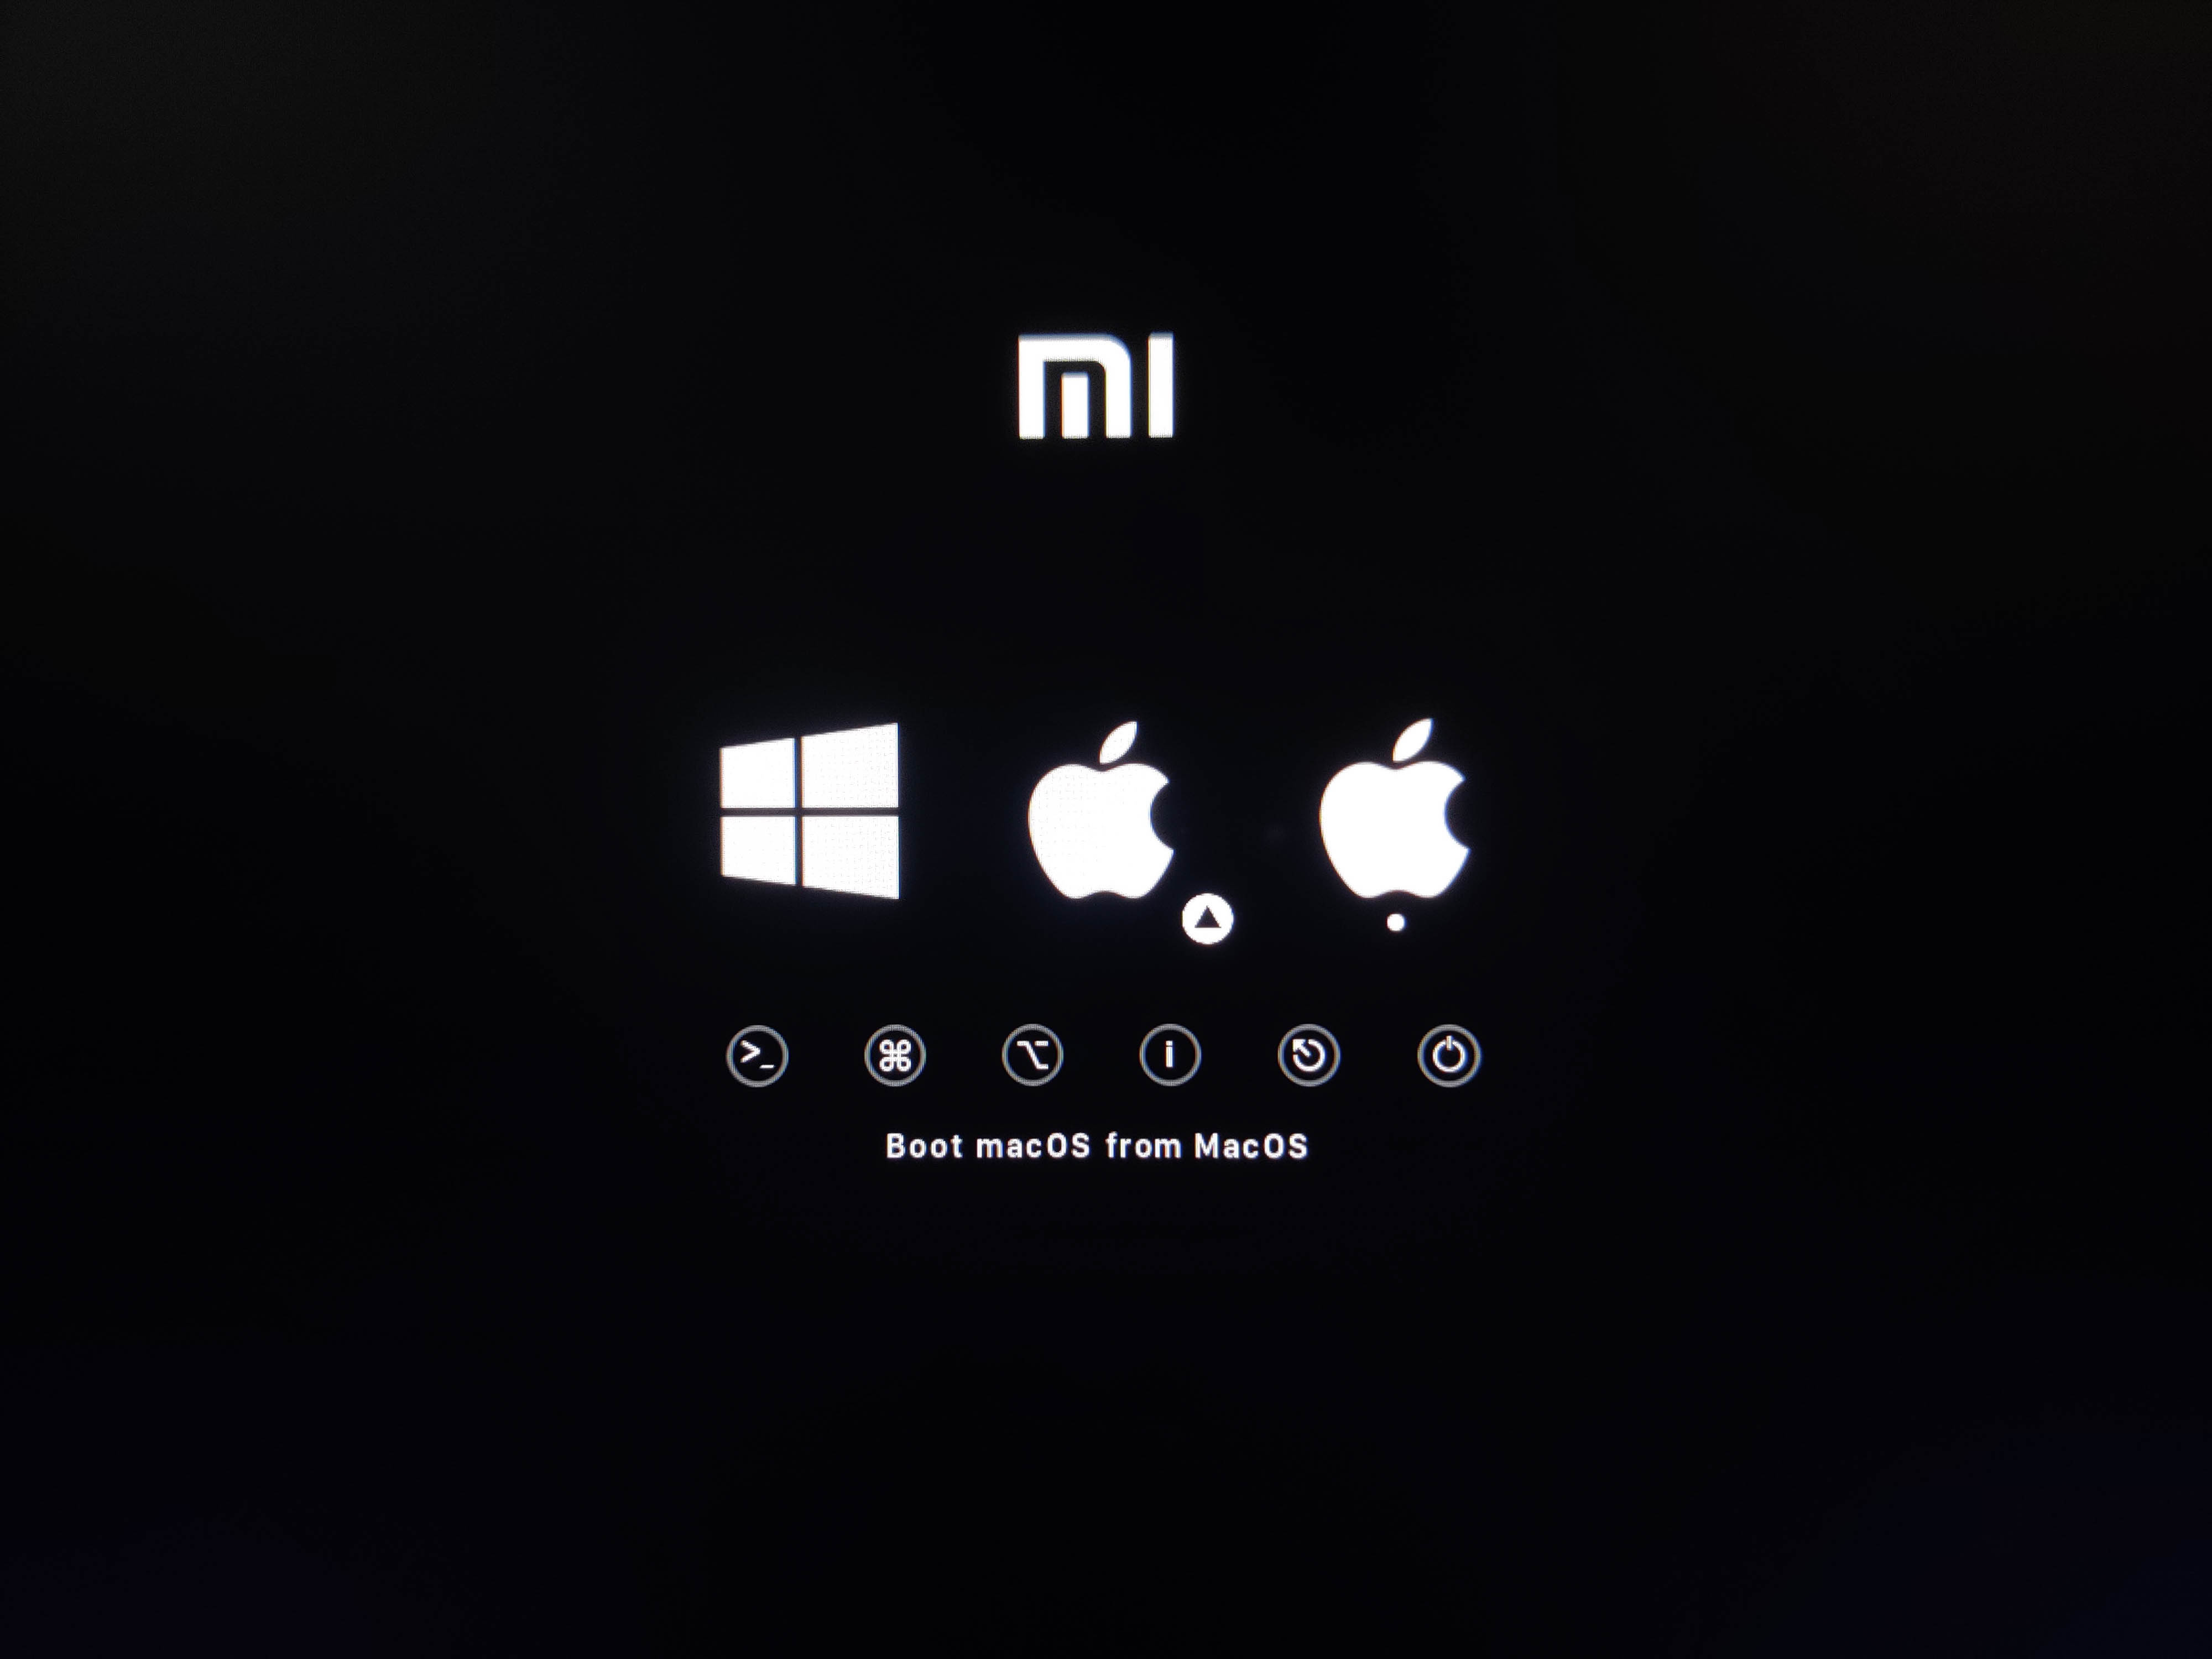
▼ After the progress bar finishes, the computer will automatically restart into Clover again. At this point, you can see that the third boot entry has changed from Boot macOS Install from MacOS to Boot macOS from MacOS. Select it and press Enter to enter.
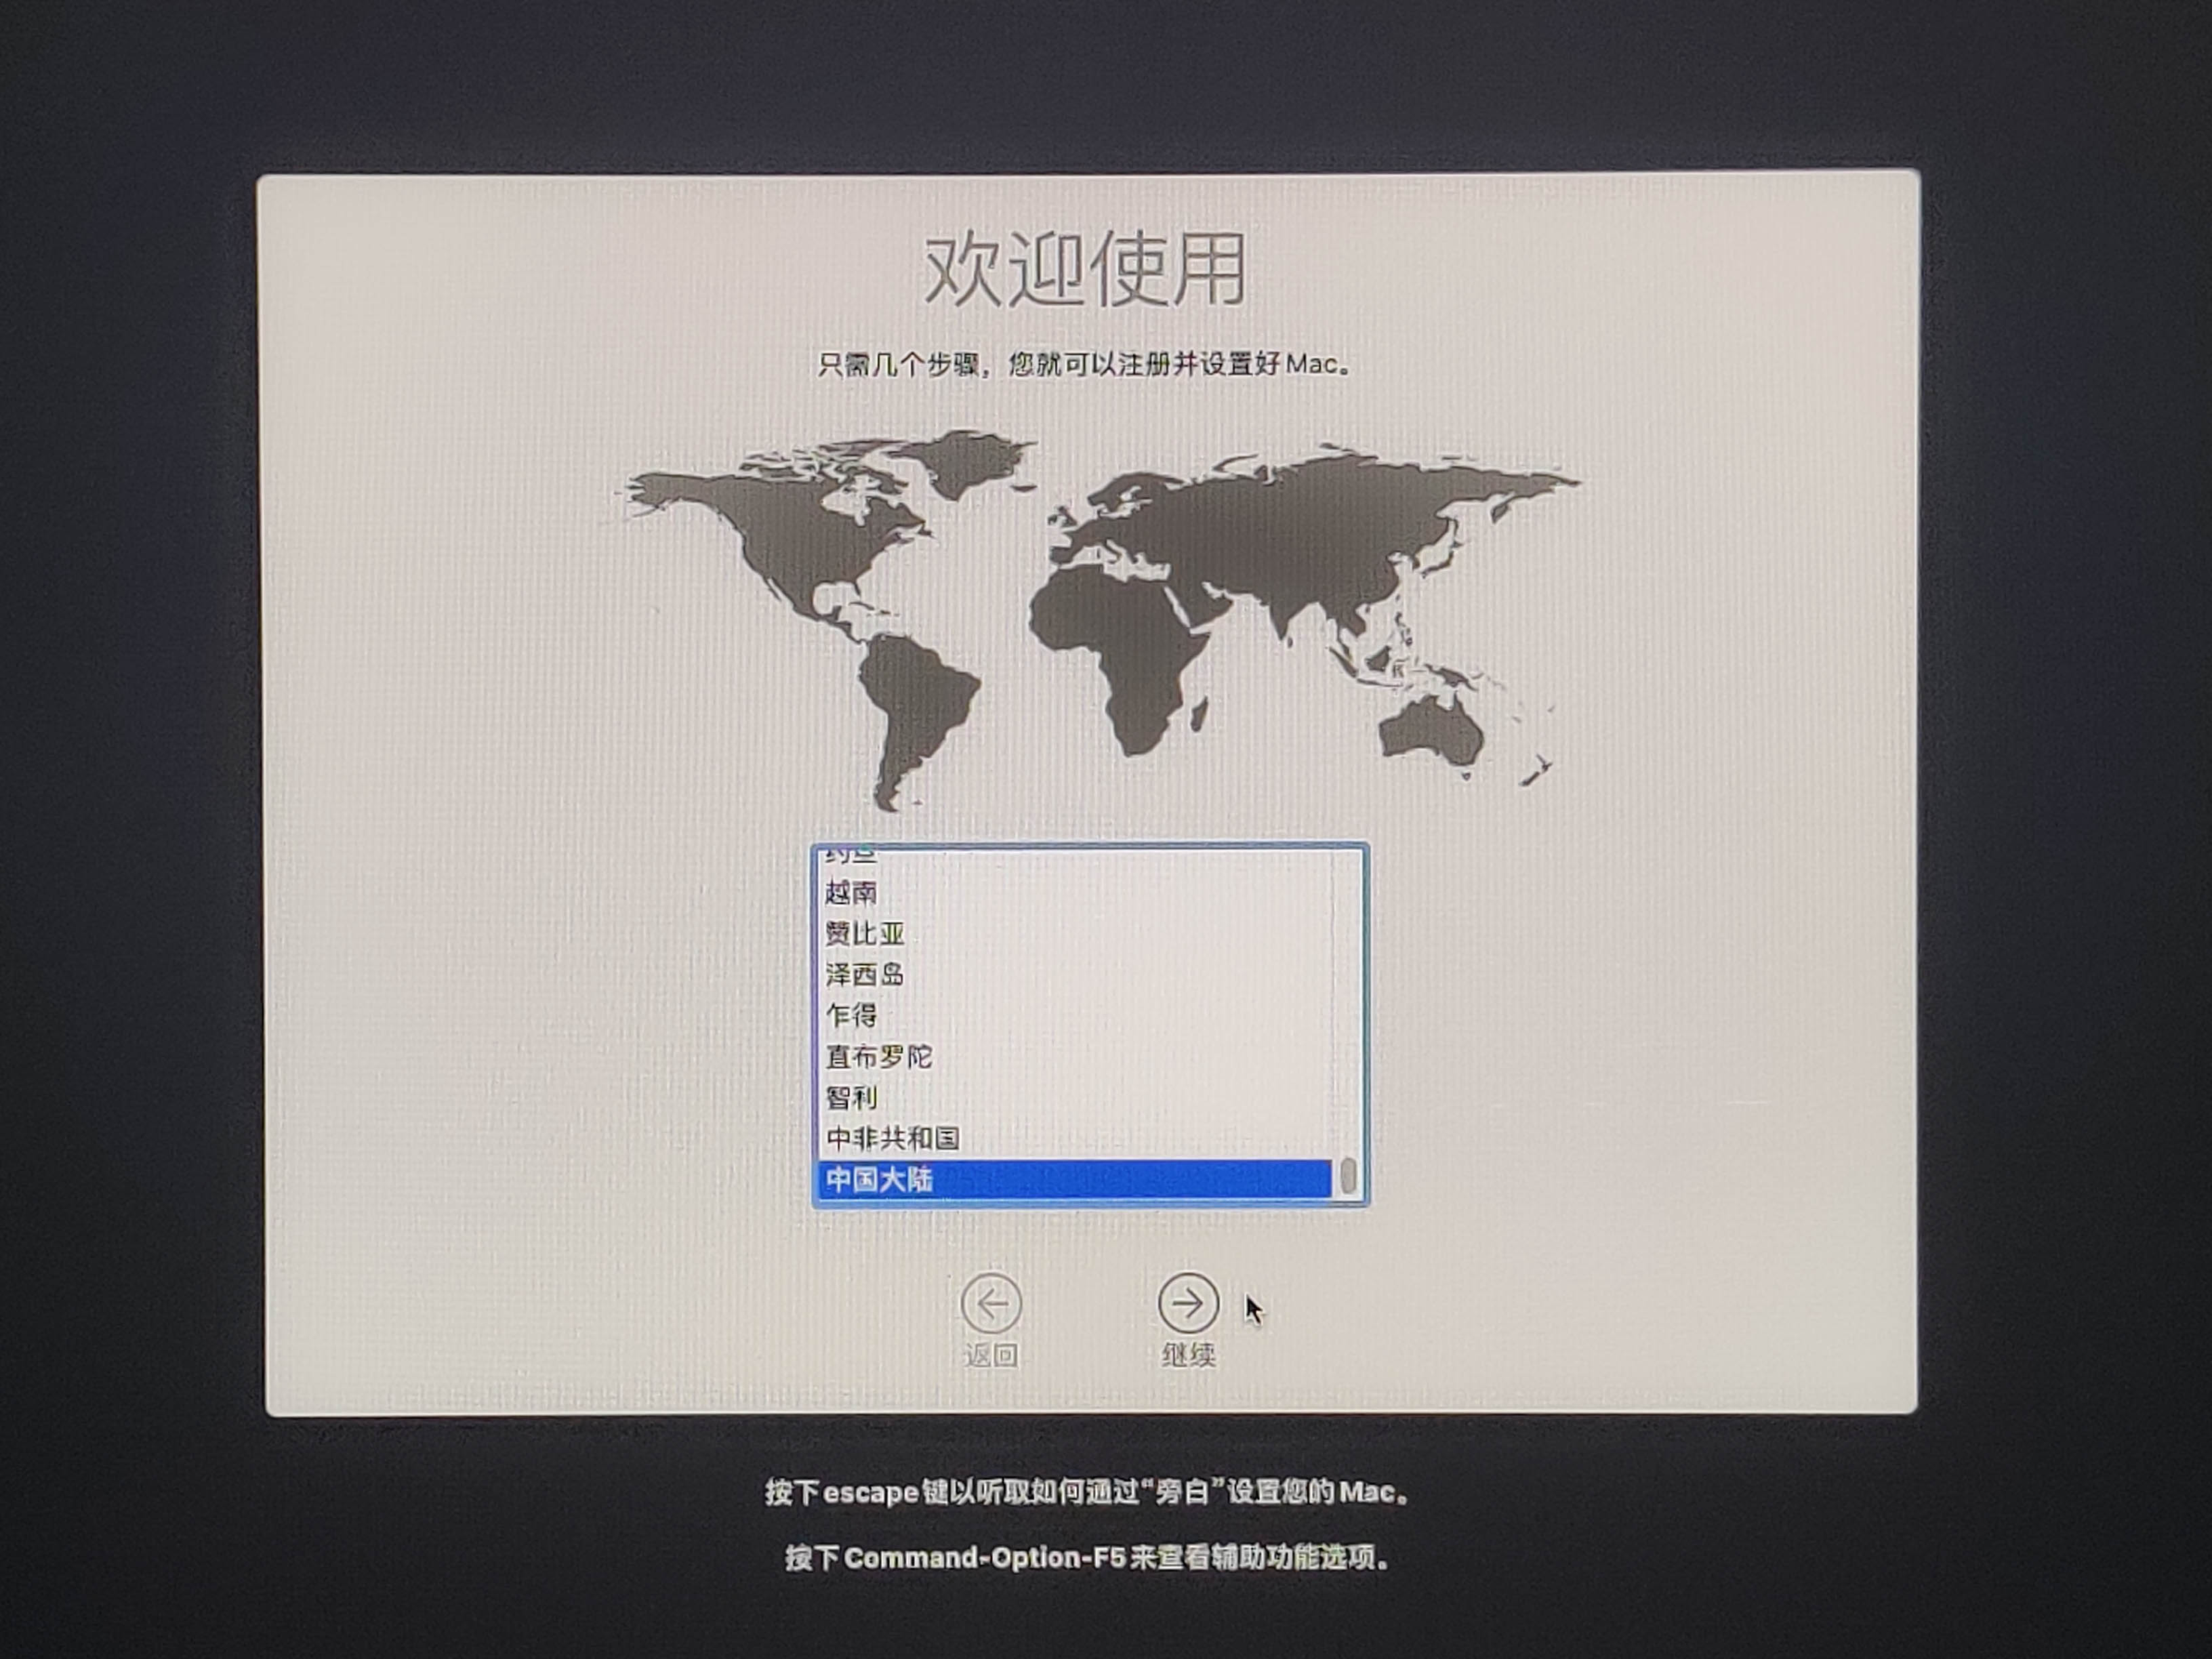
▼ Hackintosh is now installed. Begin the initial setup.
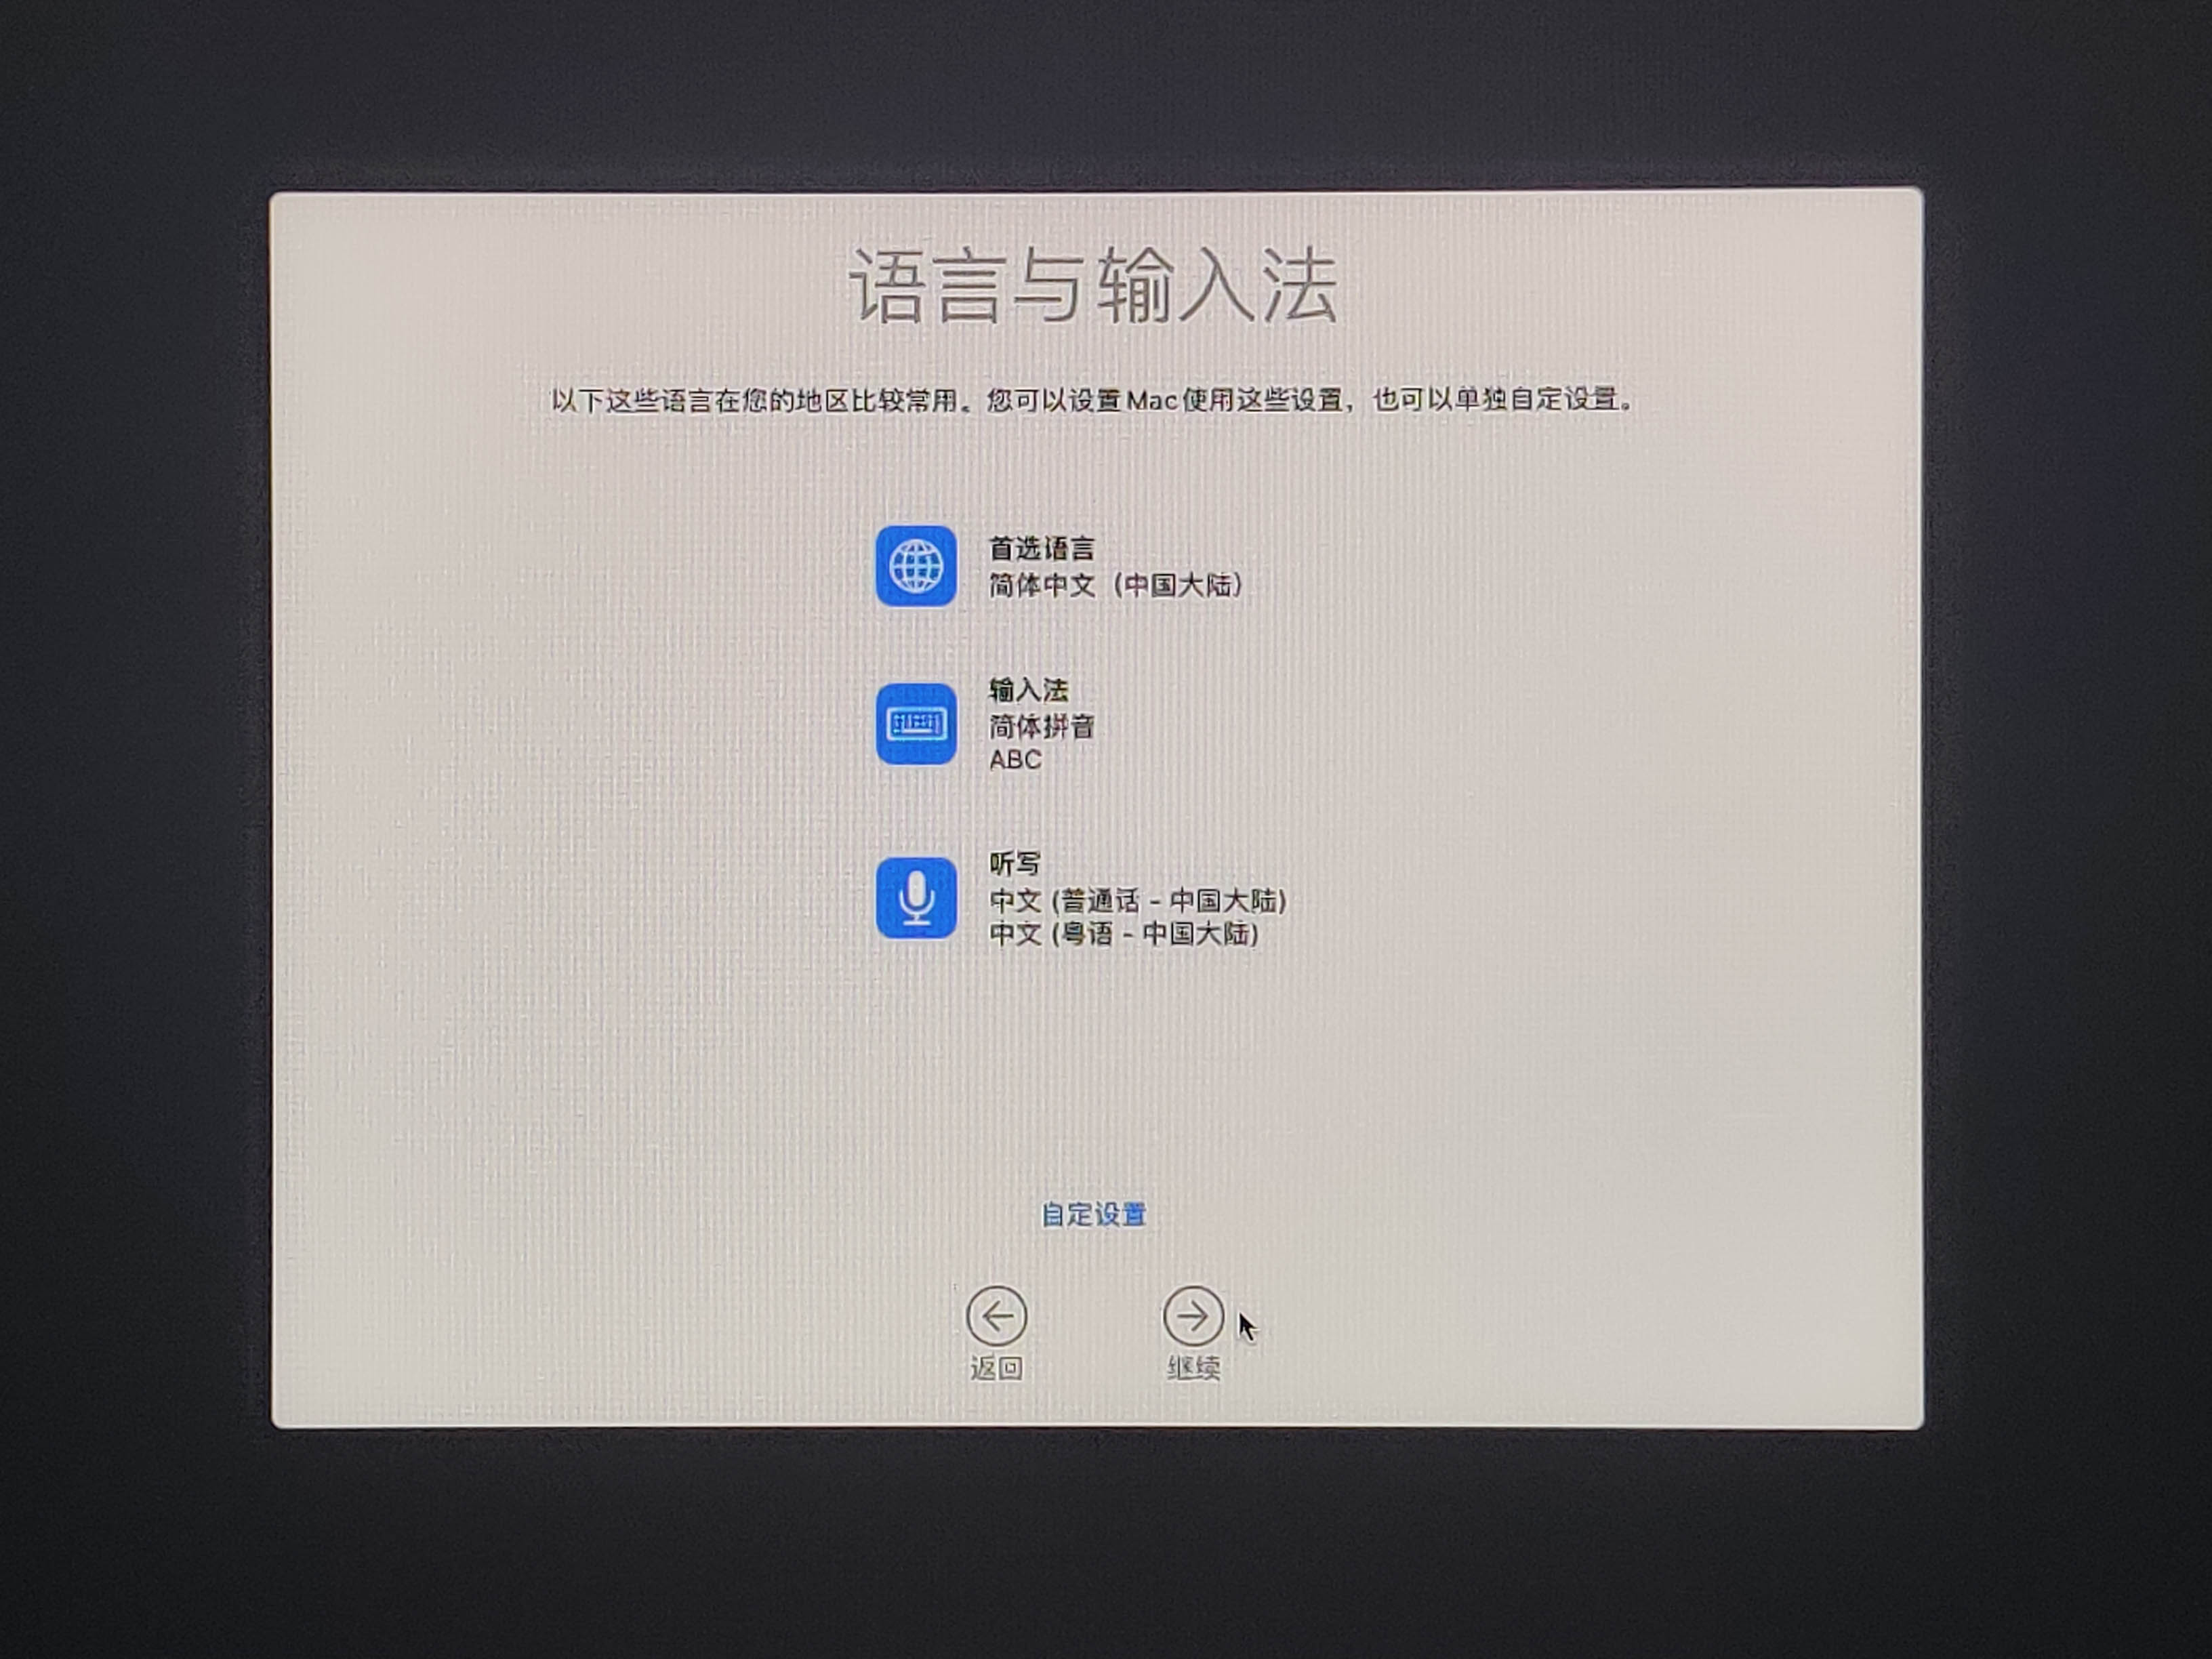
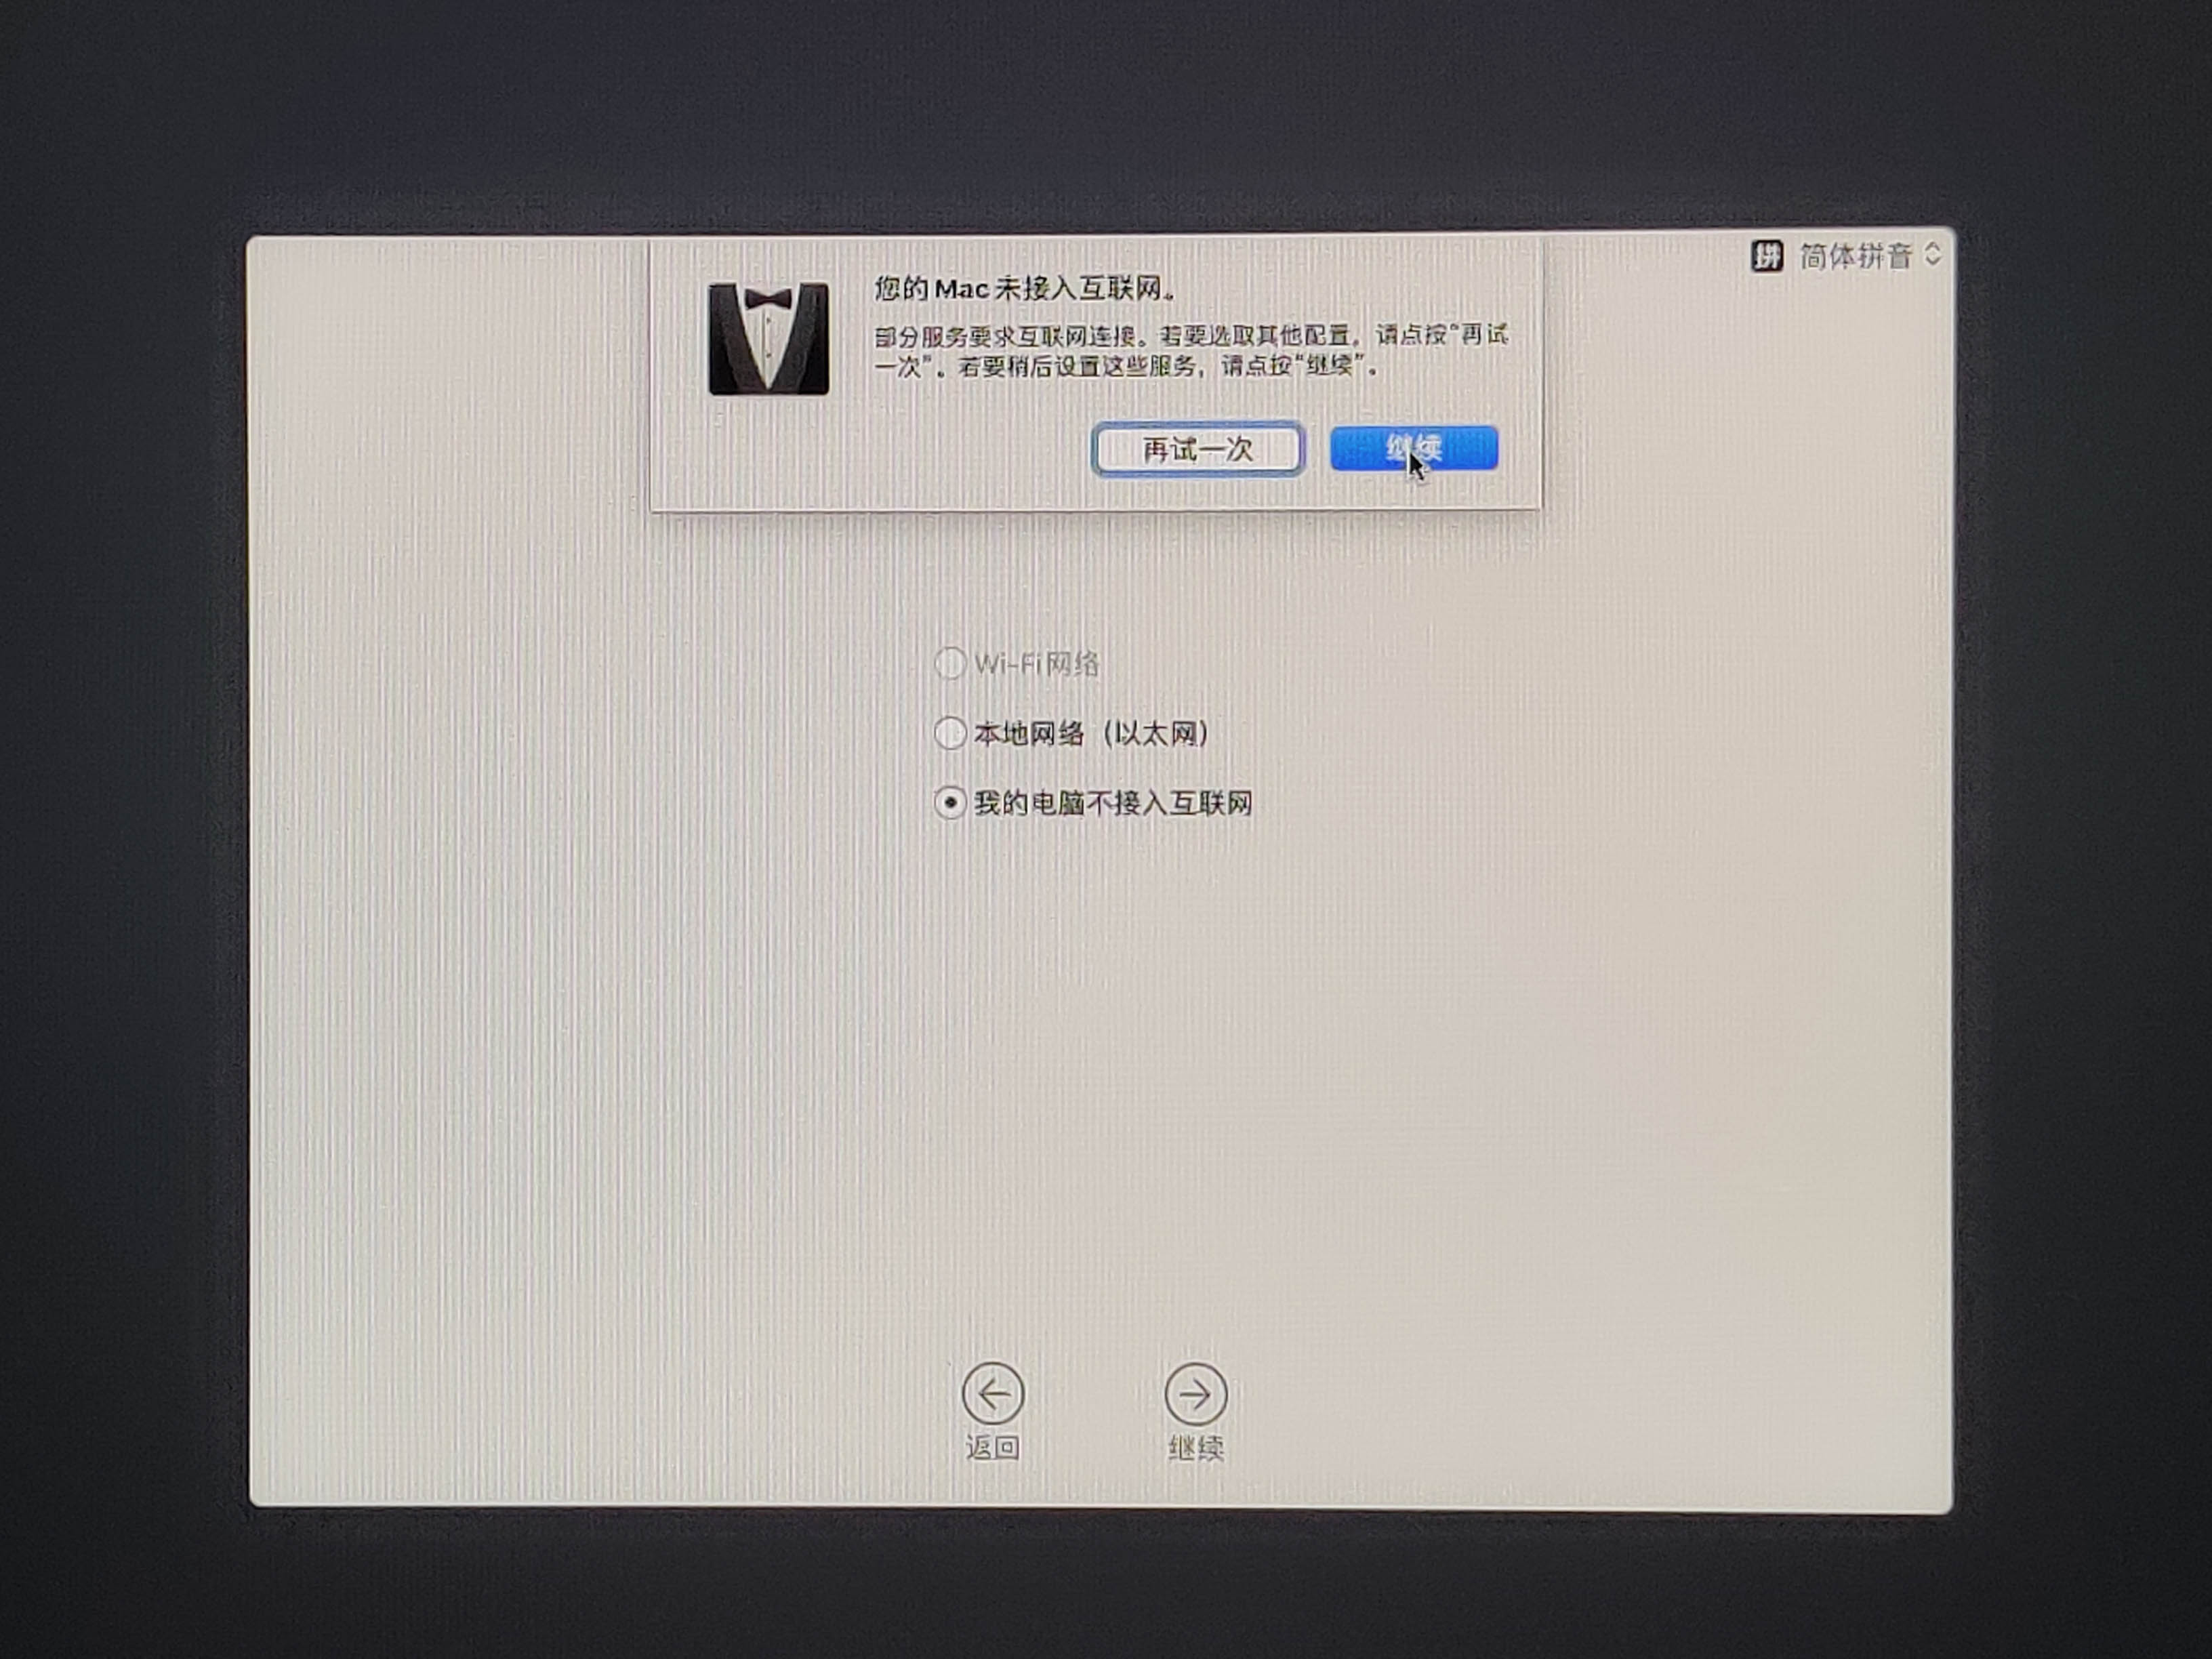
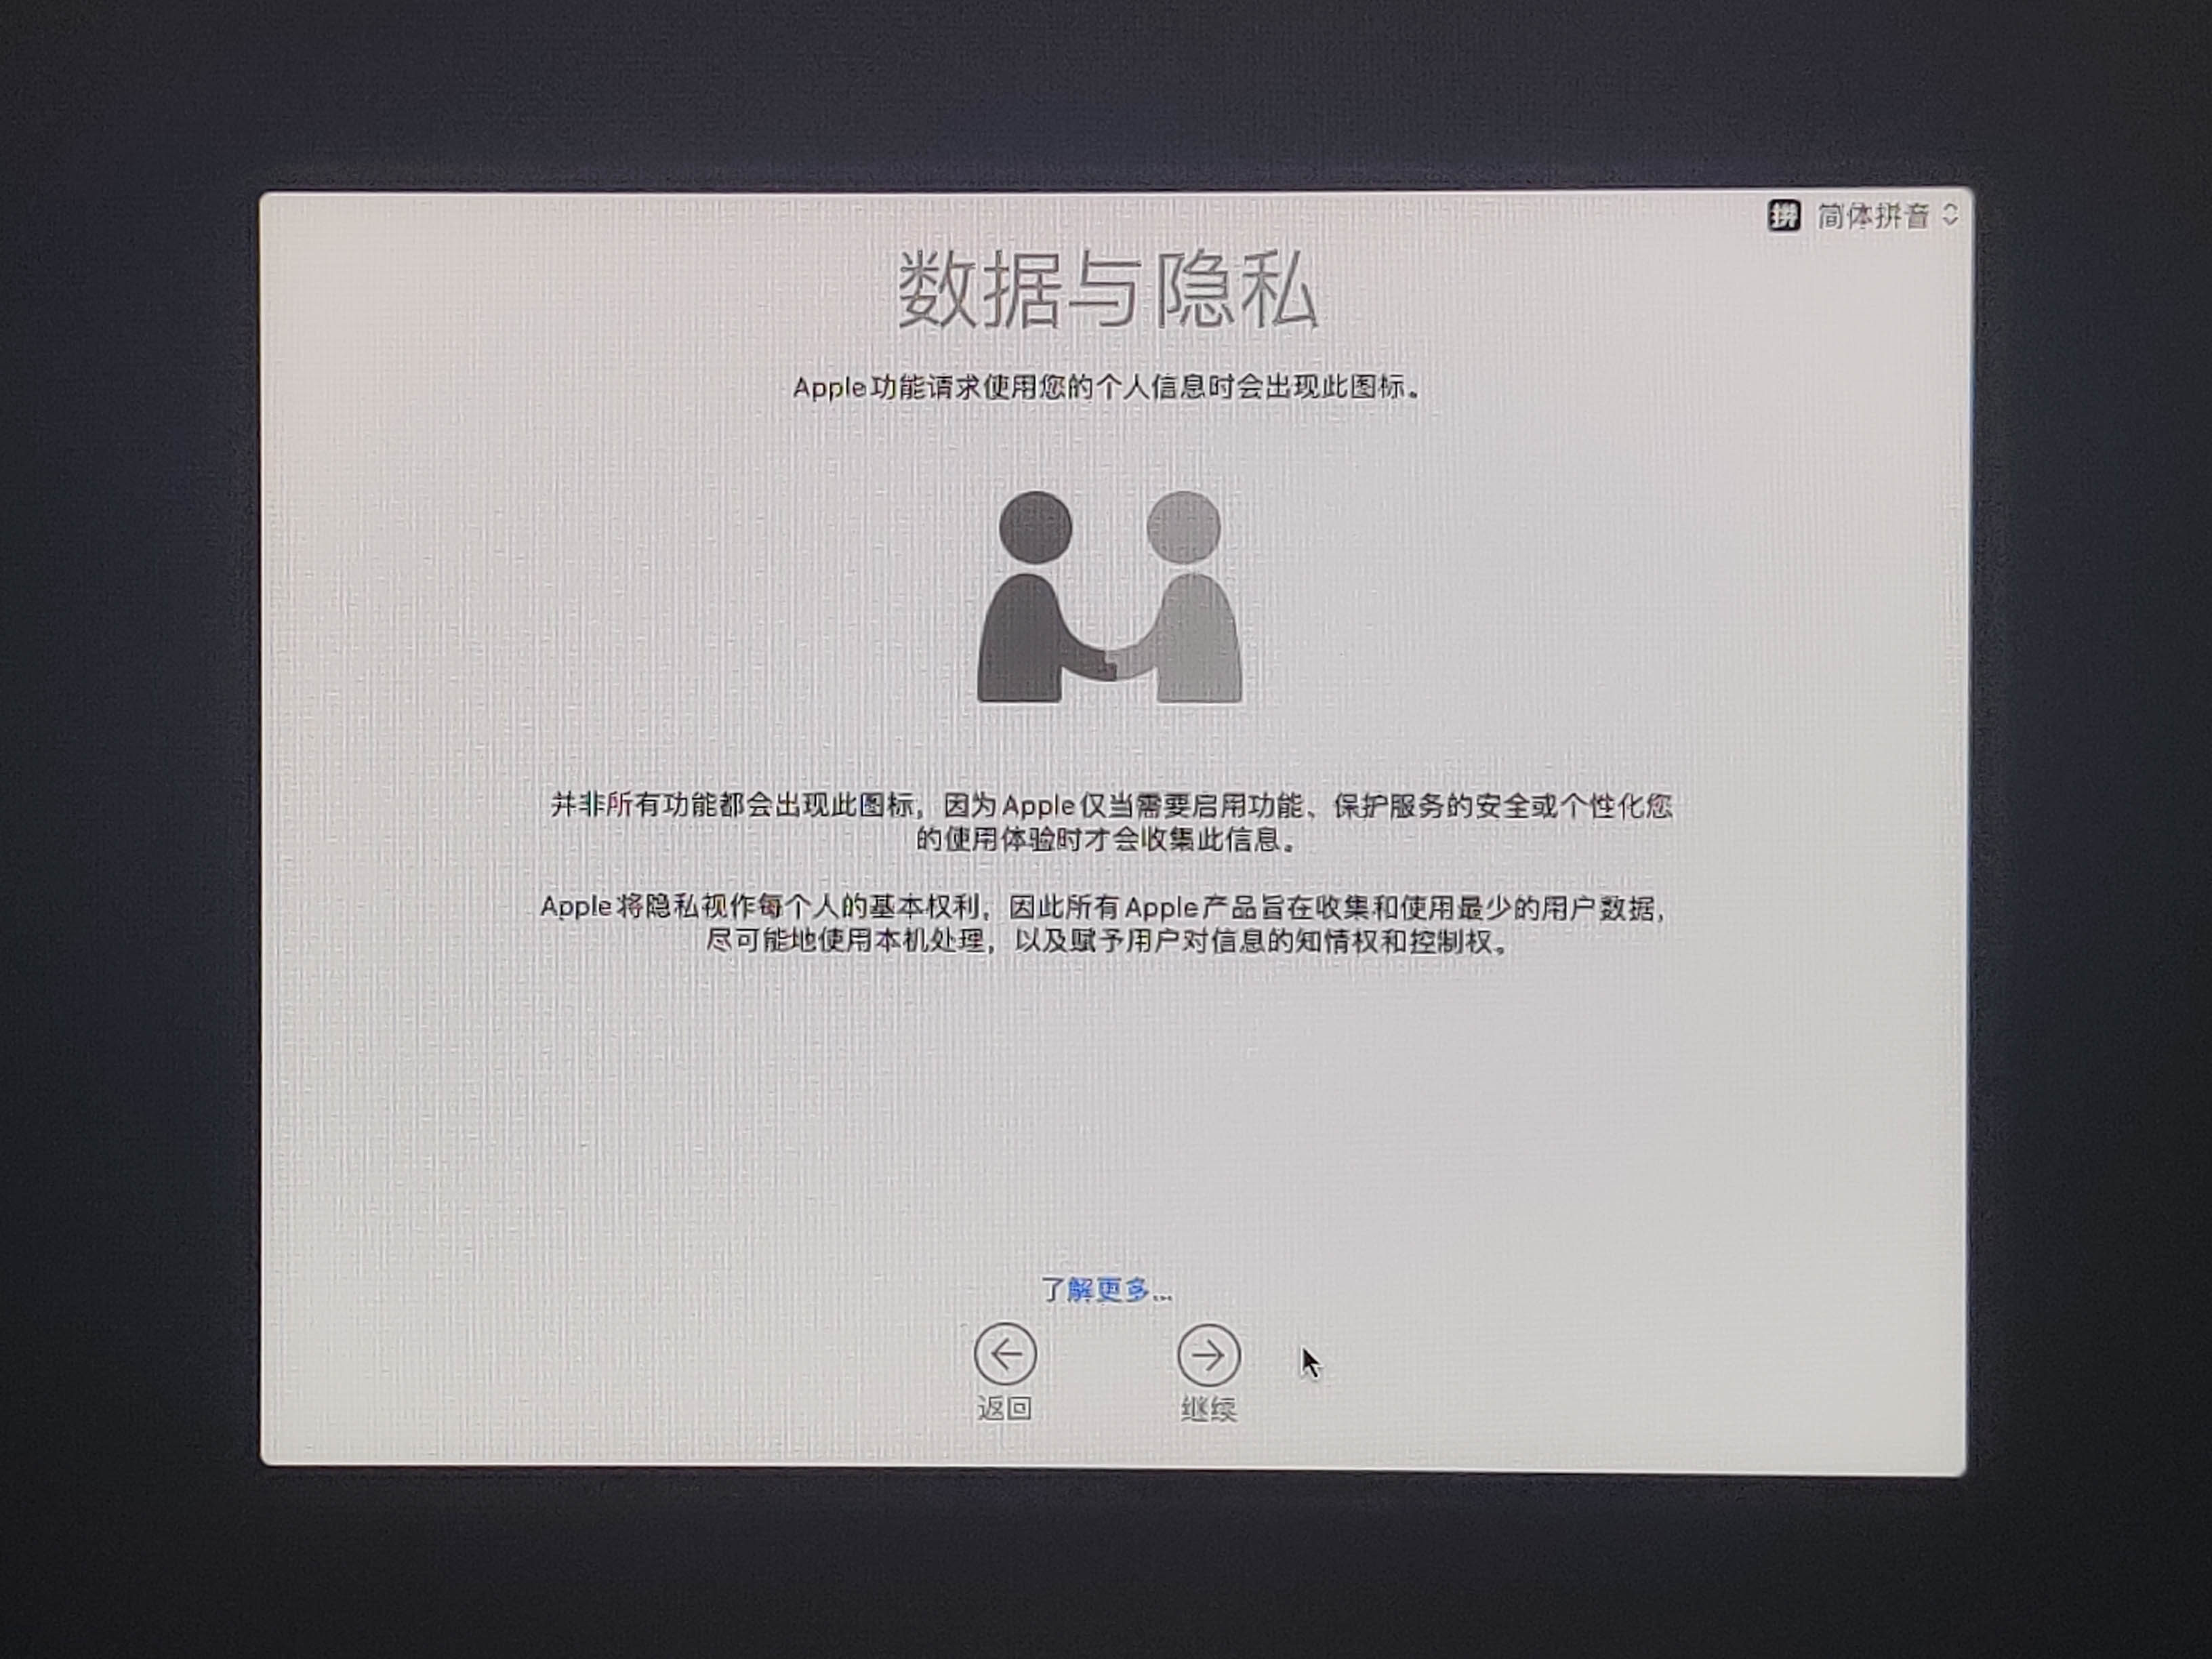

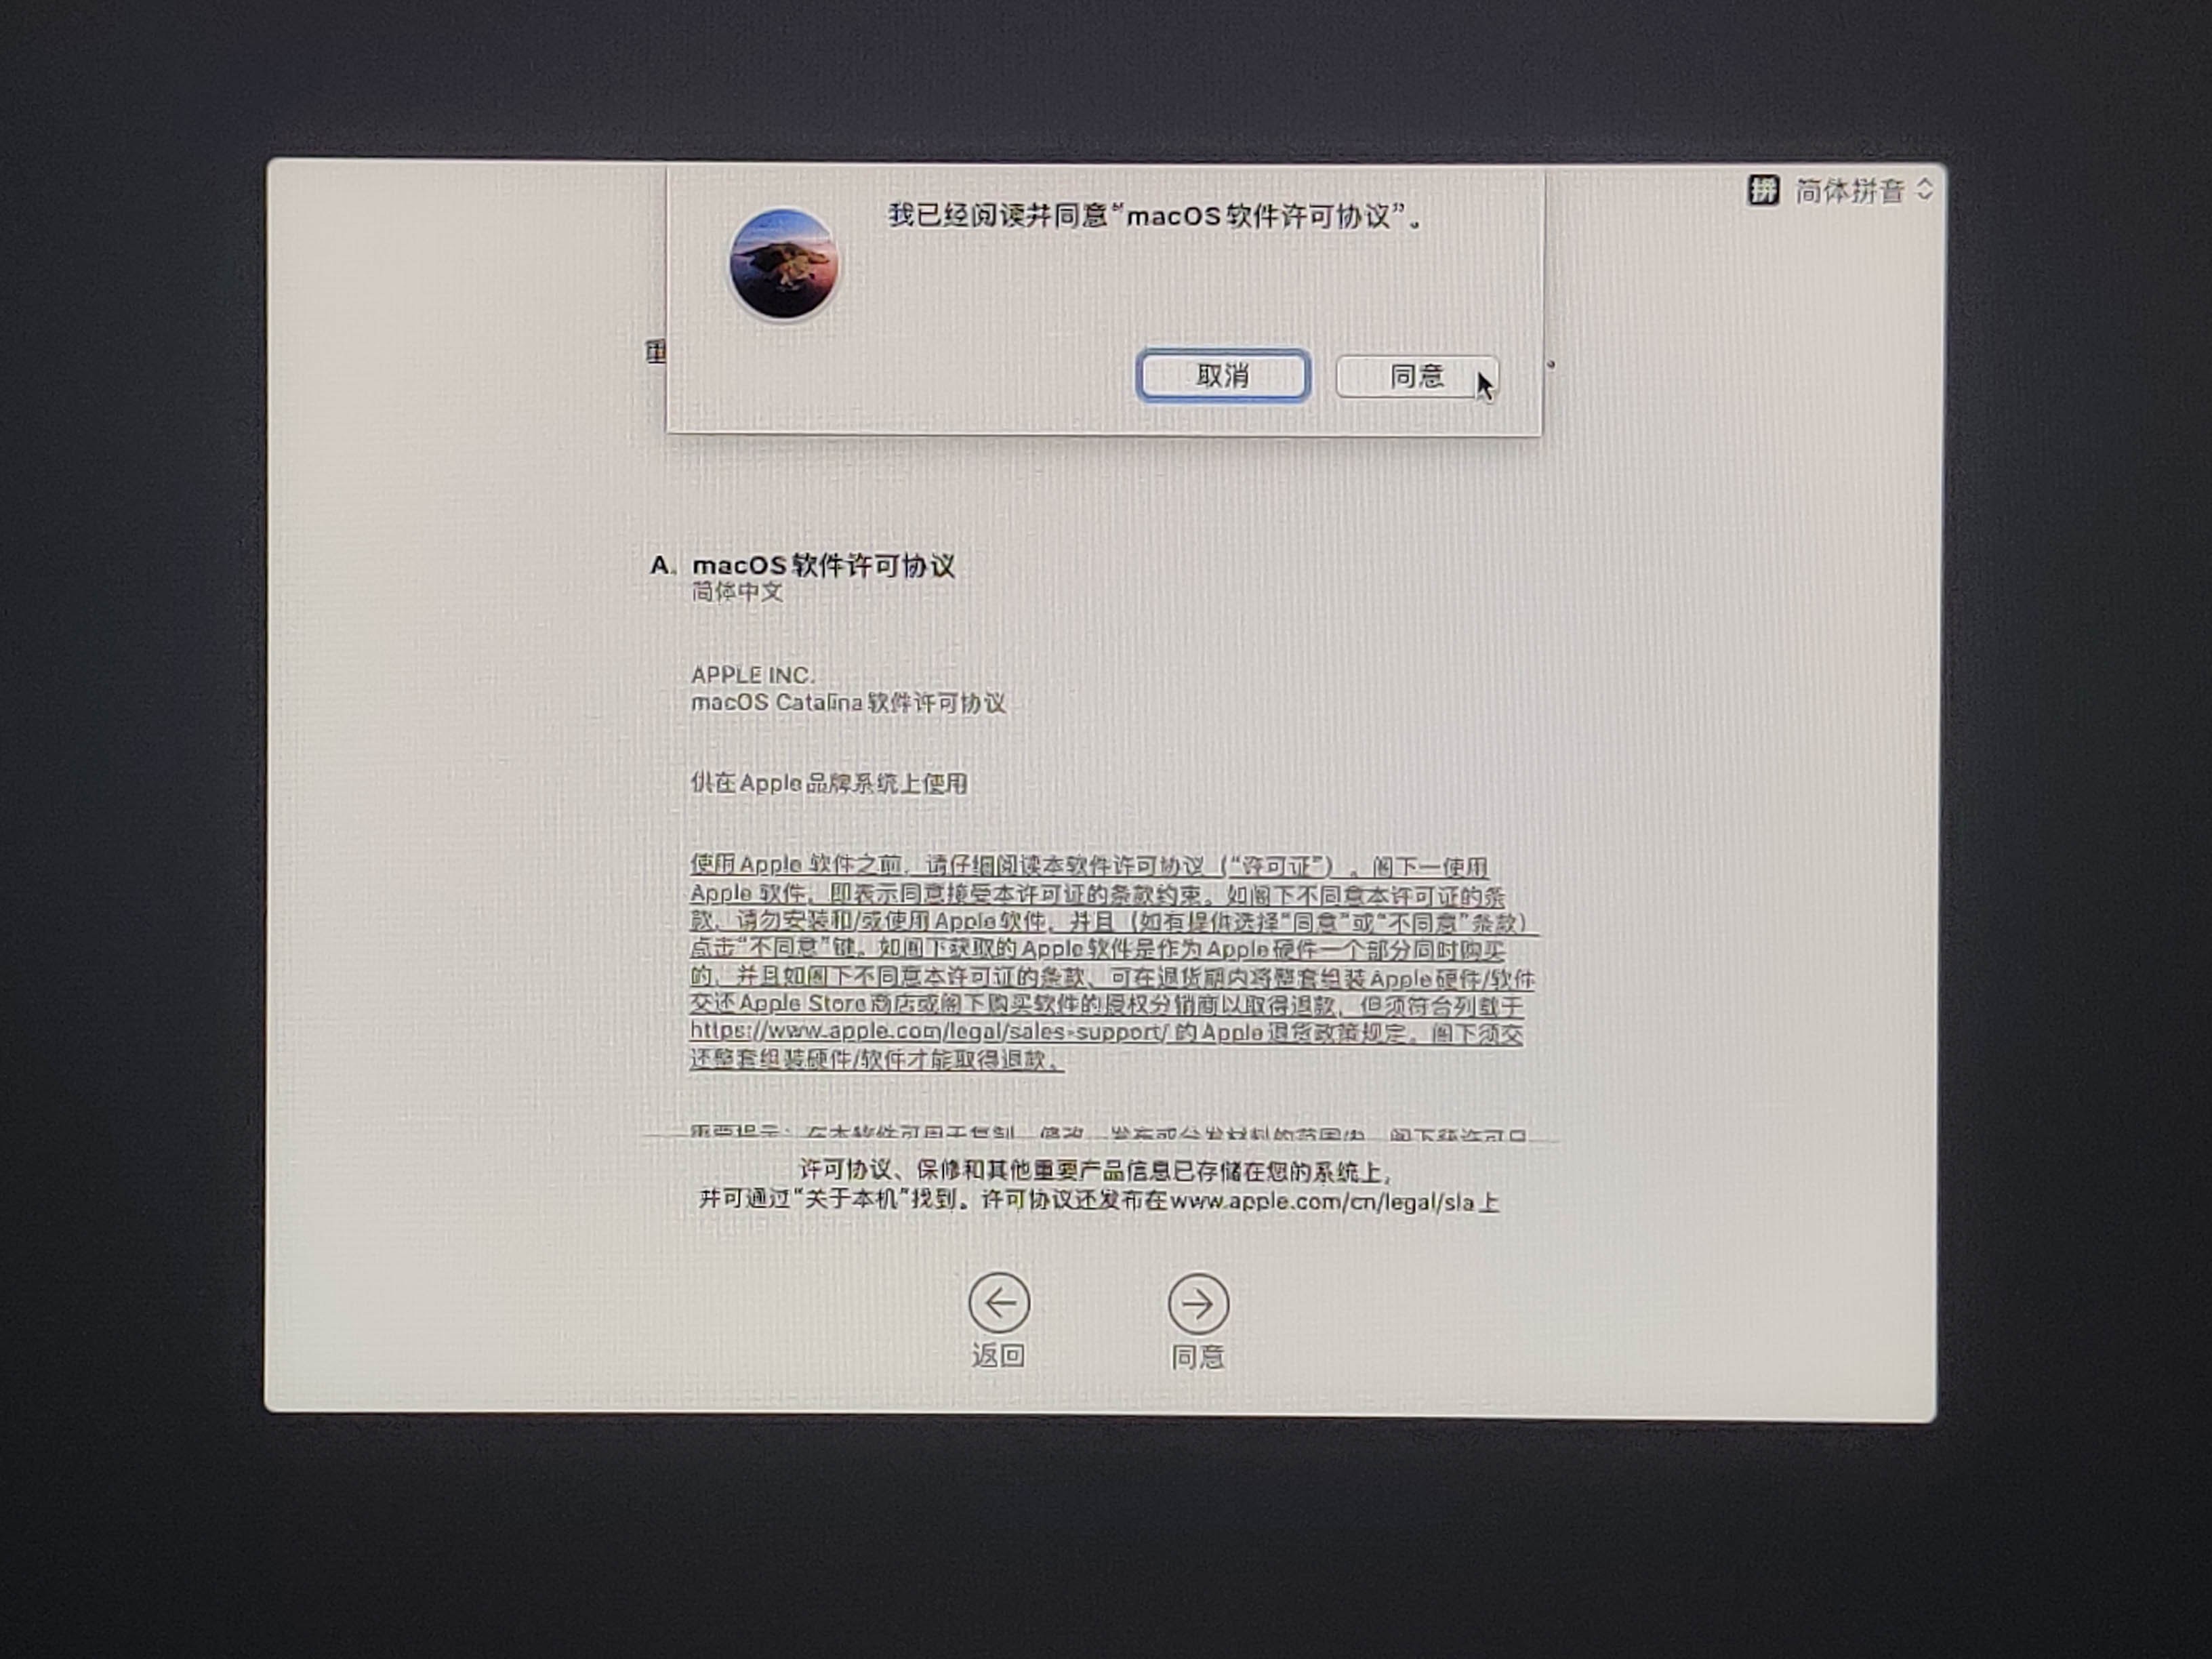
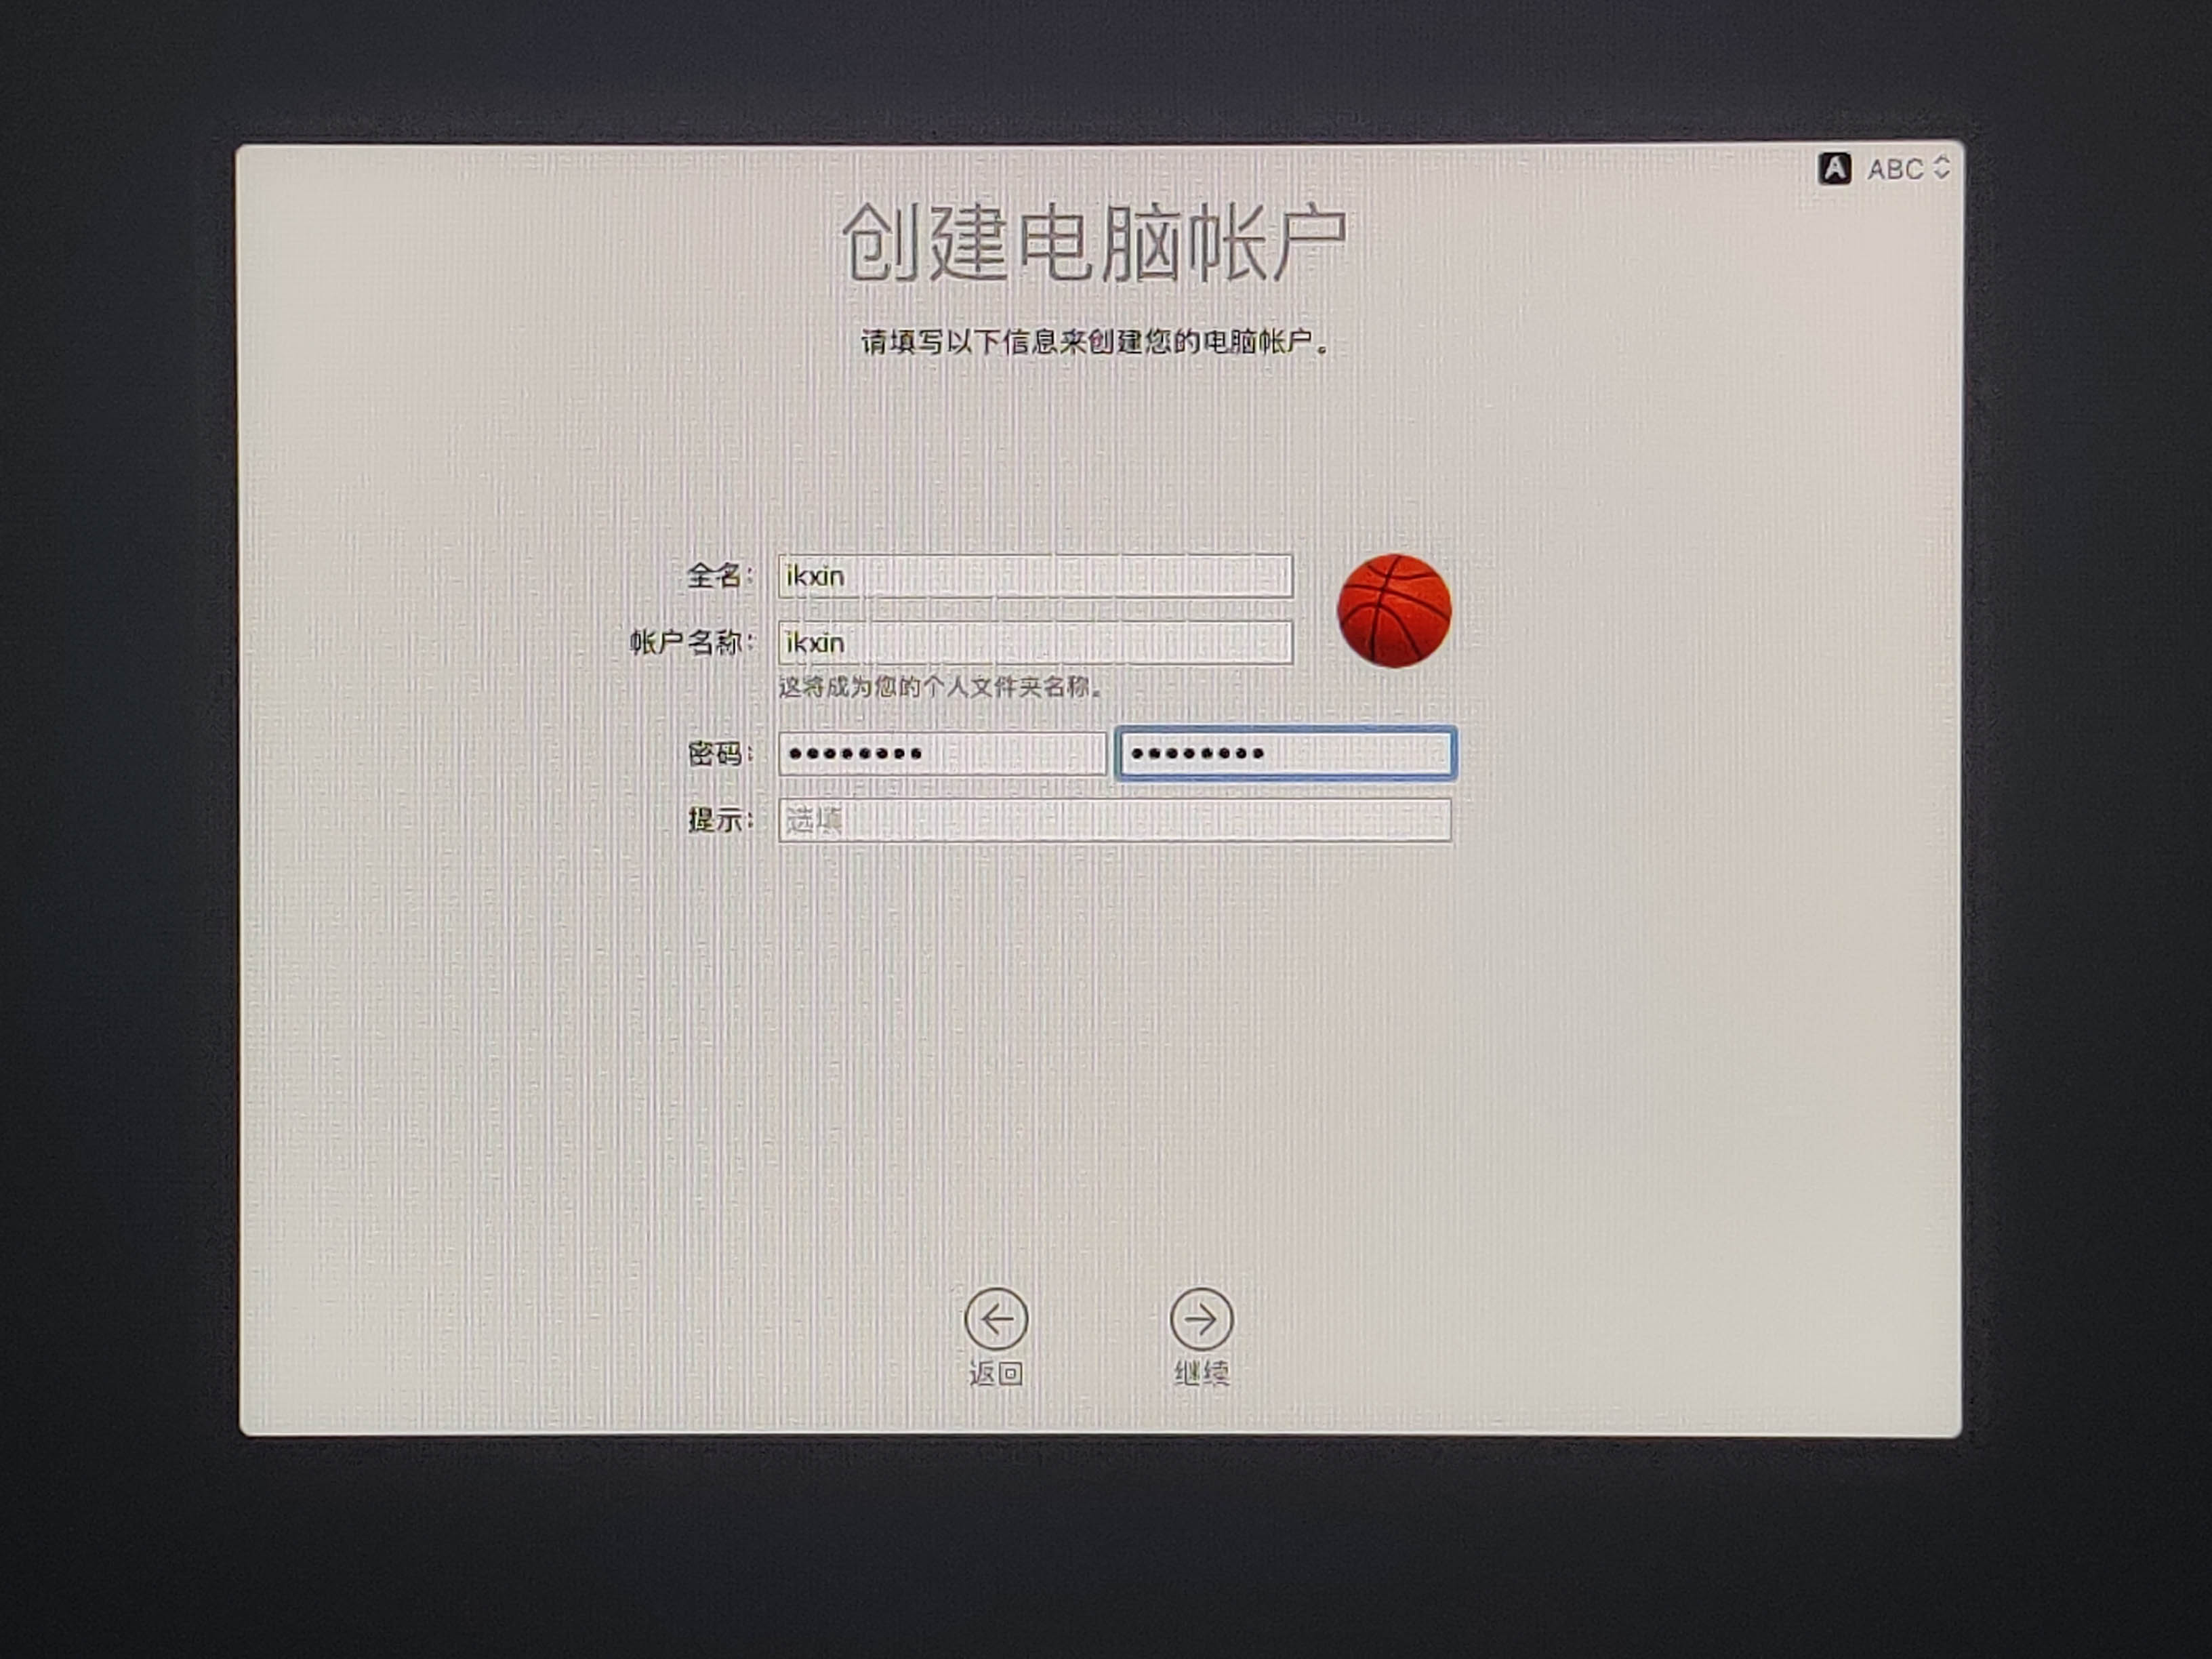
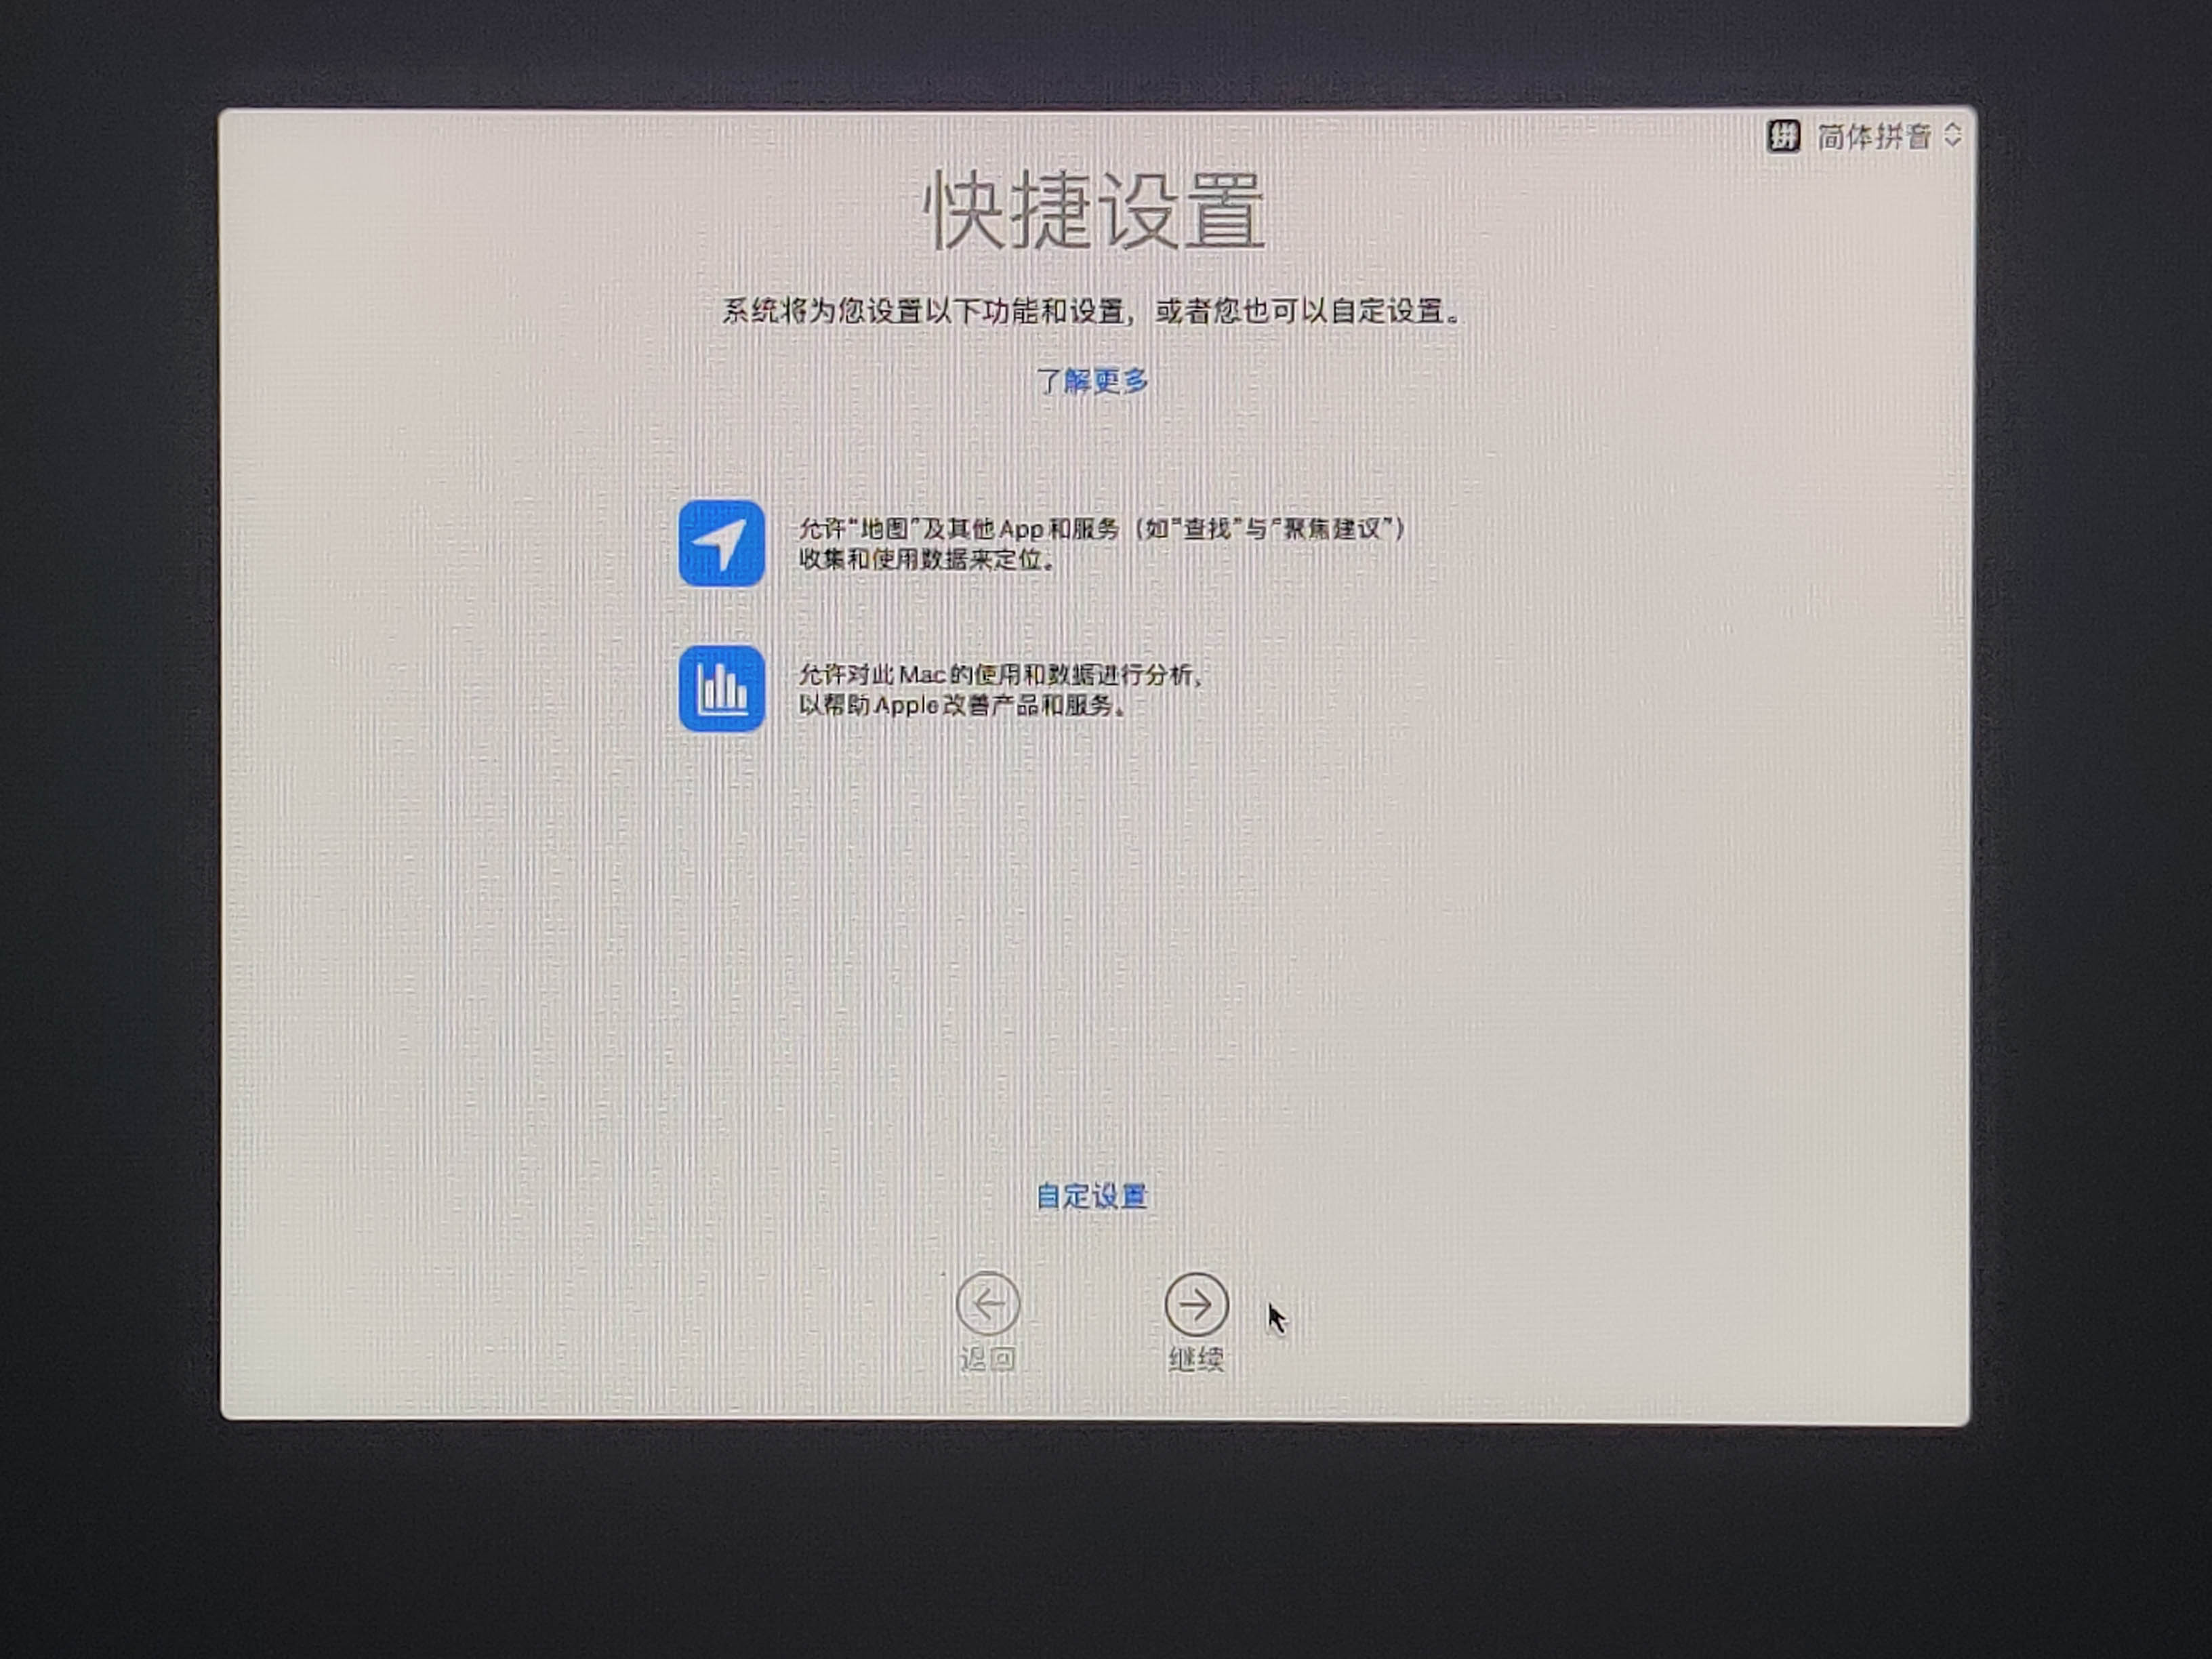
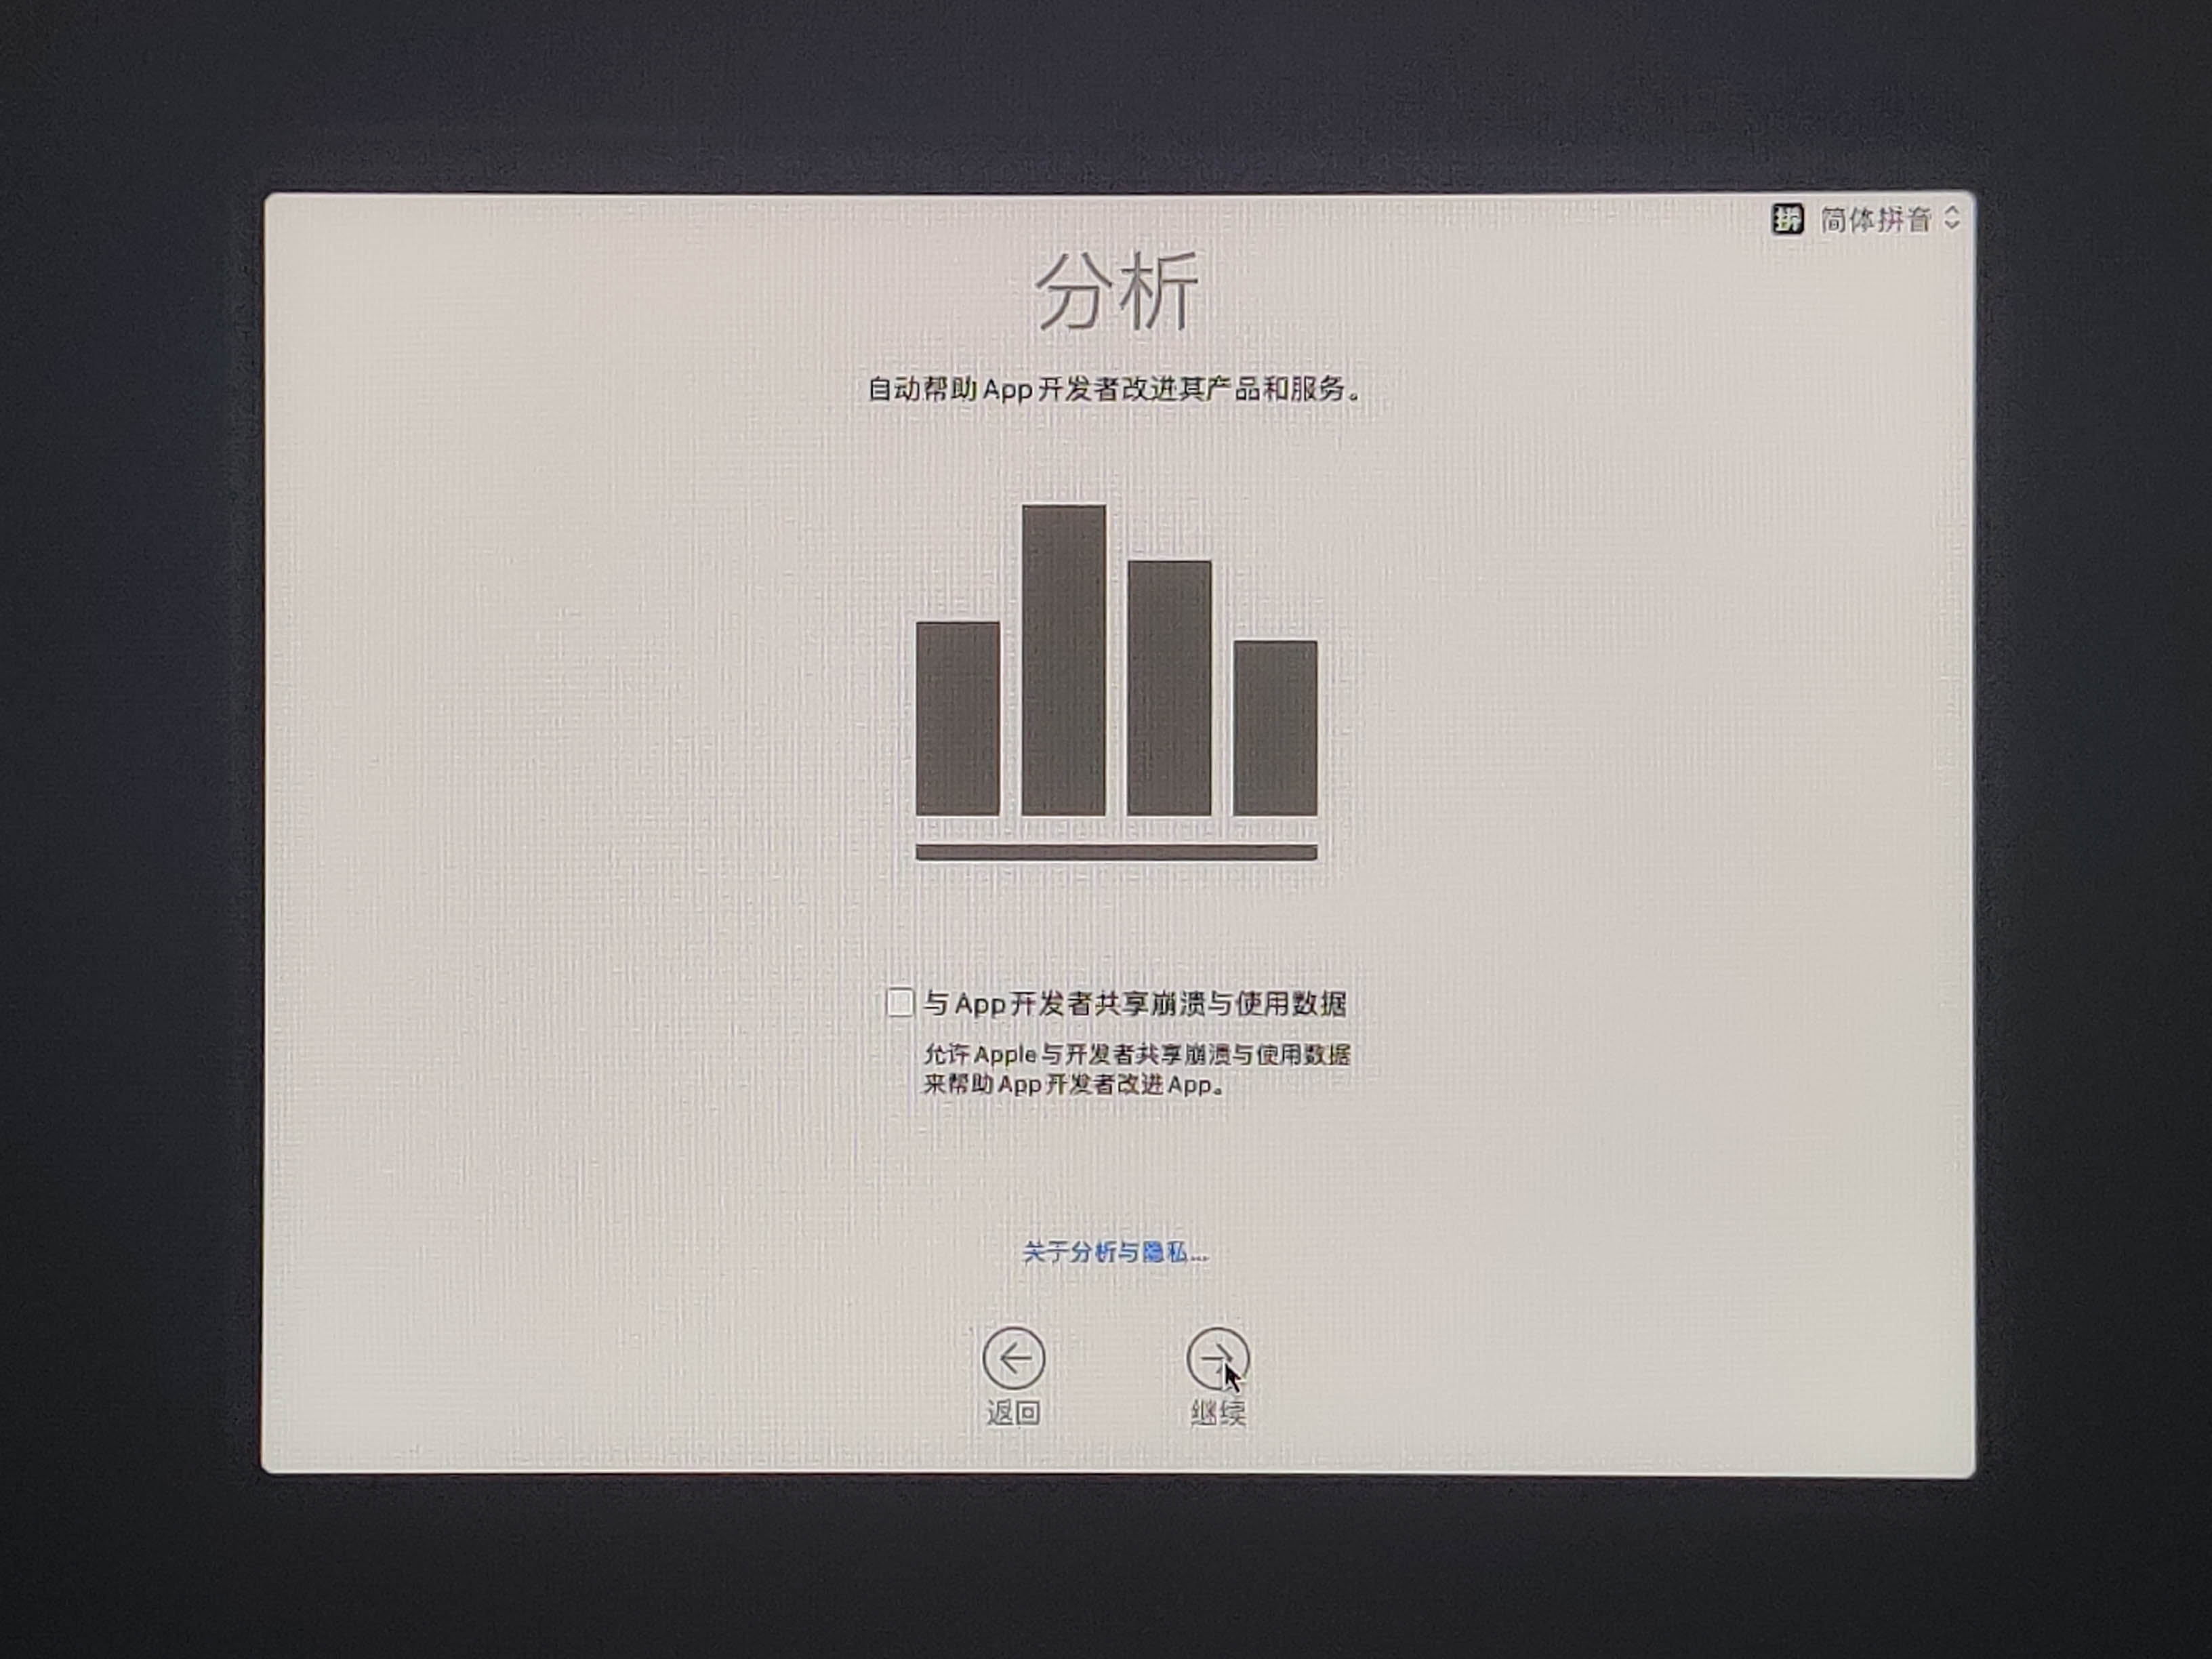
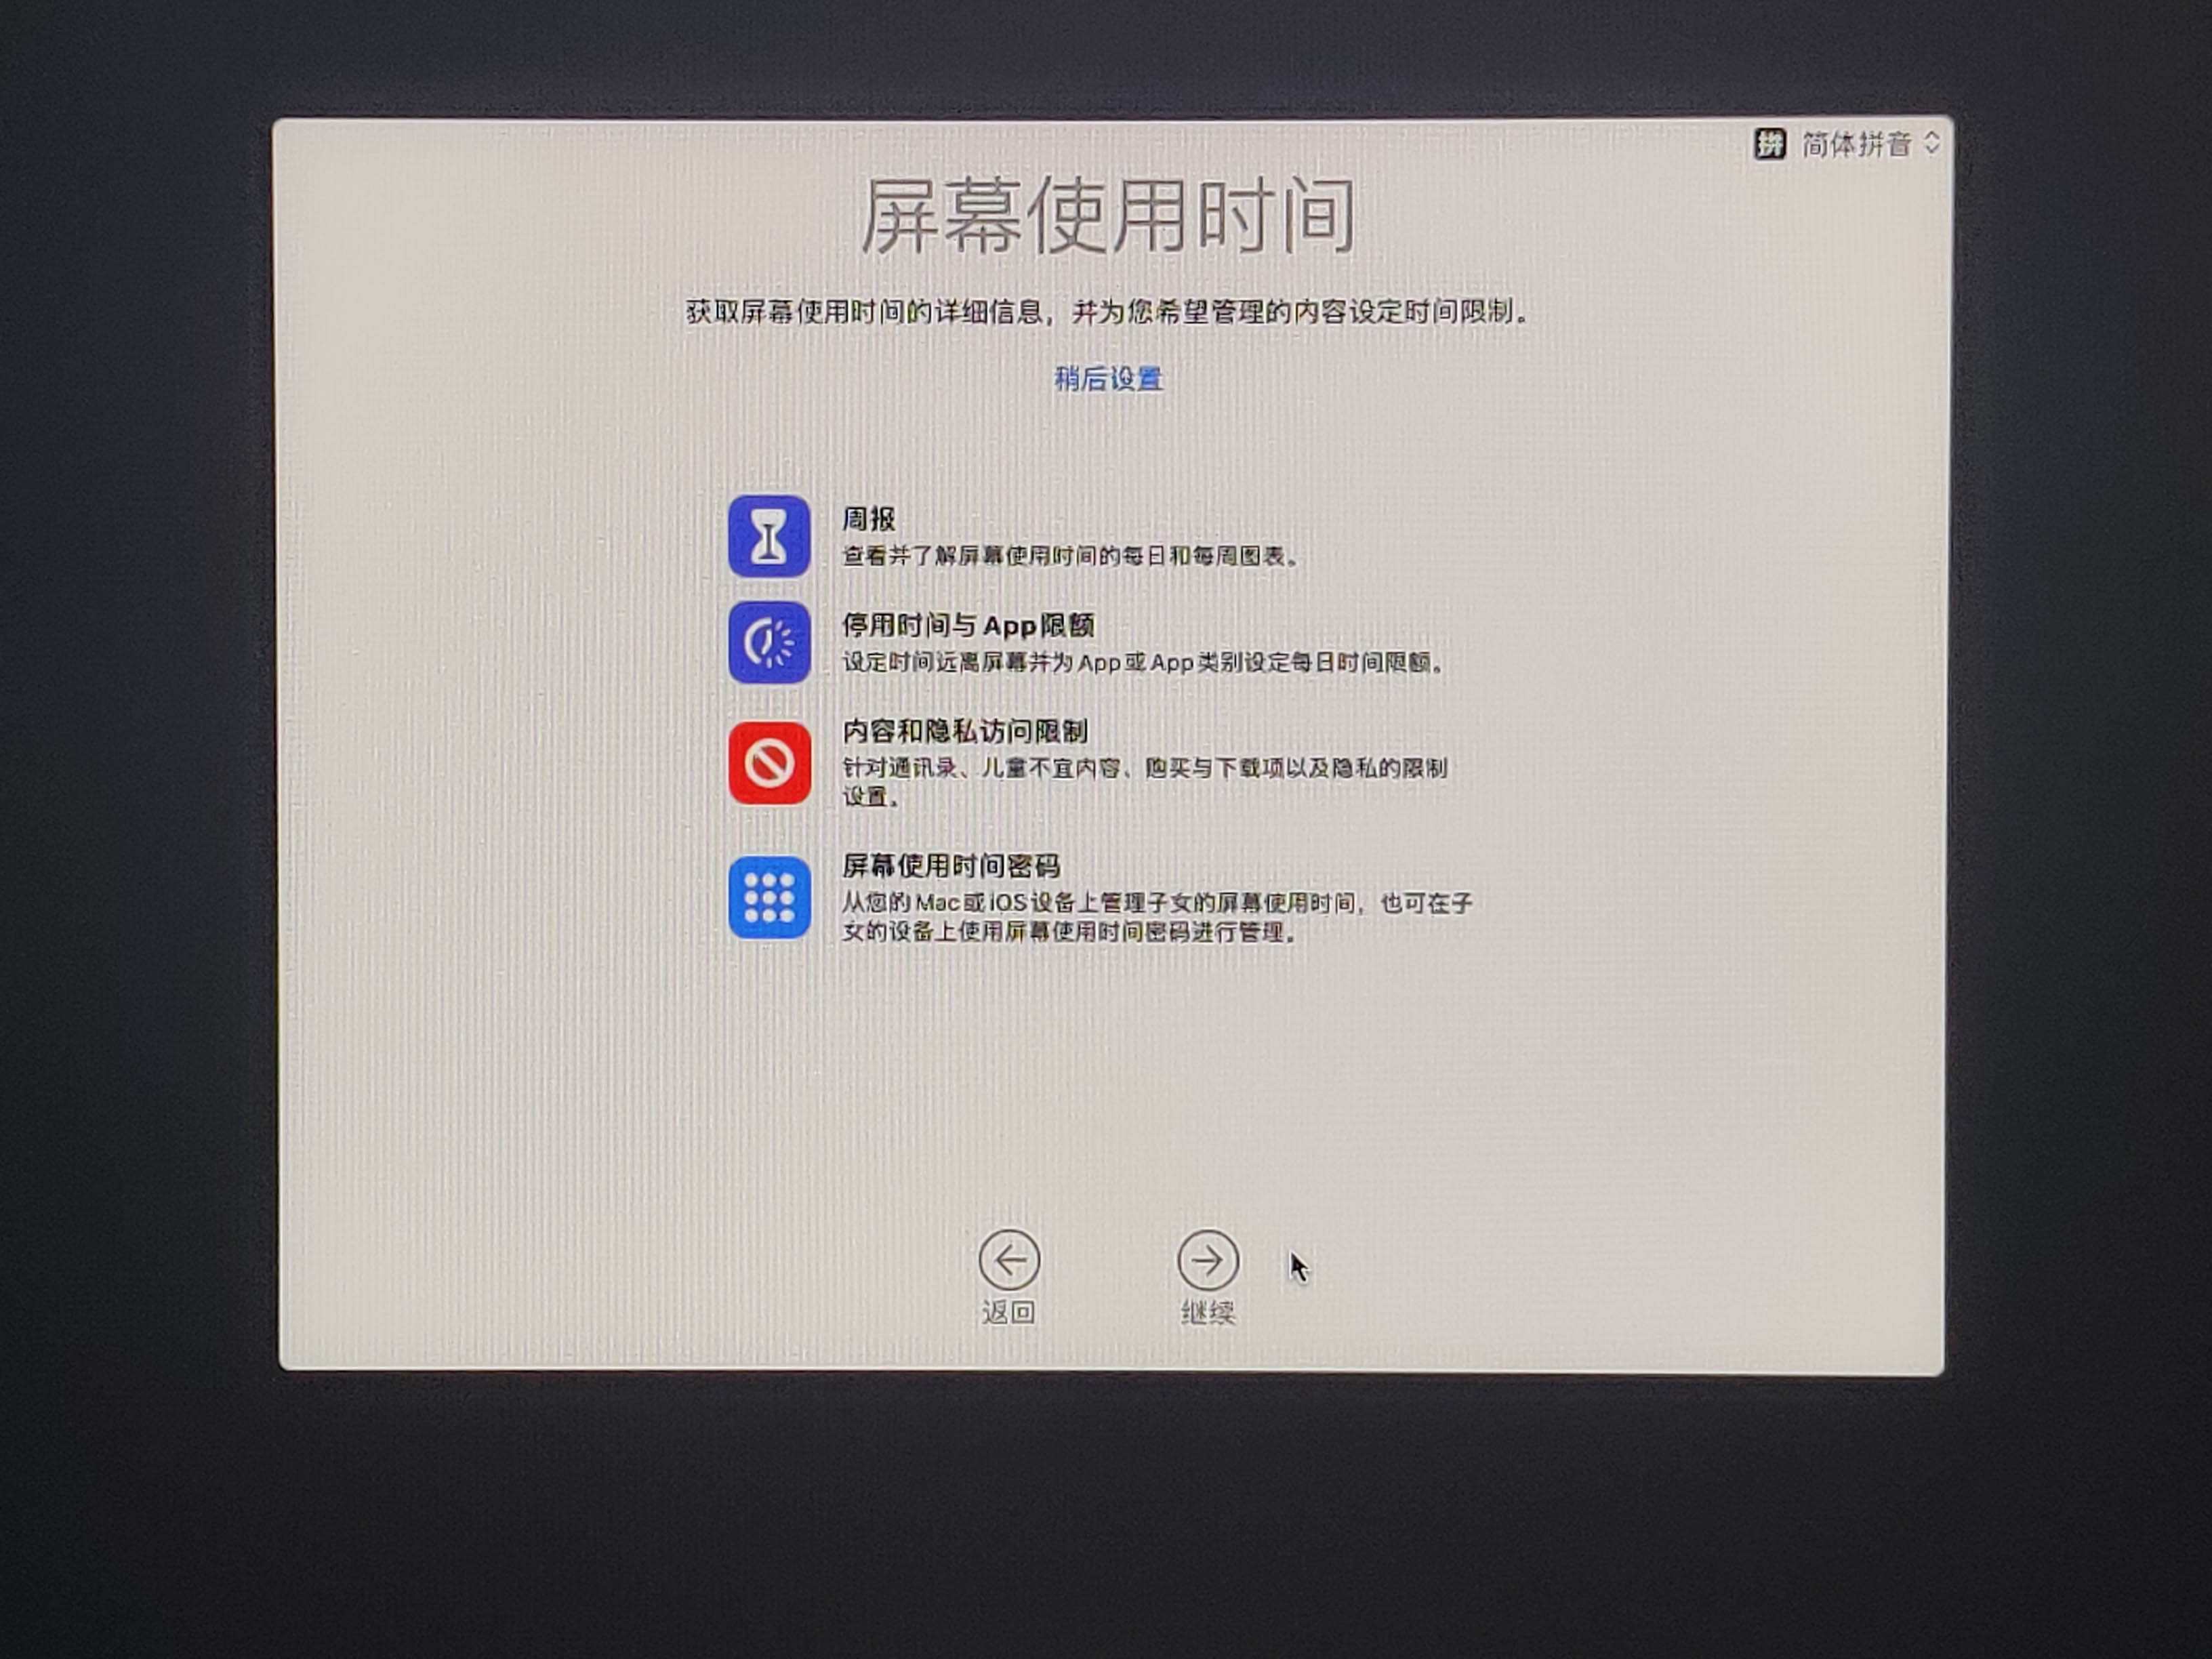
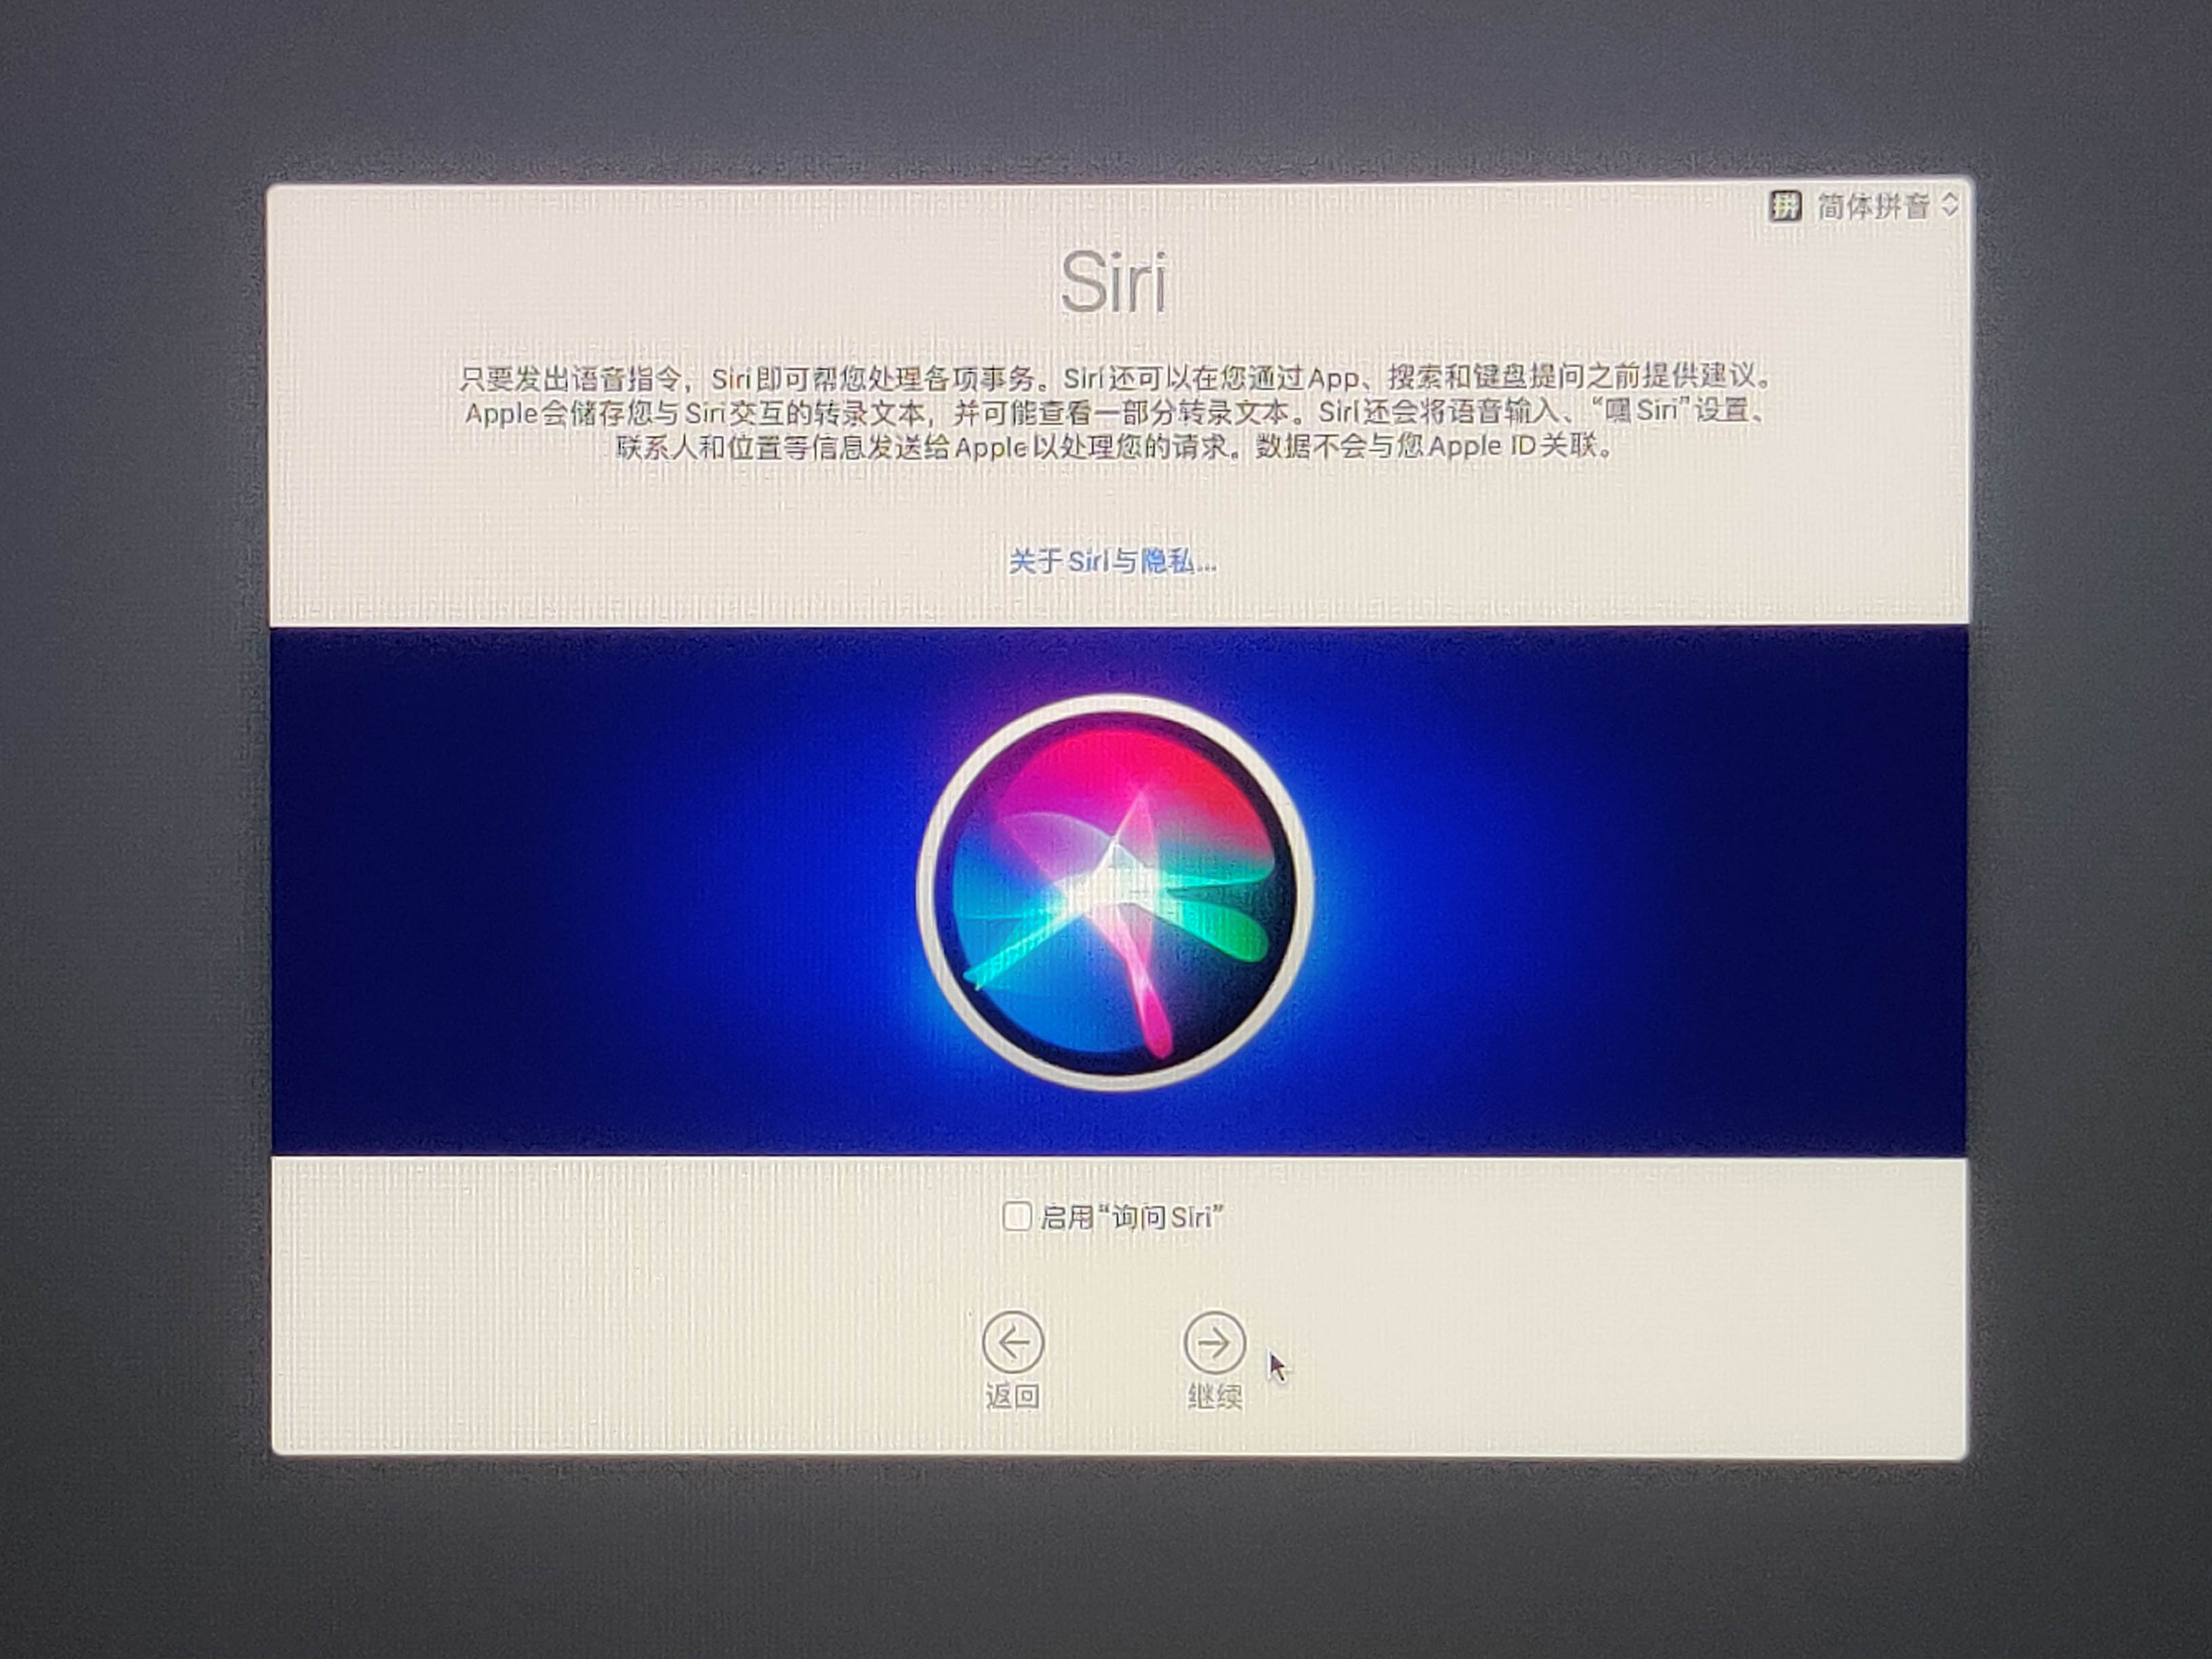
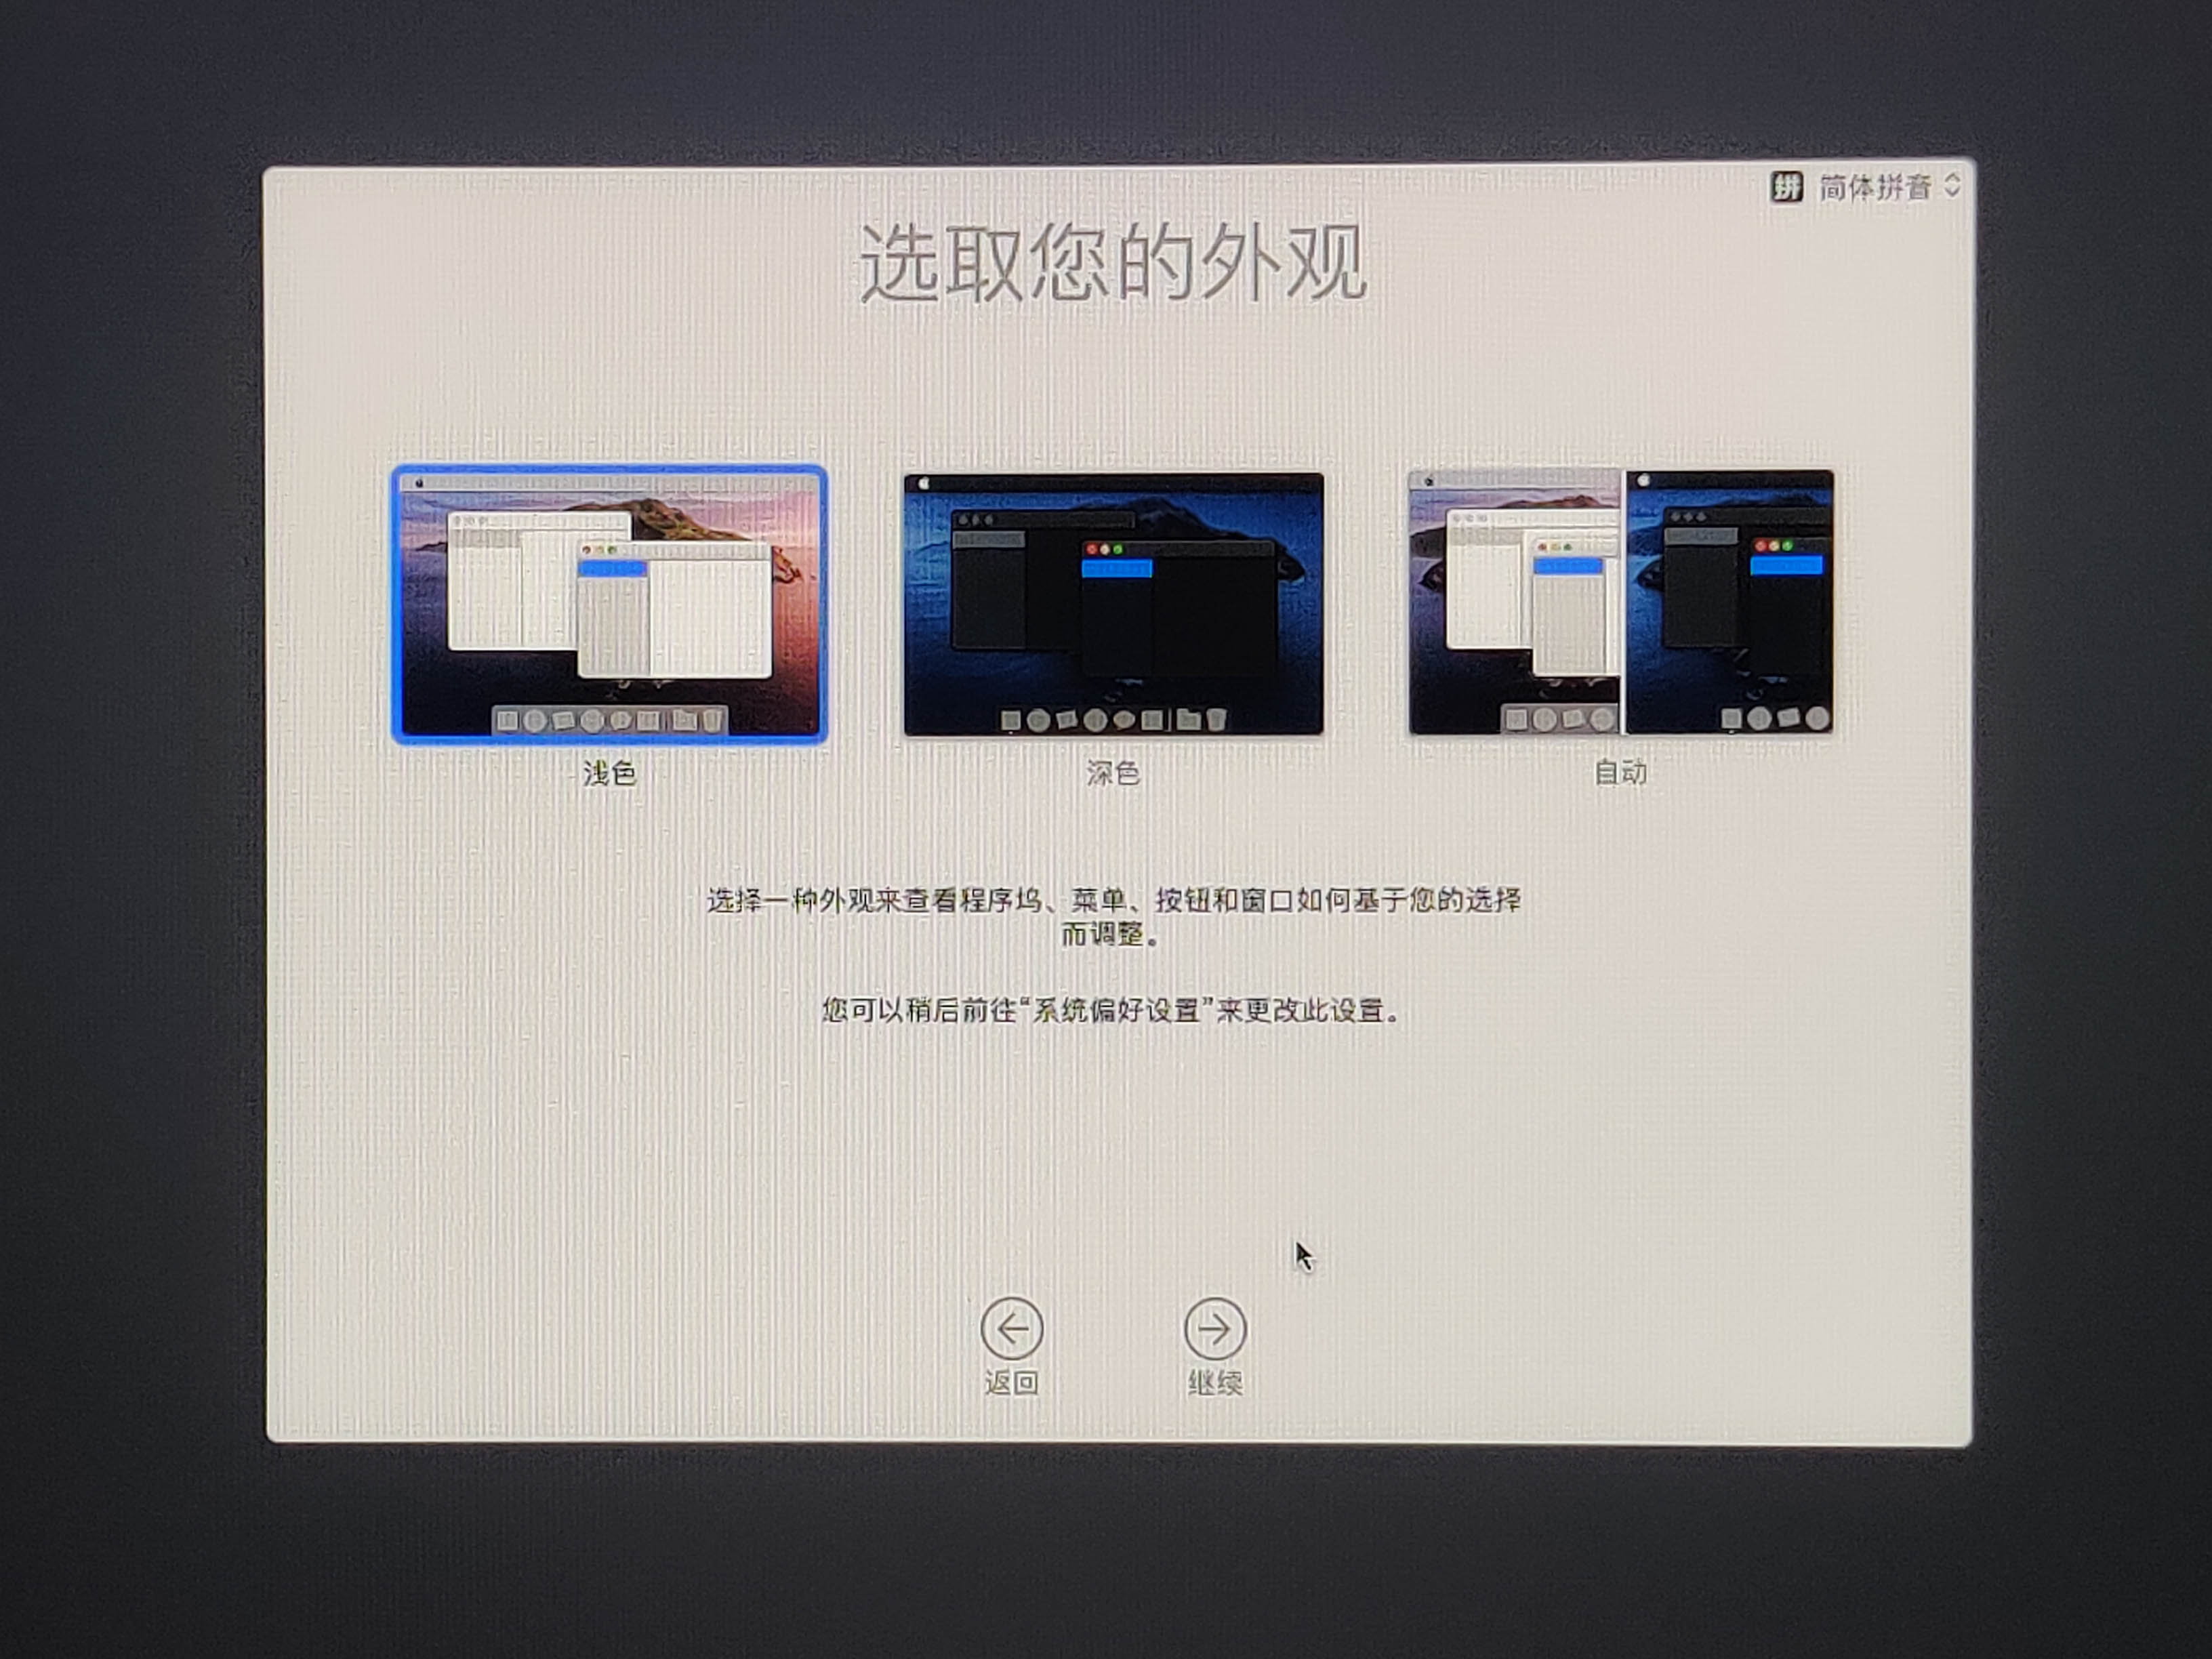
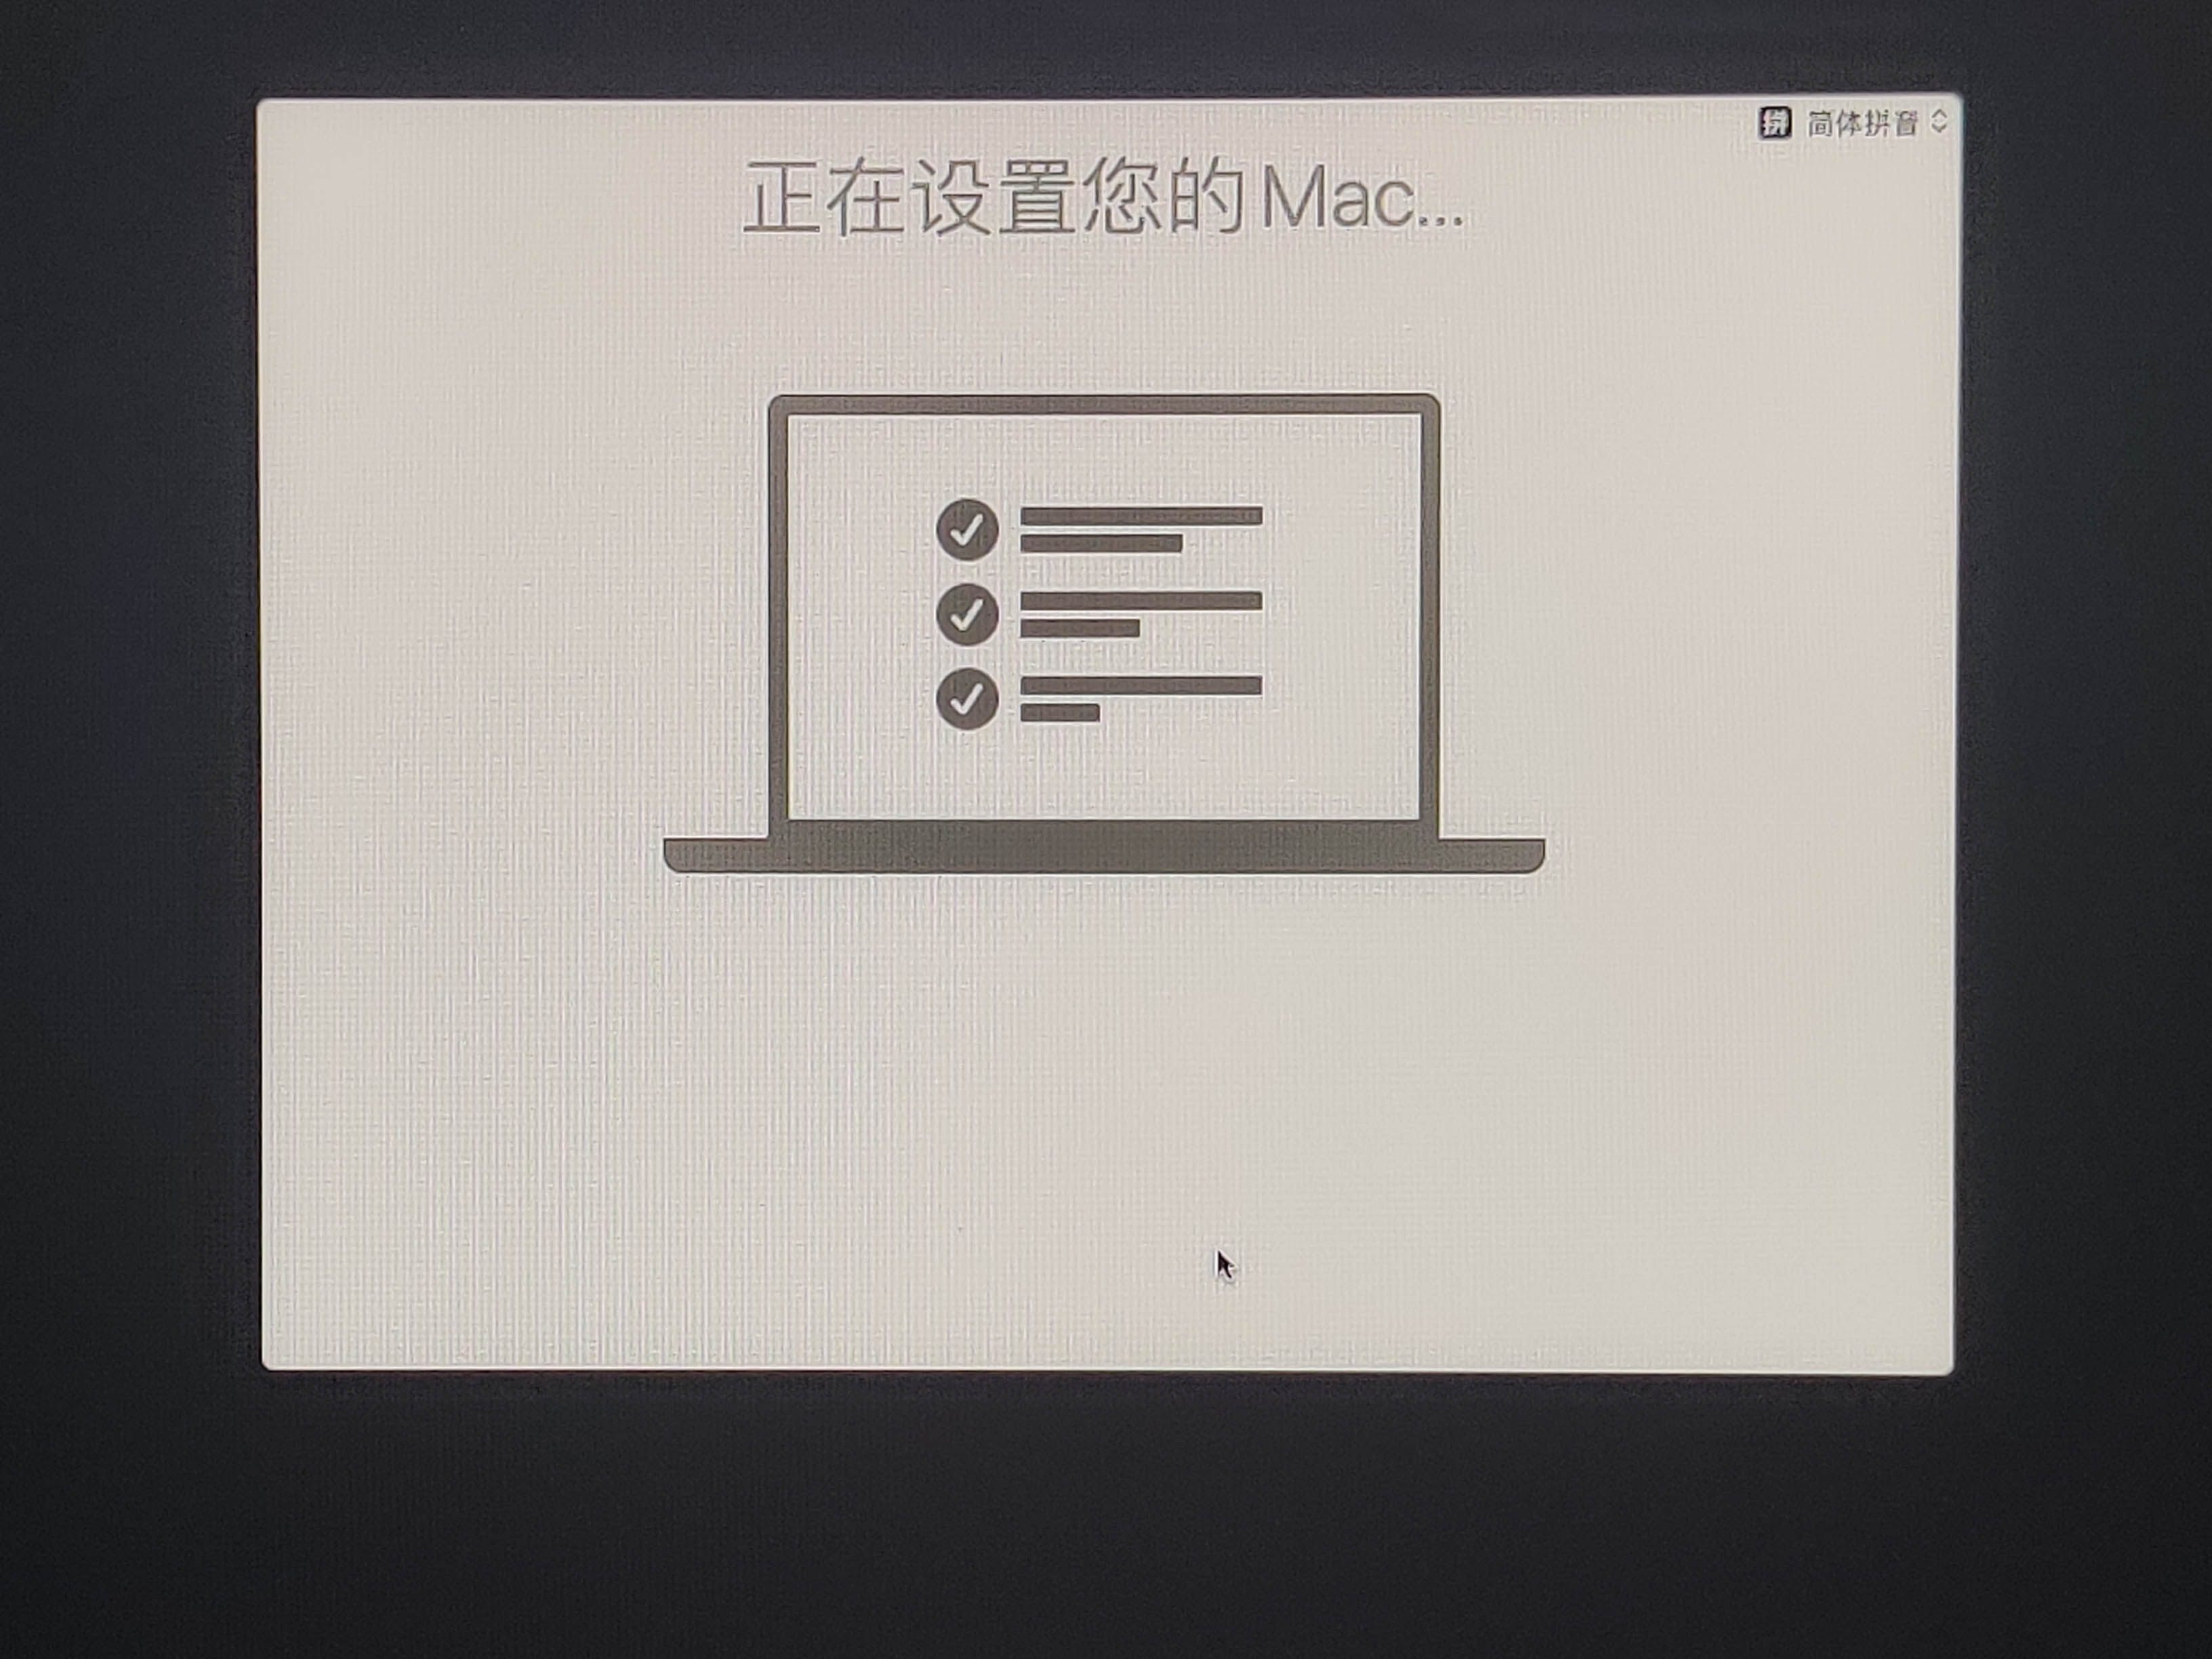
This concludes the Hackintosh installation process.

To Be Continued
This article is only a little over a thousand words long, yet it took nearly five hours to write. The main reason is that there are too many images later on, all taken with a phone, and the brightness is somewhat overexposed while the moiré patterns are especially severe, so I spent a long time editing the images.
I’ll stop here for now. Although macOS has been installed, there are still many things that need to be configured. I’ll write another article later explaining how to improve the Hackintosh system.