Installing and Configuring IntelliJ IDEA on Windows 10
The previous article mentioned configuring the JDK for the Java development environment, so now let’s try compiling a Hello World with JDK 13.
Create a new file in the working directory, name it HelloWorld.java, and write the following code:
public class HelloWorld {
    public static void main(String[] args) {
        System.out.println("Hello World");
    }
}
Open the working directory in cmd, compile the file with javac HelloWorld.java, and, if there are no errors and a HelloWorld.class file is generated, enter java HelloWorld to run it.
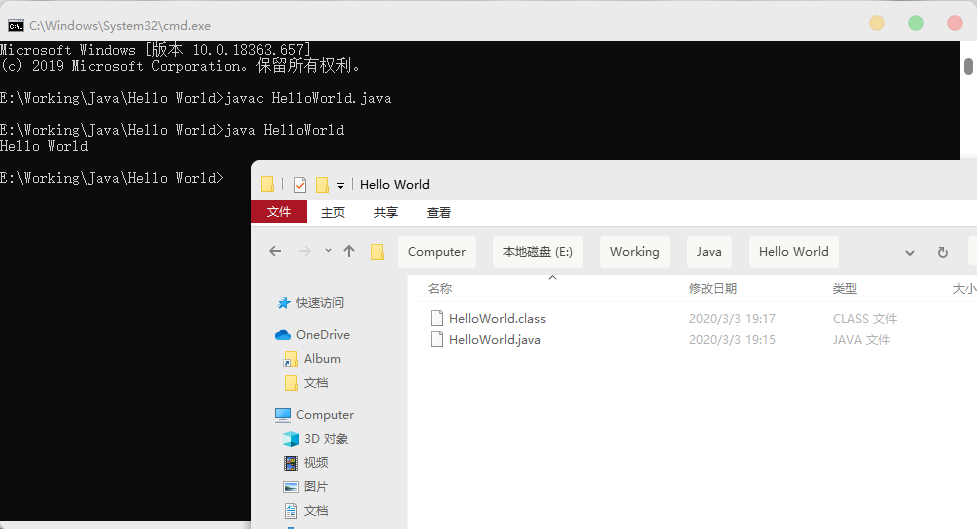
The output is fine, but using Notepad++ every time you write code is not very convenient, so you need a powerful IDE to assist with Java development.
The most popular IDEs for Java development are Eclipse, NetBeans, and IntelliJ. The one I’m going to install now is the last one, IntelliJ IDEA.
Installation

Open the Chinese version of IDEA’s official website, https://www.jetbrains.com/zh-cn/idea/, and click Download directly.

There are Ultimate and Community editions here. Generally, downloading the Community edition is enough, and it is open source and free. However, I have a student discount, so I have to go with the Ultimate edition. For details about JetBrains’ student discount, see https://www.jetbrains.com/zh-cn/student/. There are three ways to apply: an Edu email address, the GitHub Student Developer Pack, and a student ID card. As for how exactly to do it, I’ll leave that for now and write a detailed article about it next time.
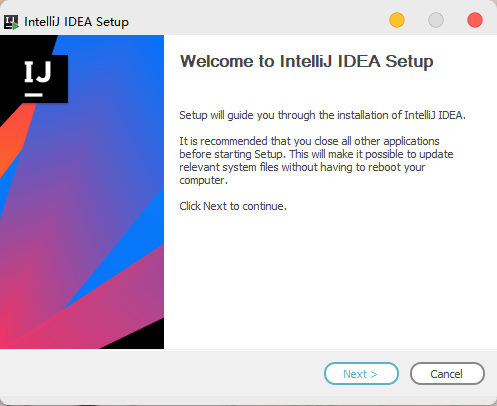
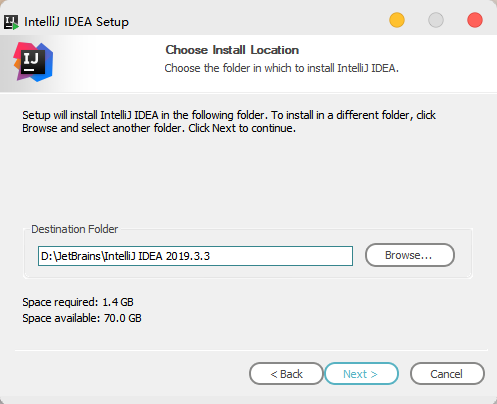
Change the installation path, then click Next.
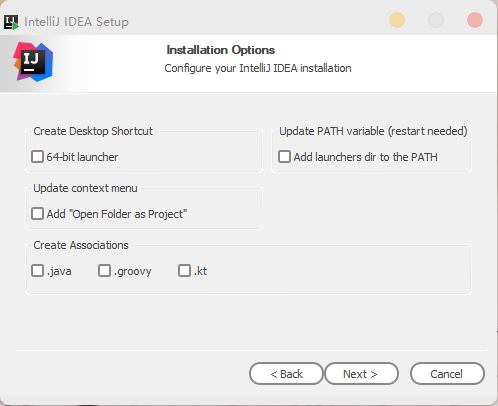
Note that the options shown above are mainly for associating common file extensions and adding shortcuts. Generally speaking, you don’t need to select them.
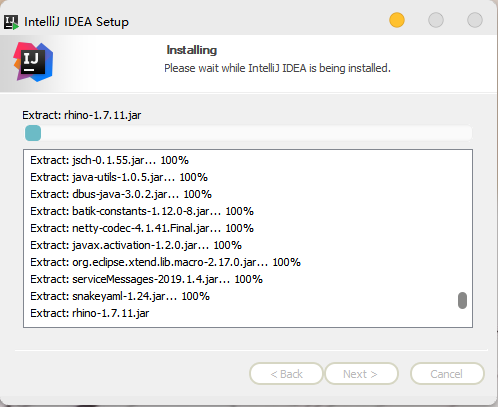
Basically, just keep clicking Next, and the installation will begin.
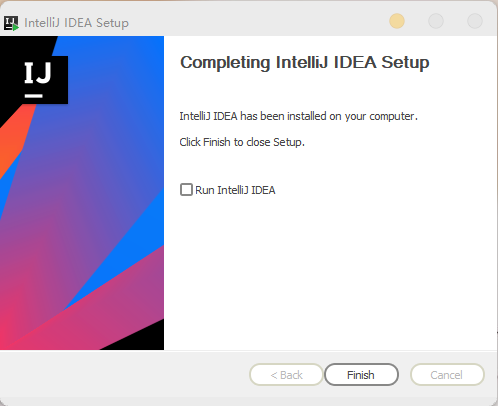
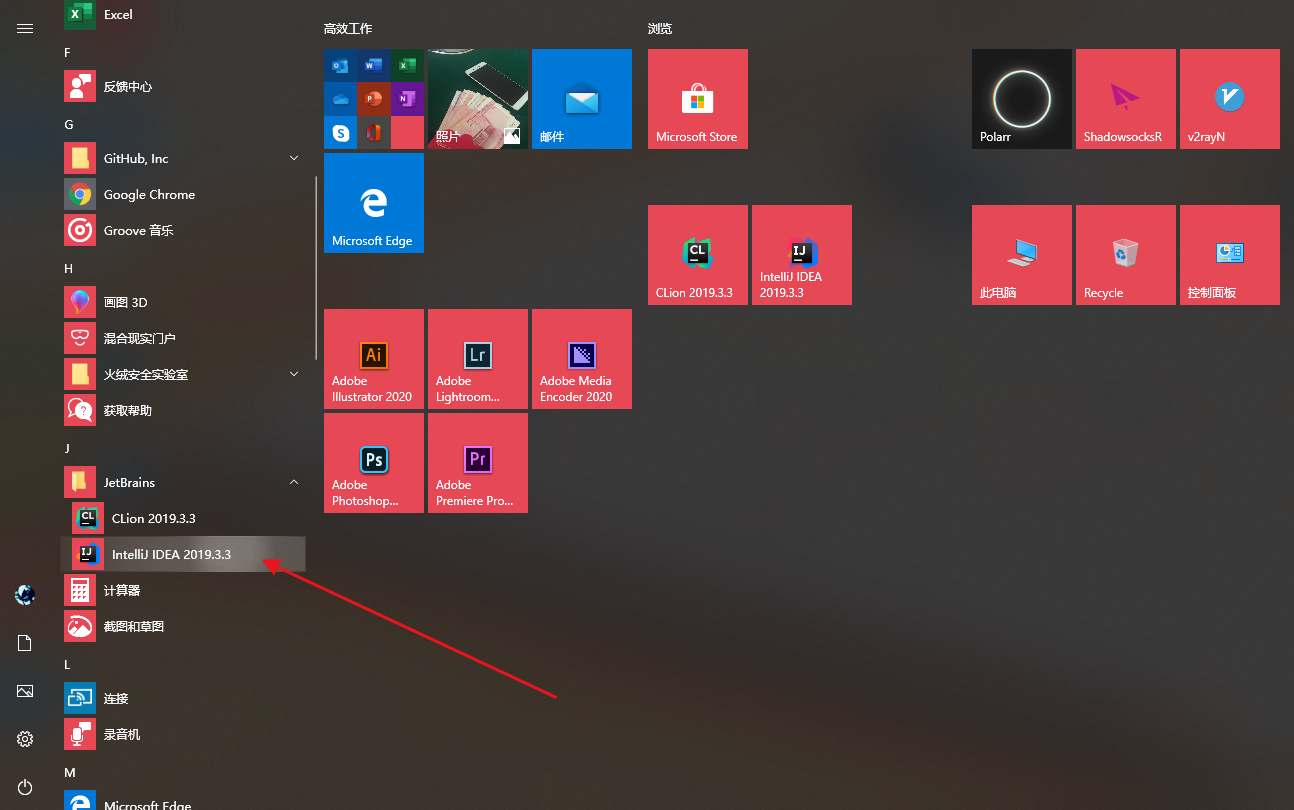
After the installation is complete, click Finish to close the window, then find and open IntelliJ IDEA from the Windows Start menu.
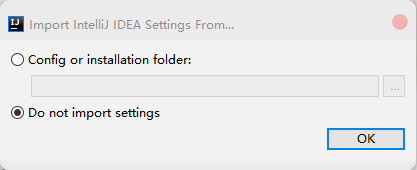
On the first launch, you will be asked whether you have a configuration file. Select the second option (none).
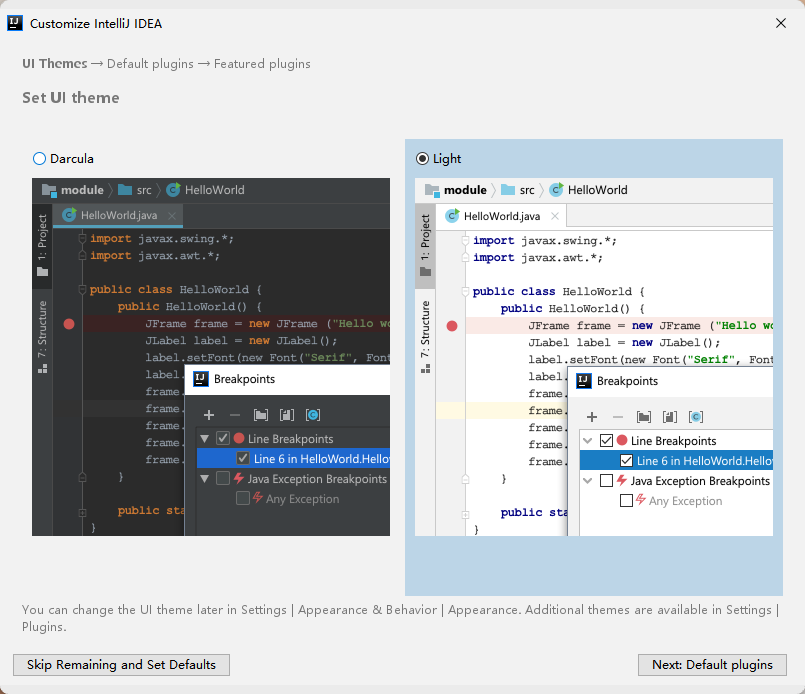
Next, choose a theme. I prefer the light one.
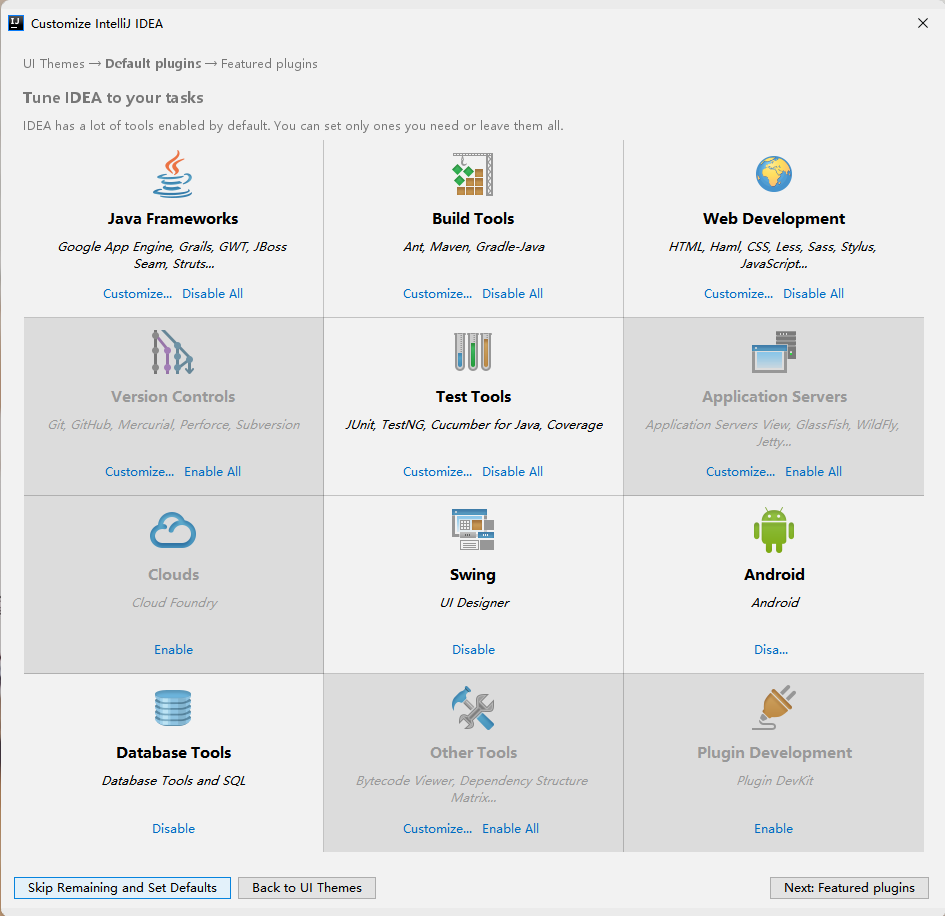
There are a large number of plugins below. Enable them as needed. For example, you can turn off all the Git-related ones because I use another Git client. For Android, it’s best to enable the relevant plugins, since IntelliJ IDEA can also be used for Android development.
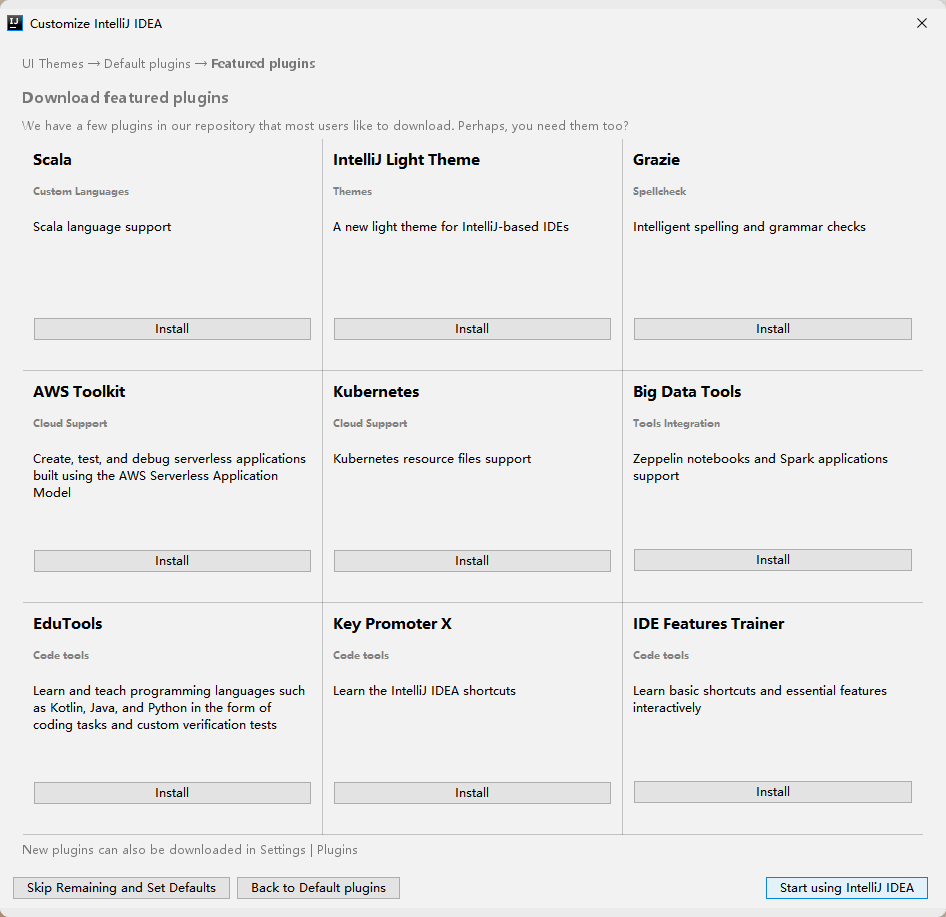
Here is another batch of plugins. This time, I chose not to install any of them. Don’t worry: after installing the program, you can continue installing plugins in Settings-Plugins.
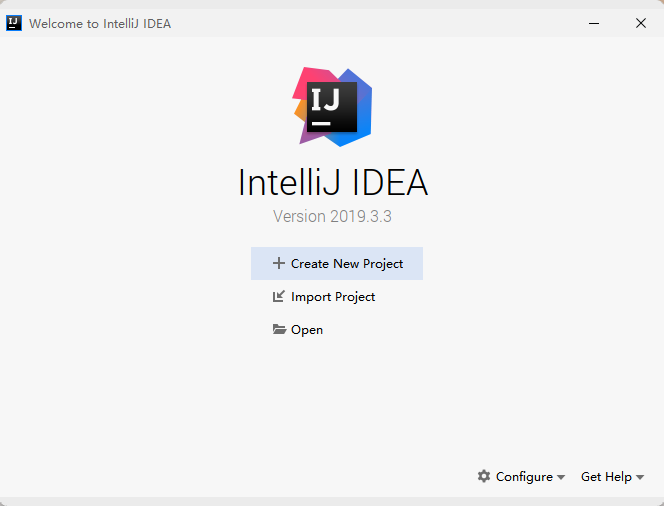
Click Start using IntelliJ IDEA to start using it directly.
Testing
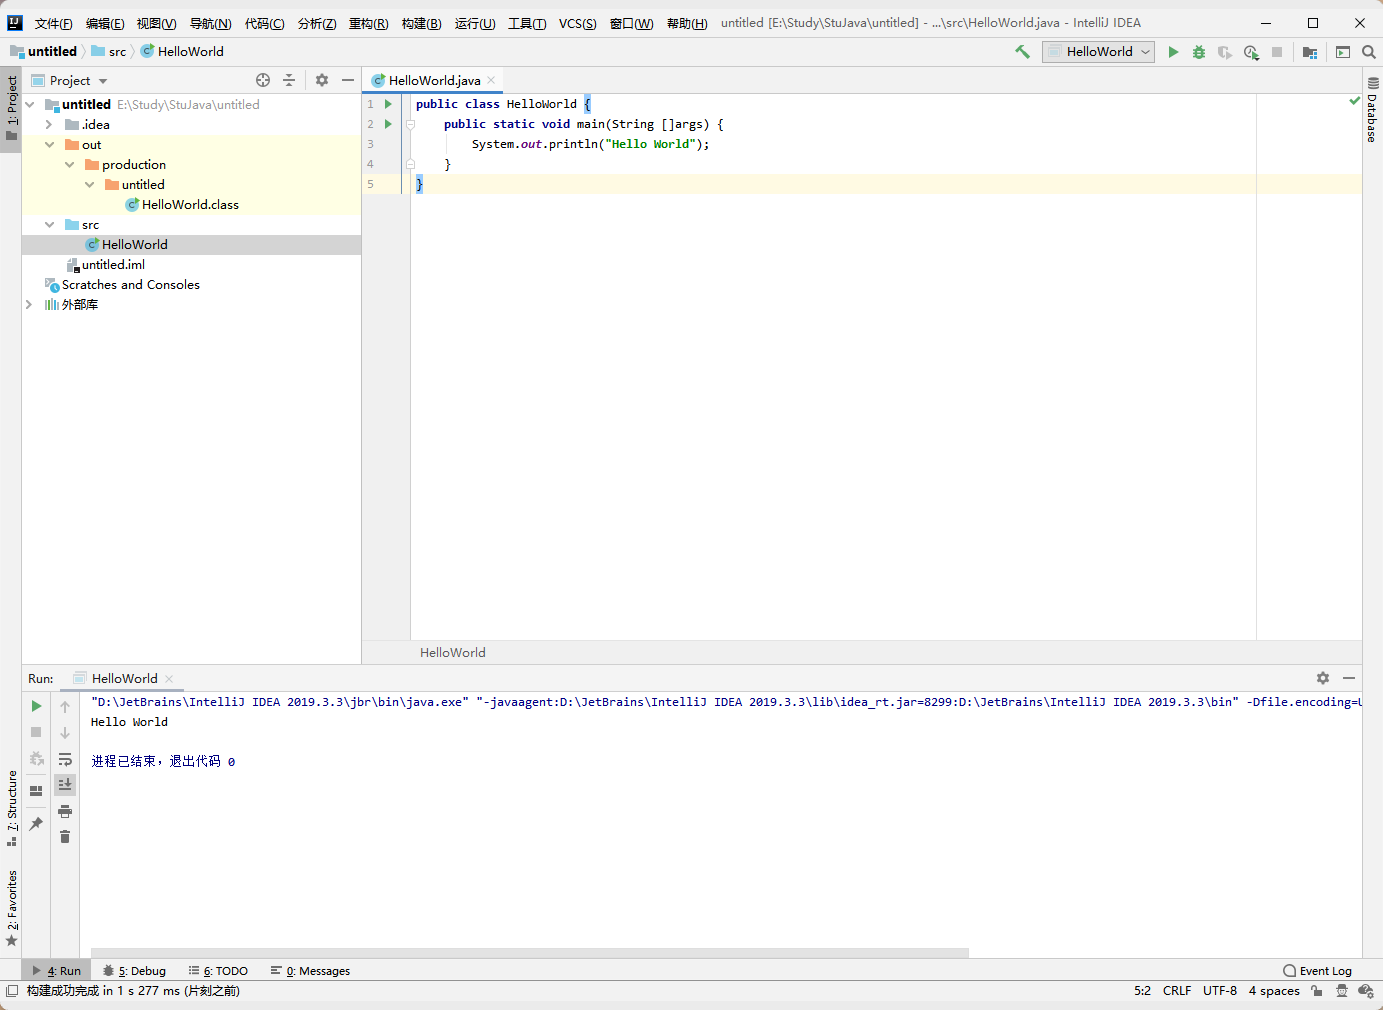
After installing IDEA, let’s run Hello World to give it a try.
Comments
(0)No comments yet. Start the conversation.